
Last updated October 9, 2026
Free on-site gate assessment - hinges, posts, and your LiftMaster or Nice gate operator checked before anything is quoted
The assessment is free and the quote is the invoice.
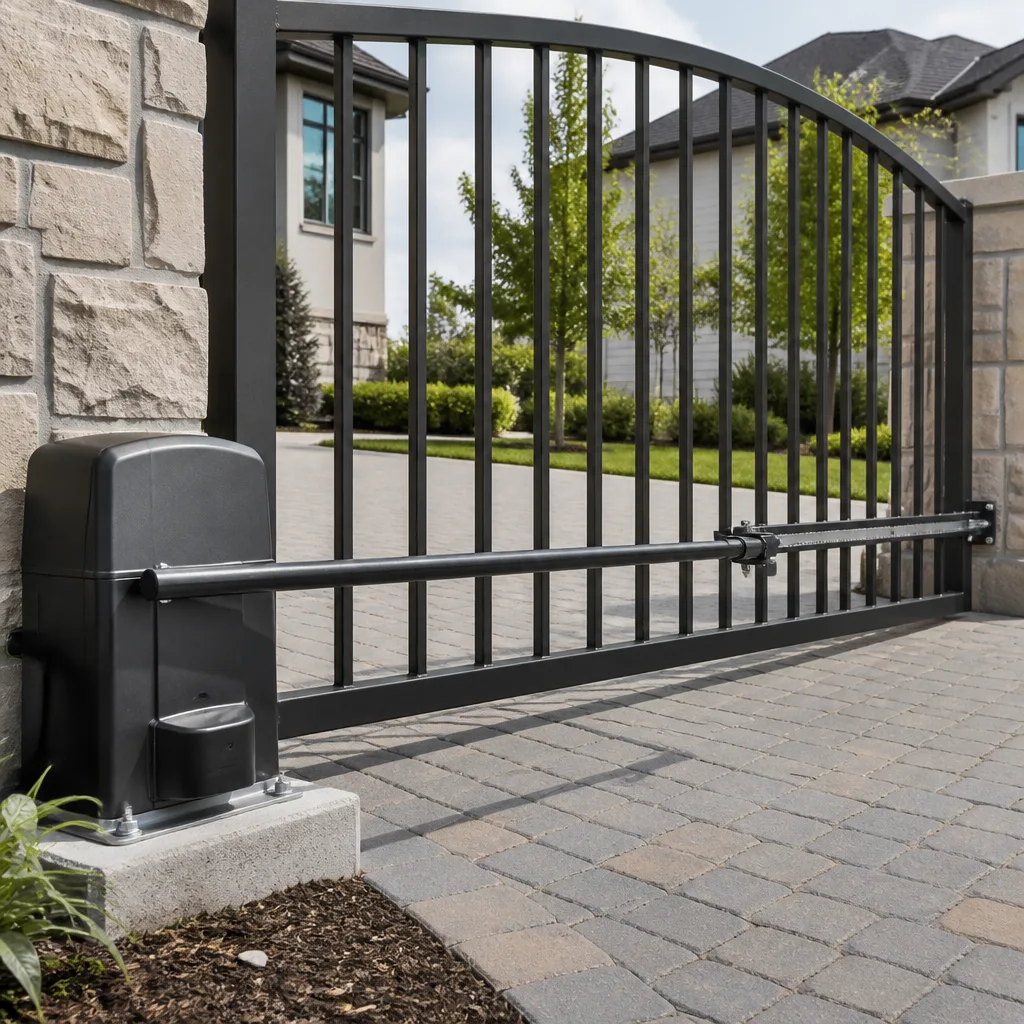
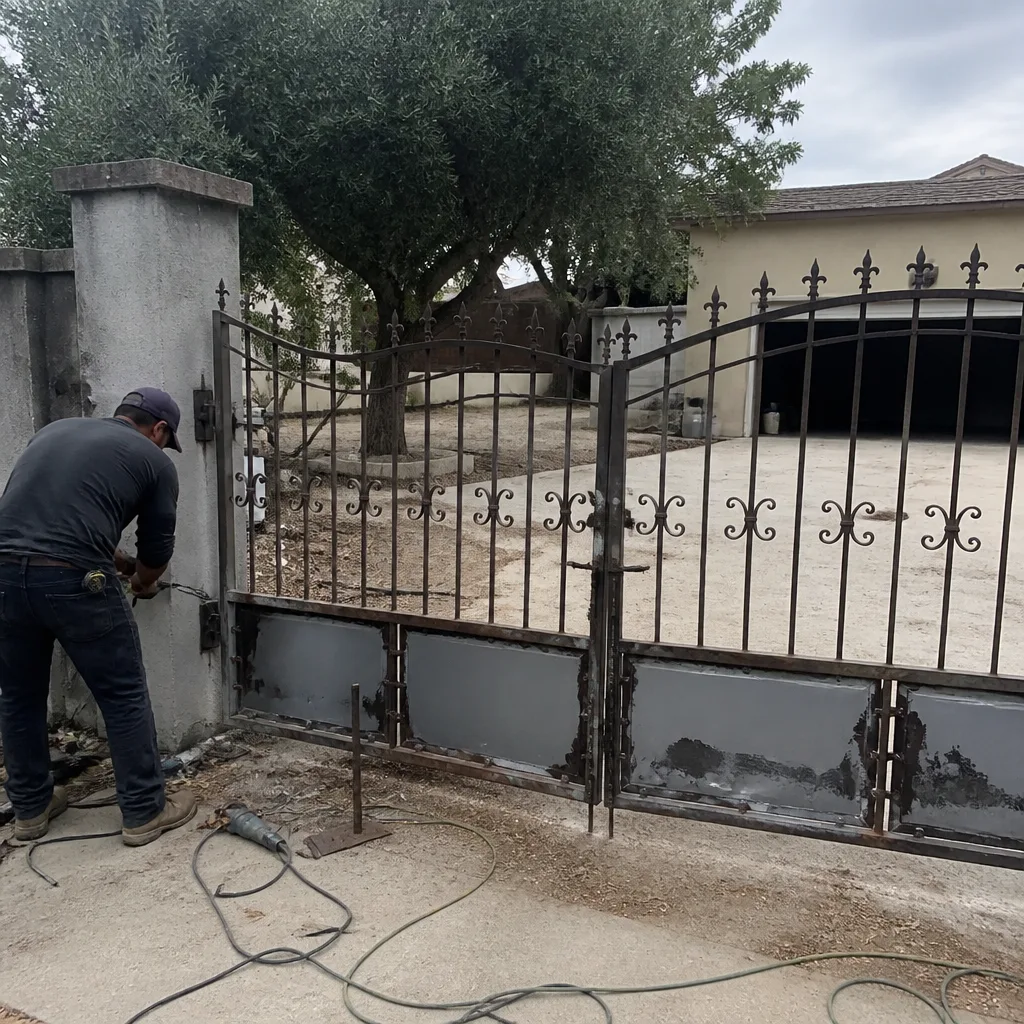 Before
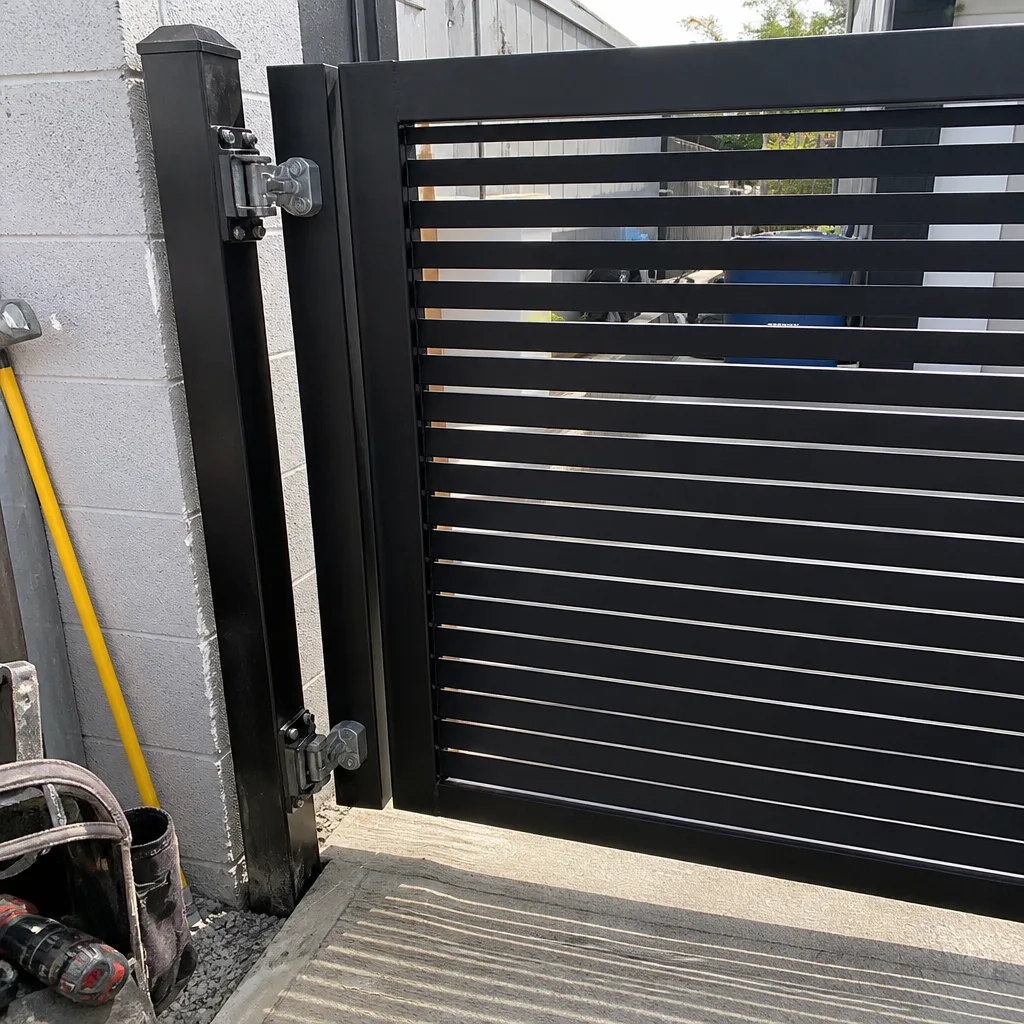 After
After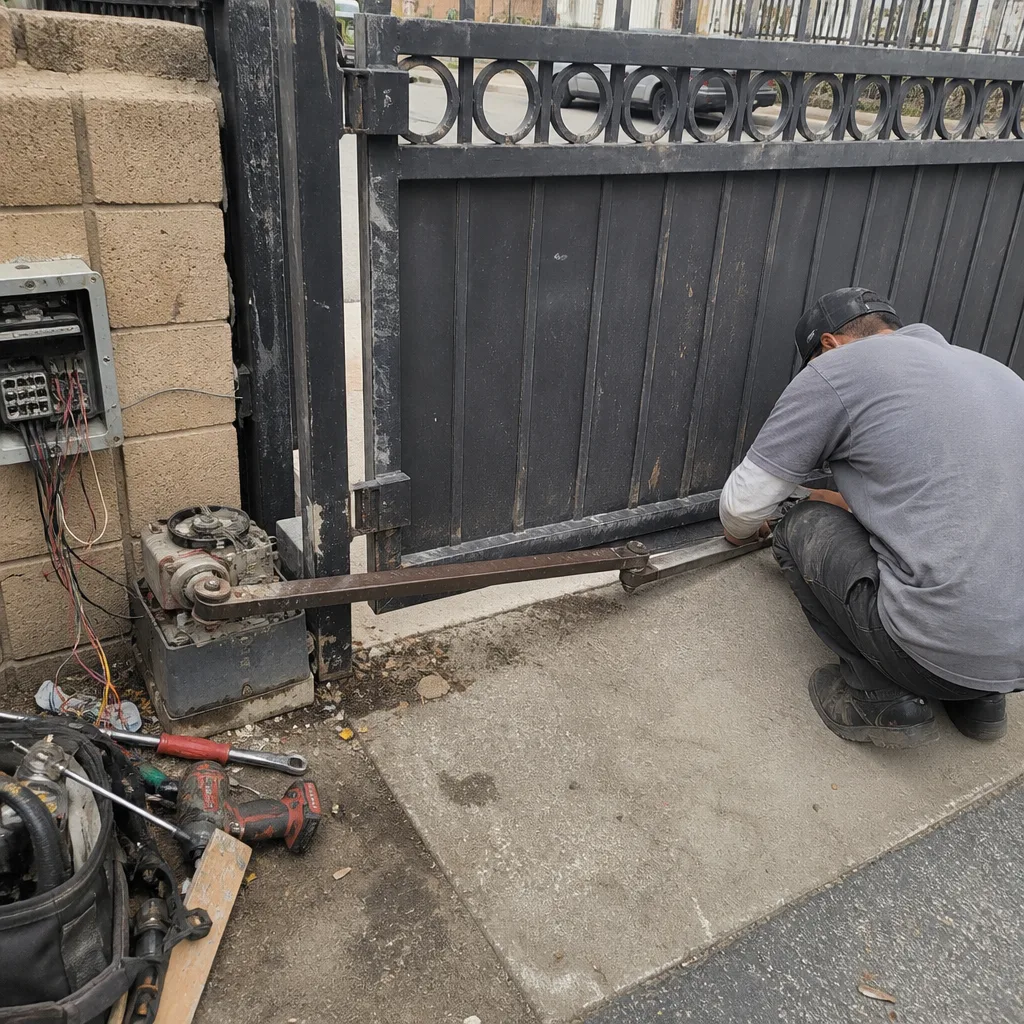 Before
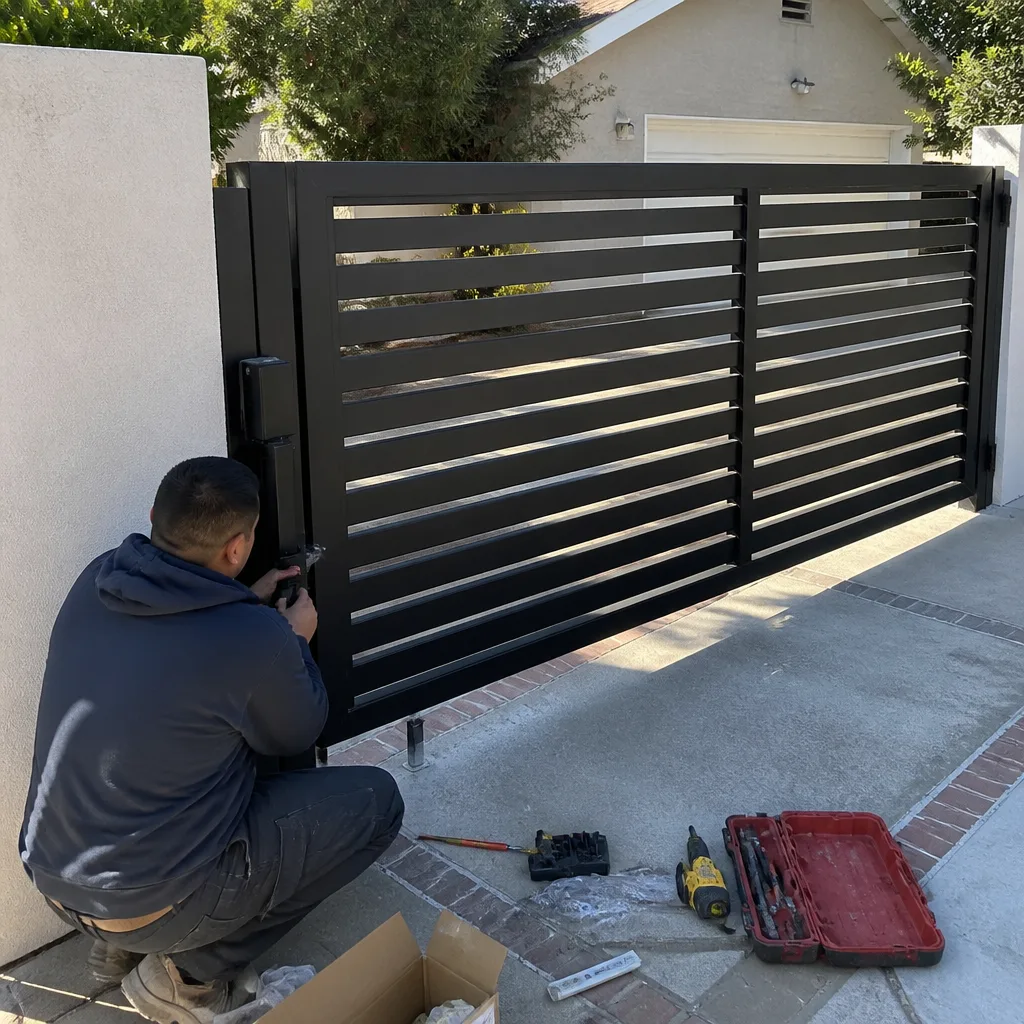 After
After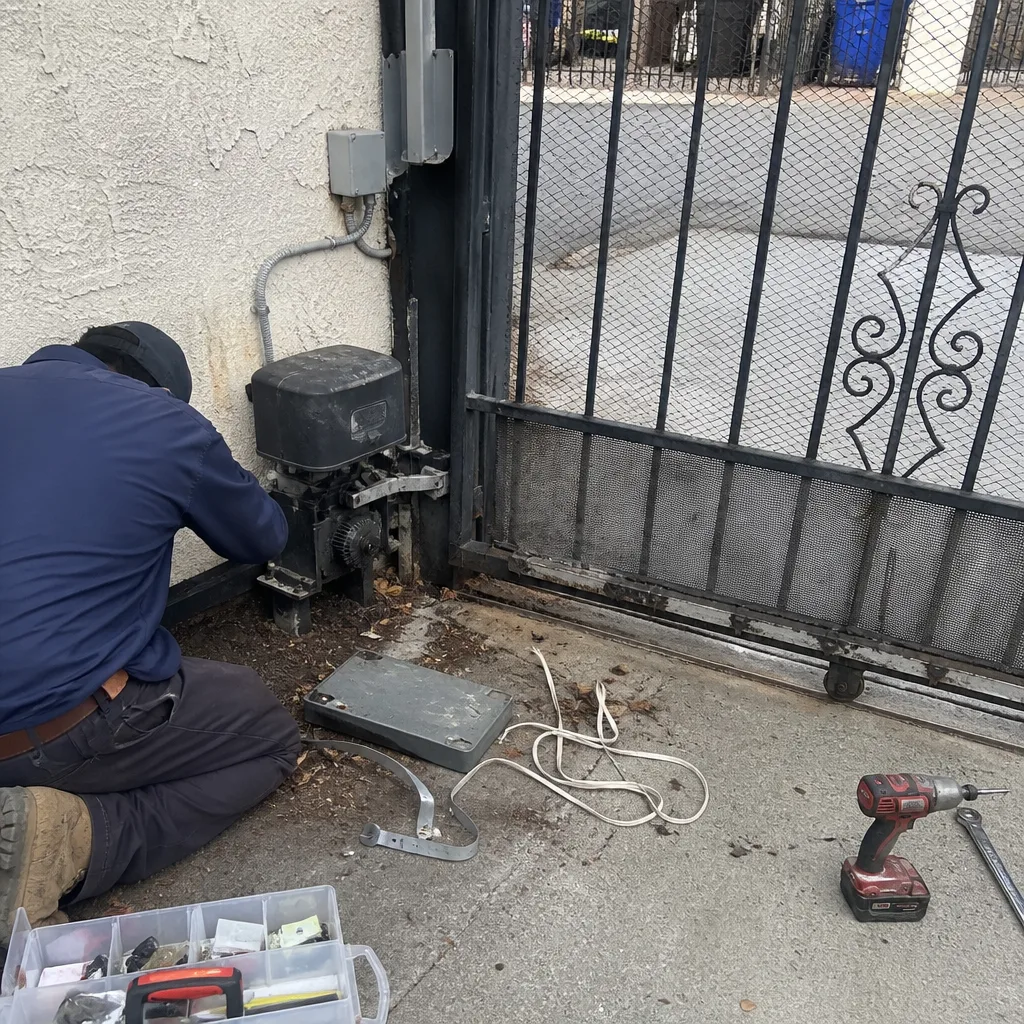 Before
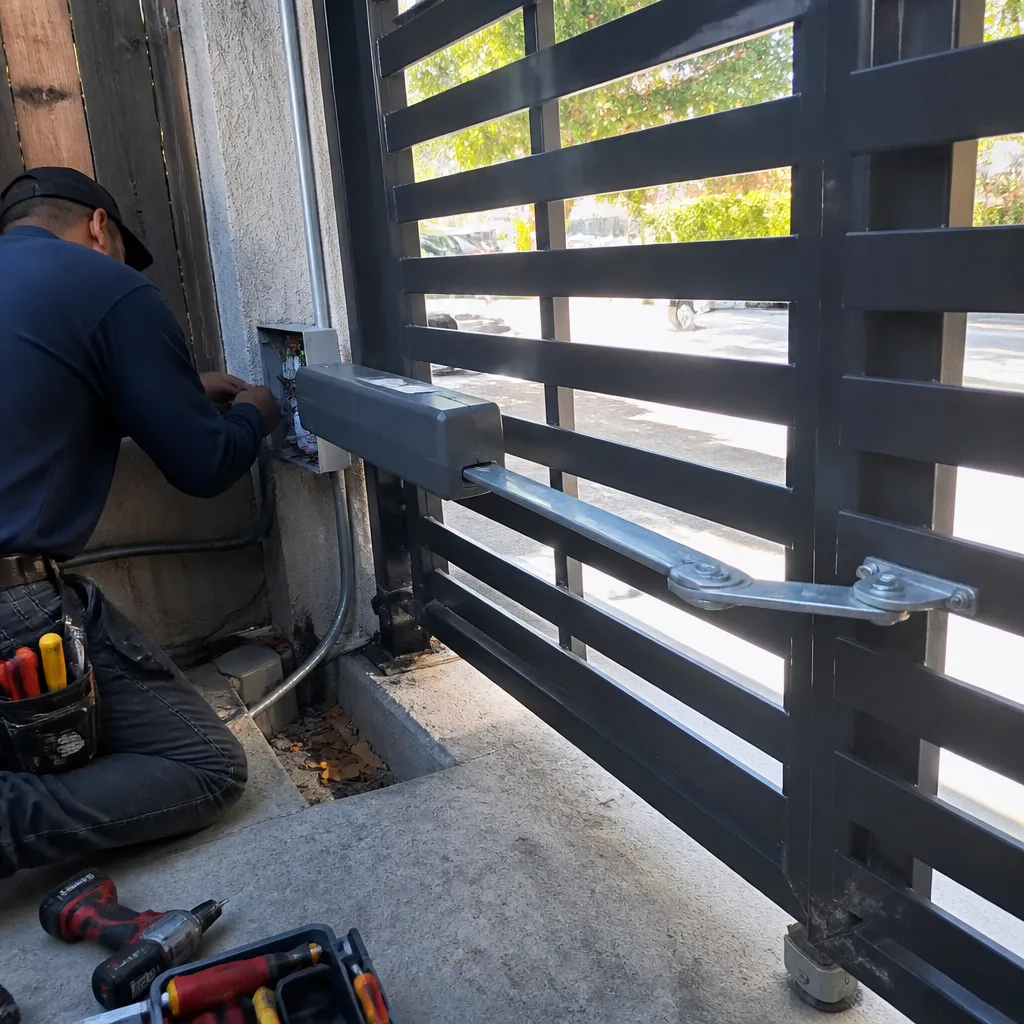 After
AfterElectric Gate Repair Troubleshooting: Common Problems and How to Fix Them
Resetting your electric gate’s power is the most common troubleshooting “fix” homeowners try, and the most common way to mask a wiring fault that can lead to a motor fire six months later. A quick breaker flip restores motion temporarily, but it does nothing to address why the system pulled too much current in the first place. In this guide, we’ll walk you through the same diagnostic sequence our technicians use across Los Angeles, from West Hills to Porter Ranch, so you can identify whether you’re dealing with a dead remote, a failing control board, or a gate that’s binding against its hinges. You’ll learn what to check safely yourself and when to call our Gate Repair services so your phone quote is accurate before anyone rolls a truck.
Quick Answer
Electric gate repair troubleshooting starts with identifying which of three subsystems has failed: the low-voltage control side (remotes, keypads, safety sensors, limit switches), the power delivery system (transformer, wiring, capacitor, breaker), or the mechanical load (hinges, wheels, track, weight distribution). Most no-open, no-close, or intermittent failures can be narrowed down in under 15 minutes using the sequence below. For Los Angeles homeowners, common culprits include sun-baked capacitor failure, corroded low-voltage wire splices from sprinkler exposure, and gate binding caused by shifting soil after wet winters.
Table of Contents
- Control Side vs. Power Side: The Distinction That Prevents Fried Boards
- The Professional Diagnostic Sequence (And Why Order Matters)
- How to Read Error Codes and Indicator Lights Across Major Opener Brands
- Testing Remotes, Keypads, and Loop Detectors Before Blaming the Opener
- Dying Control Board vs. Dying Transformer vs. Overloaded Motor: Three Different Fixes
- How Los Angeles Climate and Code Affect Electric Gate Failures
- What to Tell a Technician After Self-Diagnosis
- Common Mistakes to Avoid
- When to Call a Professional
- Frequently Asked Questions
- The Bottom Line
Control Side vs. Power Side: The Distinction That Prevents Fried Boards
Every electric gate opener has two electrical systems that operate at different voltages, and confusing them is how DIY troubleshooting turns a $40 sensor replacement into a $600 control board swap. The control side runs on low voltage, typically 12 to 24 volts DC, and includes your remote receivers, keypad wiring, safety photo eyes, limit switches, and loop detectors. The power side delivers 120 or 240 volts AC from your breaker panel to the opener’s transformer and motor capacitor. When you test components on the control side using a multimeter set for the power side, or vice versa, you can send voltage where the board is not designed to receive it.
In Los Angeles, we see this most often on properties built in the 1990s and early 2000s, where original low-voltage wiring was run without conduit and has been nicked by weed trimmers or chewed by ground squirrels. The exposed copper creates a short that mimics a dead control board, and the natural response is to start swapping parts. Before touching anything, identify which side your symptom lives on. A gate that hums but doesn’t move is usually a power-side issue. A gate that doesn’t respond at all to any input is usually control-side. A gate that opens but won’t close, or reverses mid-cycle, points to safety sensors on the control side-one of the Electric Gate Repair Warning Signs Every Homeowner Should Know. We recommend checking the diagnostic LED on the control board first, because every major opener brand uses that LED to tell you which subsystem is faulting.
The Professional Diagnostic Sequence (And Why Order Matters)
When a Calder Gate Repair technician arrives at a home in Los Angeles, they don’t start by opening the motor housing. They follow a sequence that isolates variables without introducing new ones. Here is that sequence, and it works the same whether you own a Ghost Controls opener in Sherman Oaks or a DoorKing commercial unit in Burbank.
- Confirm power at the outlet or disconnect. Use a non-contact voltage tester at the opener’s power source. A tripped GFCI outlet, which is now required by code for gate openers in many Los Angeles jurisdictions, kills the whole system while leaving the breaker panel looking perfectly normal.
- Observe the control board LED before touching anything. The blinking pattern or steady state tells you whether the board is receiving power and whether it’s in a fault condition. Write down the pattern before doing anything else, because resetting the board erases the diagnostic.
- Test the manual release. Disengage the opener and move the gate by hand. If the gate is difficult to move manually, the problem is mechanical load, not electricity, and continued motor operation will burn out a capacitor or transformer.
- Test control inputs one at a time. Start with the hardwired keypad or push button, then the remote, then the loop detector. Isolating inputs tells you whether the failure is in the signal path or the output path.
- Check safety sensor alignment and wiring. Photo eyes that are misaligned, dirty, or have a cut wire will prevent closing but often allow opening, and they will flash a specific code on the board.
- Measure capacitor and transformer output. Only after confirming the control side is functional do you test power-side components, because those tests require the system to be energized and the cover removed.
- Test motor windings under load. A motor that works fine with no load but stalls under load is overloaded, usually from gate binding, and the fix is mechanical, not electrical.
The order matters because each step eliminates a variable cleanly. Jumping to the motor first, which is what most people want to do because it’s the biggest component, risks missing a simple keypad failure and creates secondary damage when you power-cycle a system that’s already faulted.
How to Read Error Codes and Indicator Lights Across Major Opener Brands
Every major opener brand has a diagnostic language, and once you know a few basics, you can read the problem off the board without calling a hotline. The key is knowing that the control board LED is not just an on/off light. It blinks in patterns that correspond to specific faults, and those patterns are consistent across models within a brand.
On Ghost Controls openers, a single red blink every few seconds means the board is in a safe state and waiting for input. Two quick blinks indicate a safety beam obstruction or misalignment. Three blinks point to a motor fault or stall condition. Four blinks signal a limit switch error, which is the small sensor that tells the gate when to stop at the open and closed positions. We regularly see Ghost Controls units in Los Angeles with limit switch failures because the plastic gears that drive the limit mechanism get brittle in direct sun exposure on unshaded driveways in Encino and Tarzana.
DoorKing boards use a different system. Their LED displays an error code number on a small digital readout, and the codes are documented in the manual. Common ones we see in Los Angeles include code 51, which indicates a shadow loop fault, and code 71, which flags a run timer fault where the gate fails to complete its travel cycle. DoorKing units are common on multi-tenant properties in the Valley, and those systems often have loop detectors that fail after years of exposure to heat and vehicle traffic.
Elite and Mighty Mule openers use simpler indicator systems, usually a single LED that either blinks to indicate a fault or stays solid to indicate normal operation. On Mighty Mule units, which are popular for lighter residential gates in Los Angeles, a red LED that blinks twice means the unit is in a fault state due to a second obstruction detection event, and it requires a manual reset. If you see a repeating double-blink, you have a safety input fault, not a motor failure. That distinction saves the cost of a motor replacement that you don’t need.
The critical step before resetting any board is to photograph or write down the exact blink pattern or code. Once you reset, the fault history usually clears, and a technician loses the single most useful diagnostic signal. We tell Los Angeles homeowners to snap a 10-second video of the LED with a phone before touching anything. That video is worth more than a verbal description when you call for a quote.
Testing Remotes, Keypads, and Loop Detectors Before Blaming the Opener
The most common unnecessary repair we see in Los Angeles is a full opener replacement quoted when the actual problem is a dead remote battery or a keypad with corroded terminals. Before you assume the opener itself is broken, isolate the input devices, because they fail far more often than the motor or board.
Start with the simplest test: use the hardwired push button or keypad mounted on the gate pillar. If that works consistently and the remote doesn’t, the problem is in the receiver or the remote, not the opener’s drive system. Replace the remote battery with a fresh name-brand cell, because generic batteries in remotes often fail within months in Los Angeles heat, expanding and breaking contact. If the remote still doesn’t work, check whether the receiver antenna is intact, because a broken antenna wire on a Ghost Controls or Mighty Mule receiver will cut your range from 50 feet to less than 5 feet.
For keypads, look for a flickering backlight or unresponsive buttons. Those are signs of moisture intrusion or corroded terminals inside the keypad housing. In Los Angeles coastal neighborhoods like Pacific Palisades or Playa del Rey, salt air accelerates that corrosion, and we replace keypads in those areas more often than anywhere else in the city. A keypad that works intermittently almost always has a connection problem at the terminal block where the low-voltage wire enters the keypad, not a failure of the opener board.
Loop detectors are the hidden input device most homeowners never think about. A loop detector senses a vehicle parked over a wire loop buried in the driveway and tells the gate to stay open. When a loop fails, the symptom is usually a gate that starts closing while a car is still sitting in the driveway or a gate that refuses to close at all. Testing a loop detector requires a specialized meter, but you can narrow it down by watching the detector’s indicator LED while a car moves over the loop. If the LED never changes state, the loop is failed or the detector has lost tuning. On DoorKing and Elite systems in Los Angeles, loop failure is one of the top three reasons a gate misbehaves, and it’s nearly always misdiagnosed as a board problem.
Dying Control Board vs. Dying Transformer vs. Overloaded Motor: Three Different Fixes
These three components fail in different ways, and learning to read the symptoms saves you from ordering the wrong part. Here is how we separate them in the field.
A dying control board usually shows intermittent and erratic behavior first: the gate opens when no one is around, the remote works sometimes and not others, or the gate reverses direction mid-cycle for no reason. You may also notice a burnt smell near the board or visible scorching around a relay. Control boards in Los Angeles fail most often from power surges during summer brownouts and from ant invasions, because ants are drawn to the warmth of the board and their bodies short traces. The fix is board replacement, and the cost typically runs $350 to $750 installed depending on brand and model.
A dying transformer shows a different signature: the gate becomes weak or slow, the LED on the board dims or flickers, and the whole system may brown out under load. Transformers step down 120V AC to the low voltage the board needs, and when they begin to fail, they deliver inconsistent voltage. You can measure this with a multimeter at the secondary terminals, but if you’re not comfortable working on an energized panel, this is the point where we suggest an electrician or a gate professional. Transformer replacement runs $150 to $350 in Los Angeles, and it’s a repair we complete the same day because we carry multiple sizes in our vans.
An overloaded motor presents as a gate that hums, struggles, or stalls mid-travel, often before tripping a breaker or blowing a fuse. The motor is trying to move a gate that has become too heavy or too resistant to movement, usually because hinges are worn, wheels are seized, or the gate itself has sagged. In Los Angeles neighborhoods with shifting adobe soil, like Eagle Rock or Mount Washington, we see gate frames twist over time and put side load on the motor. The motor failure is a symptom; the fix is mechanical correction first, then motor replacement if the windings are damaged. Some Los Angeles Gate Repair jobs involve both, and we always show the customer the root cause before recommending the motor replacement, because swapping a motor onto a binding gate means you’ll replace the motor again within a year. For prevention tips, see our Gate Opener Repair Maintenance Schedule: What to Do and When.
How Los Angeles Climate and Code Affect Electric Gate Failures
Los Angeles is not a harsh climate, but it has failure patterns that are unique to the region, and understanding them helps you troubleshoot more accurately. First, direct sun exposure is the silent killer of capacitors. We see capacitor failures in Los Angeles garage and gate openers year-round, but the rate spikes in August and September after months of sustained heat on metal control boxes that bake in the afternoon sun. A failed capacitor presents exactly like a dead motor: the opener hums but won’t turn, or the gate starts with a push. The fix is a $30 to $80 capacitor, not a $500 motor, and this is one of the most common misdiagnoses by homeowners who use generic online guides written for cooler climates.
Second, the wet winters in Los Angeles, like the atmospheric river events we saw in early 2024 and again in 2025, expose low-voltage splice failures. Most residential gate opener installations include wire splices buried near the gate or tucked into junction boxes that are not fully waterproof. When heavy rain saturates the ground, those splices corrode and create high-resistance connections. The symptom is a gate that works perfectly on dry days and fails when the ground is wet. If your gate’s behavior tracks the weather, you almost certainly have a moisture-related low-voltage fault, and the fix is a re-splice with heat-shrink and silicone-filled wire nuts. That’s a standard repair for us on properties throughout the San Fernando Valley and the Westside, and it’s one we can complete quickly because the location of the fault is usually predictable.
Third, Los Angeles electrical and building codes require specific safety features on gate openers, including photo eyes or contact edges that prevent the gate from closing on a person, vehicle, or pet. Many older installations predate these requirements, and when a gate opener is replaced, the new unit must be brought into compliance. We see this regularly across Los Angeles County, and we flag it when quoting any opener replacement, because it affects the scope and cost, and more importantly, it’s a safety issue. For a broader look at how we handle those code issues, see our Electric Gate Repair in Los Angeles page.
What to Tell a Technician After Self-Diagnosis
The difference between an accurate phone quote and a vague range comes down to what you report. A technician cannot see your gate over the phone, but if you provide the right data points, they can often identify the likely failure and bring the part they need on the first visit. Here is exactly what our team asks for when someone in Los Angeles calls about a gate problem.
- The exact symptom in one sentence: “The gate hums but won’t move” is more useful than “It’s broken.”
- The brand and model number from the control board label or the opener housing. Knowing it’s a Ghost Controls GTO Pro vs. a Mighty Mule MM272 tells us which parts we’re likely to need.
- The LED blink pattern or error code you observed before touching anything. A video link or photo is even better.
- What you’ve already tested: whether the hardwired keypad works, whether the remote works from inside the car vs. outside, whether the manual release moves freely.
- The symptom timeline: did the gate fail suddenly or gradually, does it happen after rain, does it happen at specific times of day.
- The age of the opener if you know it. Openers over 15 years old in Los Angeles are often more cost-effective to replace than repair, especially if the board has failed.
With those six data points, our phone team can usually narrow the problem to one or two likely causes and give you a realistic price range before we dispatch. Every Calder Gate Repair job starts with a written quote before any work starts, and when you can describe the symptoms precisely, that quote is more accurate and the truck arrives with the right parts. For a full breakdown of what goes into a typical repair quote in this market, see our Gate Opener Repair in Los Angeles guide.
Common Mistakes to Avoid
- Resetting the breaker repeatedly as a fix. If your gate trips the breaker more than once, there’s a fault that resetting will not fix. Each reset masks the problem and moves you closer to a fried transformer or motor. In our Los Angeles service area, we respond to several of these cases every month, and a fault that started as a $40 capacitor replacement often becomes a $700 board replacement by the time we arrive.
- Replacing the remote battery before testing the keypad. If the hardwired keypad is also dead, the problem is not the remote, and you’ve wasted time on the least likely culprit. Always test the fixed control input first.
- Adjusting limit switches without understanding the mechanism. Limit switches tell the gate when to stop, and adjusting them randomly can cause the gate to slam into the post, bend a hinge, or crush a safety sensor. We see more damage from well-meaning DIY limit adjustments than from any single original failure.
- Ignoring a gate that has become slow or noisy. A gate that gradually slows down is telling you the mechanical load is increasing, usually from worn rollers or dry hinges. Waiting until it stops completely turns a maintenance item into an emergency repair, and in Los Angeles, where gate motors cycle thousands of times per year for properties with daily car traffic, the extra wear adds up fast.
- Spraying WD-40 on the track or hinges. WD-40 is a solvent and light lubricant that washes away existing grease, then evaporates, leaving the metal drier than before. Use a lithium or silicone-based grease on metal hinges, and never lubricate a belt drive.
- Buying a universal remote before confirming receiver compatibility. Not all universal remotes work with all receiver frequencies, and some newer Ghost Controls and Mighty Mule models use rolling code encryption that universal remotes can’t replicate. Confirm the frequency and code type before spending money.
- Testing power-side components with the system energized. Probing transformer terminals and capacitor leads with the power on is how people get electrocuted. If you’re not trained and equipped to work on an energized 120V or 240V circuit, stop at the control side and call a professional. We take this seriously, and so should you.
When to Call a Professional
Call a gate repair professional when the fault involves anything on the power side, when the control board shows a fault code you can’t decode, when the gate has physically bound and won’t move manually, or when you’ve already reset the system once and the problem returned. Those scenarios indicate a fault that will not resolve on its own, and continued operation risks compounding the damage. Calder Gate Repair offers free estimates to Los Angeles homeowners, and our technicians are background-checked, uniformed, and dispatched with a trackable arrival time. You’ll get a written price before any work starts and a written guarantee on the repair. The 365-Day Done Right Promise means that if the repair fails within a year, we return at no charge. Call (903) 417-0793 and a live person answers, 24/7.
Frequently Asked Questions
Electric gate repair in Los Angeles typically runs $180 to $650 for most common failures, including capacitor replacement, limit switch adjustment, safety sensor replacement, and low-voltage splice repair. Control board replacement falls in the $350 to $750 range depending on brand, and a full opener replacement usually runs $900 to $2,200 installed. The wide range reflects the difference between a simple part swap and a job that requires code compliance upgrades. Call (903) 417-0793 for a written quote on your specific setup before any work begins.
A gate that opens but won’t close is almost always a safety sensor fault. The photo eyes, which are the small paired sensors mounted low on each side of the gate opening, are either misaligned, dirty, or have a cut wire, and the opener interprets that as an obstruction. On Ghost Controls and Mighty Mule openers, this triggers a double-blink fault code on the control board LED. Check the sensors for alignment first, then clean the lenses, then check the wiring. If the problem persists, the sensor itself may be failed. This is a repair we complete on a same-day basis for most Los Angeles properties. For more context, see our Gate Repair in Los Angeles overview.
You can safely troubleshoot the control side, which includes remotes, keypads, safety sensors, and observing the diagnostic LED on the control board. You should not attempt to repair the power side, which includes the transformer, capacitor, and motor wiring, because those components carry 120V or 240V and can cause serious injury or death. Even on the control side, turning a limit screw without understanding the mechanism can cause the gate to slam and damage itself. If you’ve identified a control-side problem and want to try the fix, that’s reasonable; if the problem is on the power side, call a professional. See our Calder Gate Repair home page for what our standard repair visit includes.
You have a moisture-related low-voltage fault, almost certainly a corroded wire splice that is buried or housed in a non-waterproof junction box. When Los Angeles gets heavy winter rain, the ground saturates and the splice creates a high-resistance short that degrades the control signal. The fix is a re-splice with waterproof connectors, and the fault location is usually predictable based on where the installers originally made connections, typically near the gate post or at the opener itself. This is one of the most common repairs we perform in Los Angeles between December and March.
A quality gate opener installed correctly and maintained annually will last 10 to 15 years in Los Angeles. Direct sun exposure shortens capacitor life, so openers that bake in afternoon heat on west-facing installations may need a capacitor every 3 to 5 years. The opener motor itself is usually the last component to fail, and many replacements happen because the control board dies or the mechanical gate load has increased beyond what the opener was designed to handle. We recommend an annual inspection that includes hinge lubrication, sensor alignment, and a capacitor test, and that maintenance is something our team in Los Angeles can schedule through the same 24/7 phone line. For more guides & resources, explore our blog.
Check the breaker or GFCI outlet at the opener’s power source, look at the control board LED and note the blink pattern, test the hardwired keypad, and pull the manual release to see if the gate swings freely. Then note the brand and model, how old the opener is, and whether the failure tracks with rain. Those six data points allow us to give you a precise estimate over the phone. You’ll also want to confirm the repair company gives a written price before work starts and a written guarantee on the repair, because not every operator in Los Angeles does. We do, on every job, with a free second visit included for a full year.
The Bottom Line
Electric gate troubleshooting is a process of elimination, and the correct sequence is control signal path first, power delivery second, mechanical load third. That order prevents secondary damage, which is the difference between a $40 capacitor and a $600 control board. Los Angeles homeowners should learn to read the LED blink patterns on their opener, check safety sensors before blaming the motor, and never use a breaker reset as a standing fix. When the fault moves beyond the control side, call a repair service that puts a written price in your hand before touching a bolt. That’s how Calder Gate Repair runs every job, and why the 365-Day Done Right Promise exists. If your gate isn’t right, we return, free, within the year. Call (903) 417-0793 and describe what you see, and we’ll give you the straight answer.
Written by Nico Alvarez, Owner at Calder Gate Repair, serving Los Angeles since 2009.