
Last updated October 9, 2026
Free on-site gate assessment - hinges, posts, and your LiftMaster or Nice gate operator checked before anything is quoted
The assessment is free and the quote is the invoice.


 Before
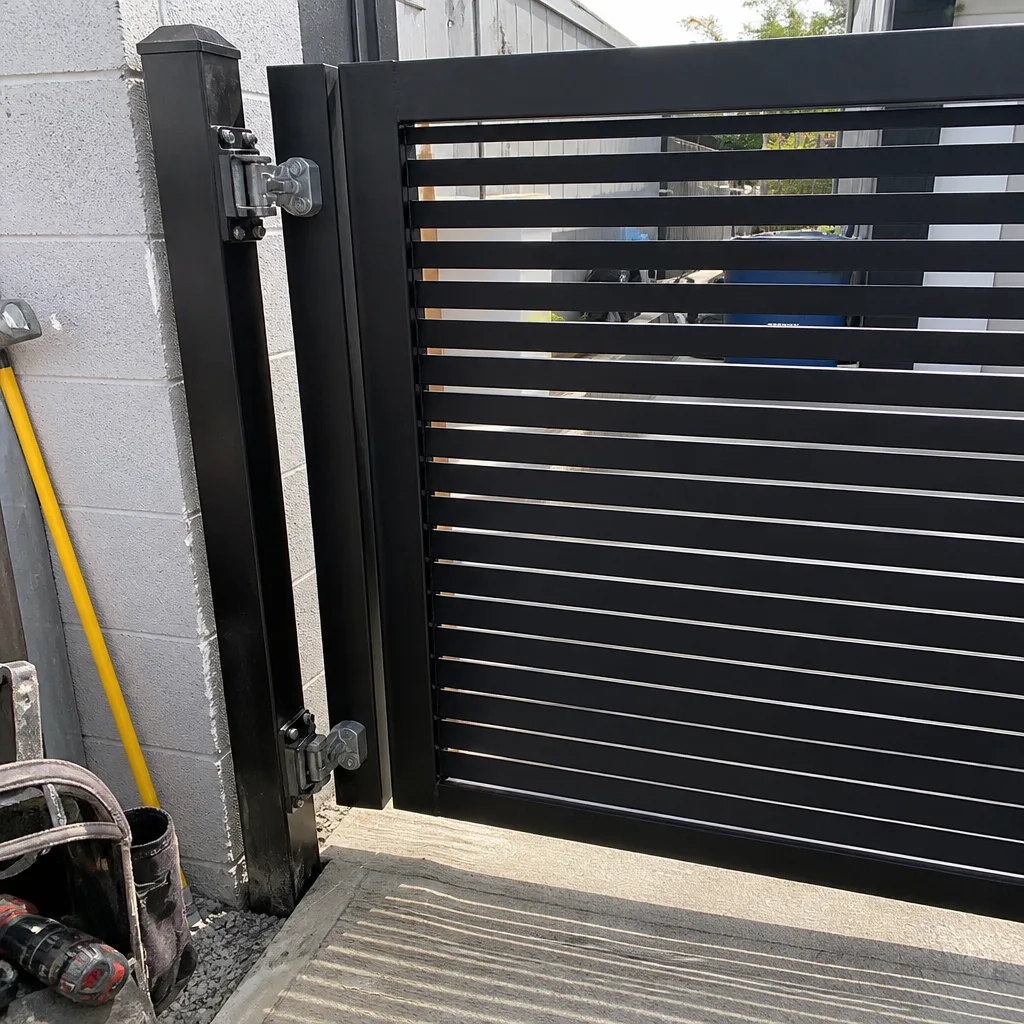 After
After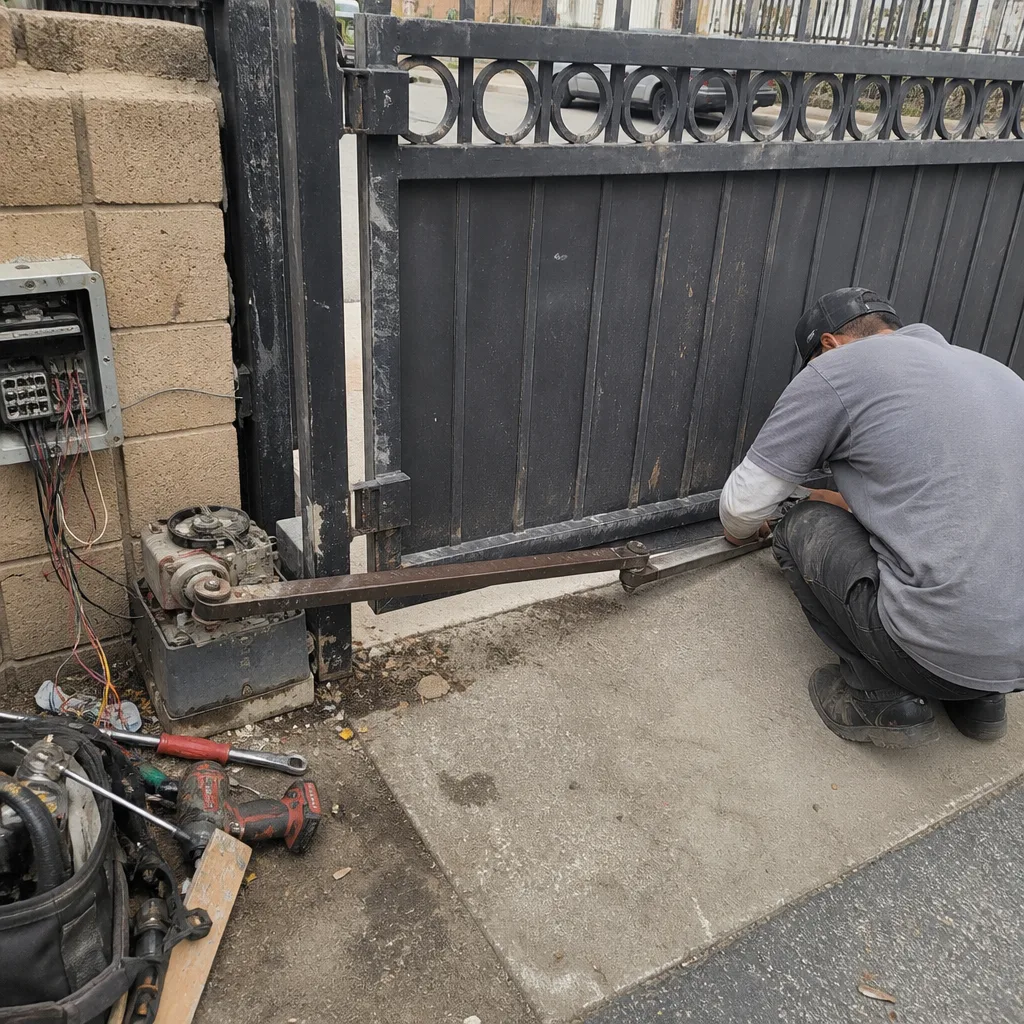 Before
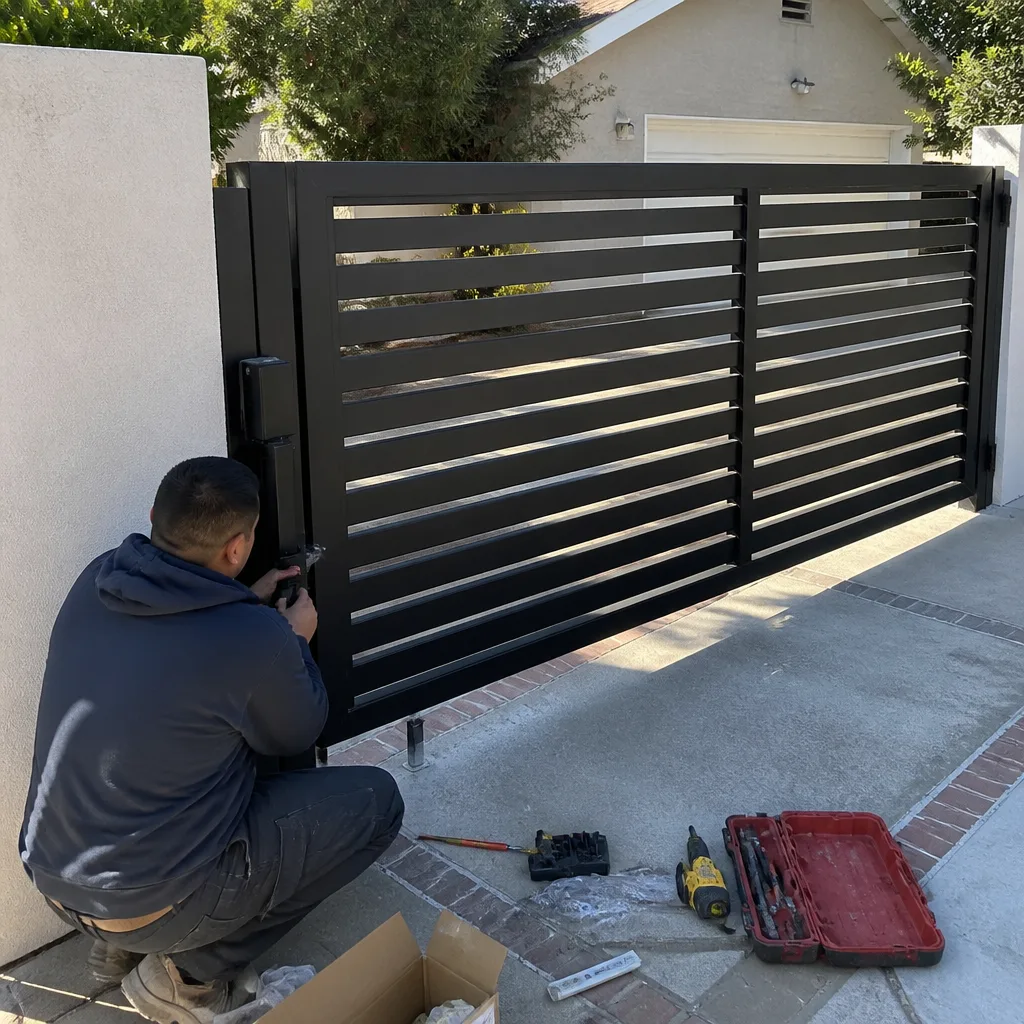 After
After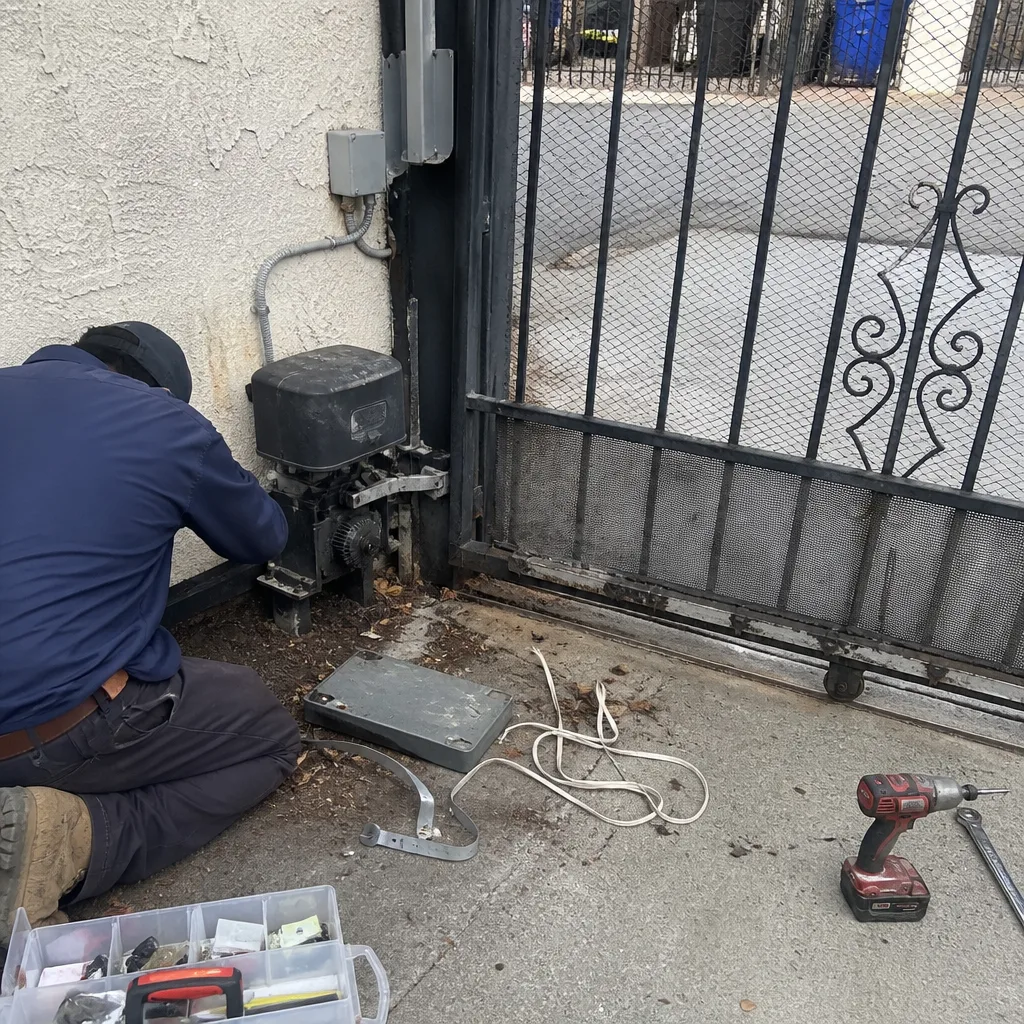 Before
 After
AfterGate Opener Repair Maintenance Schedule: What to Do and When
Lubricating your gate chain quarterly is on every maintenance list. What most lists skip: testing your battery backup under load twice a year. That single task prevents the most “my gate is stuck closed” emergency calls we get across Los Angeles, because a battery that reads full while idle often collapses the moment a 600-pound gate asks it for real current. In the next few minutes, you’ll get a maintenance calendar built around what actually fails on residential gate openers in LA, ranked by how much it costs to ignore. No fluff, no warranty-protecting busywork.
Quick Answer
A practical gate opener maintenance schedule runs on four intervals: every 30 days (visual inspection, safety sensor check, obstruction test), every 90 days (lubrication, chain or belt tension, track cleaning), every 6 months (battery backup load test, limit switch check, hardware torque), and annually (full system calibration, control board inspection, hinge and post assessment). Most homeowners can handle the 30-day checks in under 10 minutes, but two of these tasks, the battery load test and the limit switch check, should involve a professional if you are not comfortable working around a moving gate. In Los Angeles, we also add seasonal triggers tied to Santa Ana winds and summer heat that manufacturer manuals never mention.
Table of Contents
- Why Factory Maintenance Schedules Fall Short
- The 30-Day Check: 10 Minutes That Prevent Most Breakdowns
- The 90-Day Service: Lubrication, Tension, and Track Work
- The 6-Month Inspection: Battery Load Test and Limit Switches
- The Annual Overhaul: Calibration, Wires, and Hardware
- Los Angeles Seasonal Triggers Manufacturers Skip
- Which Lubricants Work and Which Ones Damage Your Gate
- The Maintenance Log: Leverage for Warranties and Resale
- Common Mistakes to Avoid
- When to Call a Professional
- Frequently Asked Questions
- The Bottom Line
Why Factory Maintenance Schedules Fall Short
Manufacturer maintenance lists are written by people whose priority is protecting warranty liability. That is not an insult, it is just a fact. A Linear or Viking manual will tell you to inspect the gate monthly, lubricate the chain regularly, and test the reversing mechanism. What it will not tell you is that in Los Angeles, salt air near the coast accelerates corrosion on control board terminals faster than the manual’s generic timeline assumes, or that Santa Ana winds coat your rack and pinion track with fine grit that factory lubrication intervals were never designed to handle.
We saw a DoorKing opener in Sherman Oaks fail two weeks after a homeowner followed the manufacturer’s maintenance checklist to the letter. The culprit was a photovoltaic eye sensor that tested fine on a clear day, but the lens had accumulated enough haze from months of sun exposure to trip intermittently at sunset when the sun angle hit it directly. The book said inspect the sensor. It did not say clean the lens with a specific method, or explain that a sensor can pass an obstruction test while still being functionally unreliable. That gap between what the schedule lists and what the schedule means is where most gate failures happen.
So the schedule below is organized by consequence, not just frequency. Each task gets a severity rating: what happens if you skip it, how likely that failure is, and what it costs to fix versus what it costs to prevent. That is the information a real maintenance plan is built on.
The 30-Day Check: 10 Minutes That Prevent Most Breakdowns
Almost every gate opener failure we repair in Los Angeles starts as something visible weeks earlier. A hinge that moves a quarter inch more than it should. A safety sensor that has drifted out of alignment. A chain that is starting to ride up on the sprocket teeth. The monthly check is not a complicated service procedure, it is an early-warning system.
What to do every 30 days, in order:
- Visual inspection of the gate itself (3 minutes). Walk the full length of the gate and look at the hinges, the post mounts, and the ground track if you have one. Check for rust blooms, hairline cracks, loose bolts, or a gate that no longer hangs level. A gate that lists to one side puts lateral load on the opener’s gearbox, and that gearbox is not designed to carry the weight of a sagging gate.
- Safety sensor alignment and obstruction test (3 minutes). Photo eye sensors, the small lenses mounted near the ground on either side of the gate opening, must line up with each other. If the indicator light is red or blinking, they are out of alignment. To test, start the gate closing and pass your hand through the beam. The gate should reverse or stop immediately. If it does not, stop using the gate in automatic mode and call a professional. On modern Linear and Ghost Controls units, the test also verifies the control board is reading the sensor input correctly, not just that the lenses are aligned.
- Track and rail clearance check (2 minutes). Remove twigs, leaves, small rocks, and any debris from the gate track. In Los Angeles, jacaranda blossoms are a recurring spring culprit: they wedge into the track grooves and compact into a paste that drags against the rollers. Check that the wheel or slide surfaces are clean and the gate moves with even resistance across its full travel.
- Battery backup indicator light check (2 minutes). If your opener has a battery backup, which most residential units in LA do, the control board or a small indicator on the battery housing will show status. A green light is healthy, a red or amber light means the battery needs attention. The light only tells you the battery is receiving charge, which is why the 6-month load test matters so much more.
Total time: 10 minutes. Severity of skipping: high. The obstruction test alone catches the #1 safety failure on residential gates in Los Angeles. In our experience, more than half of the photo eye sensors we replace could have been saved with a monthly alignment check and a quick wipe of the lens with a dry microfiber cloth.
The 90-Day Service: Lubrication, Tension, and Track Work
Quarterly maintenance is where the real cost avoidance happens. This is not about preventing an inconvenience, it is about preventing a $1,200 gearbox replacement. The tasks below take about 45 minutes with common hand tools, and three of them address wear patterns we see constantly on gates throughout Los Angeles.
Step-by-step 90-day service:
- Lubricate the chain or belt drive (10 minutes). A chain needs a dedicated chain lube, applied to the inside of the chain run while the gate is disengaged from the opener, so the gate can be moved by hand safely. A belt drive needs no lubrication at all, only a visual check for cracking or fraying. The most common mistake we see: a homeowner sprays WD-40 on a chain and calls it lubricated. More on why that is actively damaging in the lubricants section below.
- Check chain or belt tension (10 minutes). A chain that sags more than about half an inch at the midpoint under light finger pressure is too loose and will start skipping teeth on the drive sprocket. A belt that is over-tensioned whines and wears the motor bearings prematurely. Both conditions shorten the life of the opener. Most Linear, Viking, and DoorKing units have a tension adjustment bolt near the motor mount, but if you are not certain how much tension is correct for your specific model, leave it alone and have a technician do this during a service call.
- Clean and inspect the rack and pinion track (15 minutes). If your gate runs on a gear-toothed track rather than a chain, this is the highest-value 15 minutes on the whole schedule. Dirt accumulation on the rack is the single most common cause of premature pinion gear wear on gates in Los Angeles. Use a stiff nylon brush to clear debris from between the teeth, then apply a light coat of white lithium grease along the rack. Do not use penetrating oil. Do not use motor oil. White lithium grease only.
- Check all cap and hinge bolts for tightness (10 minutes). Residential gates are subjected to thousands of cycles per year, each one generating micro-vibration at every connection point. Bolts work loose. A loose hinge bolts transfers load to the opener, and the opener fails first. Tighten anything that moves when the gate cycles. This is also the moment to inspect post mounts for rust or concrete spalling, especially in coastal areas like Venice or El Segundo where salt air eats at ferrous hardware.
Total time: 45 minutes. Severity of skipping: high. Skipping quarterly lubrication is the fastest path to a dead gearbox on a rack and pinion gate, and the fastest path to a snapped chain or a stripped sprocket on a chain-drive gate. The cost difference between prevention and repair is roughly $15 in lubricant versus $800 to $1,500 in parts and labor.
The 6-Month Inspection: Battery Load Test and Limit Switches
This is the section where most homeowner maintenance schedules, and many manufacturer manuals, go thin. The two tasks that matter most at the 6-month mark are invisible unless you know exactly what to look for. If this guide changes only one thing about how you maintain your gate, make it the battery load test.
The battery backup load test
Your gate opener’s battery backup is designed to operate the gate during a power outage. The problem: batteries degrade under heat, and Los Angeles summers put control boxes in direct afternoon sun in most driveway installations. A battery can show a green “charged” light while holding only a fraction of its rated capacity, because the indicator light measures voltage, not the battery’s ability to deliver current under load.
- Disconnect the opener from AC power at the outlet or breaker.
- Attempt to open and close the gate using the remote or keypad.
- Listen for a sluggish motor, a slower-than-normal gate travel speed, or a clicking sound from the control box. Any of those indicates a weak battery.
- If the gate fails to operate, you have found a failure that would have manifested during the next blackout. In Los Angeles, that blackout is often during wildfire season, when you need evacuation access most.
Replace batteries every 3 to 5 years even if they pass the load test, because capacity loss accelerates after that point. On a Ghost Controls or Mighty Mule unit, the battery is generally a sealed lead-acid or lithium pack that is straightforward to swap. On a Linear or DoorKing, the replacement can involve more steps, and a technician can do it in under 30 minutes.
Limit switch check
The limit switch, the small sensor that tells the gate when to stop at each end of its travel, is the second-most-frequently-replaced component on residential openers in our service area. When the limit switch drifts out of adjustment, the gate over-travels and slams against the post, or under-travels and leaves a gap. Both conditions load the motor with forces it was not designed to absorb, which shortens motor life and, in the worst case, bends the gate frame.
To check: close the gate fully and verify that it stops flush against the close post without a hard impact, then open it fully and verify the same at the open end. If you hear a hard thunk at either end or the motor labors for a half-second after the gate stops, the limit switch needs adjustment. This is a 15-minute job for a technician with a multimeter and the right calibration tool for your brand. The consequence of skipping it: a bent gate or a burned-out motor that costs 10 times as much as the adjustment.
Total time: 30 to 45 minutes if you do the battery test and limit switch check yourself. Severity of skipping: critical. Every “my gate is stuck closed” emergency we respond to has a root cause, and roughly one in five traces back to a battery backup that was never load-tested or a limit switch that had been drifting for months.
The Annual Overhaul: Calibration, Wires, and Hardware
The annual service is the one day a year your gate opener gets the equivalent of a full physical. We recommend doing it in spring, before the summer heat settles in, because Los Angeles heat is the primary environmental stressor on every electrical component in the system. Control boards that sit in a metal box in direct sun can reach 140 degrees on an August afternoon, and heat is what kills capacitors.
What a complete annual overhaul includes:
- Full travel calibration. The opener’s open and close force settings, travel limits, and auto-close delay should all be verified against the manufacturer’s specification for your gate’s weight and length. Force settings drift over time as components wear, and an opener that pushes with too much force is a safety hazard. Too little, and it stalls mid-cycle.
- Control board inspection. Remove the board cover and look for swollen capacitors, scorched traces, corrosion on terminals, or insect nests. Mud dauber wasps are a real problem in Los Angeles hillside neighborhoods; they build nests inside control boxes and the mud conducts electricity. If you see white crust on any terminal, that is corrosion and it is eating your low-voltage connections.
- Wire and conduit check. Inspect the low-voltage wire run from the opener to the keypad, the photo eye sensors, and the intercom or telephone entry system. Los Angeles sun degrades PVC conduit over a few seasons, and exposed wire insulation becomes brittle and cracks. Water intrusion into cracked insulation causes intermittent faults that are hard to diagnose without pulling the wire.
- Hinge, roller, and post assessment. The gate itself needs annual attention: welding cracks can open at hinge mounting points, rollers flatten from constant load, and the ground track can shift as the driveway shifts. In hillside areas like Mount Washington or Echo Park, soil movement is an annual event and no gate stays perfectly square forever.
- Battery replacement if due. If the battery is over 3 years old, replacing it during the annual service is cheaper and faster than waiting for it to fail and dealing with an emergency call at 9pm.
Total time: 90 minutes to 2 hours for a homeowner comfortable with a multimeter; 60 to 90 minutes for a technician. The annual service is also the right moment to photograph the control board, the gate hardware, and any repairs, documentation that feeds directly into the maintenance log we discuss below.
If you live in Los Angeles and want an annual inspection done by someone who has seen a thousand of these exact openers, our technicians work on Linear, Viking, Ghost Controls, and DoorKing units every week. Get more details on our gate opener repair service in Los Angeles.
Los Angeles Seasonal Triggers Manufacturers Skip
Factory maintenance schedules are written for a national market. They assume seasonal change looks like winter, spring, summer, fall. In Los Angeles, seasonal change looks like Santa Ana winds, extreme summer heat, and a rainy season that arrives all at once in January. Here is what actually matters for your gate opener, season by season.
Post-Santa Ana wind inspection (October through November)
Santa Ana winds pummel gates with dust, grit, and debris, and the worst effects are felt on the drive mechanism. The rack and pinion track, the chain, and every moving surface accumulate a grinding paste composed of fine silt and whatever organic debris the wind carried. Run the 90-day service after the first significant Santa Ana event of the season, even if you just did it a month earlier. Check the photo eye sensor lenses for scratches from wind-driven sand, which can create false obstruction readings. A scratched lens on a Viking opener will sometimes trip intermittently, and the gate will refuse to close unless you hold the button down, which is both frustrating and a sign the sensor lens needs replacement.
Summer heat check (June through September)
The hottest weeks in Los Angeles are when control boards and batteries fail. We run more mid-August control board replacements than any other single month. The proactive step: in early June, verify the control box is shielded from direct afternoon sun, that its ventilation openings are clear, and that the internal fan, if your unit has one, is spinning. A small shade panel mounted a few inches above the control box can lower internal temperature by 20 degrees and add years to the board’s life. Battery capacity also drops as temperatures rise, so if your battery is approaching 3 years old, consider replacing it before the heat wave rather than after it fails.
Rainy season drainage check (January through March)
When it rains in Los Angeles, which is almost always between January and March, water pools. The low point around your gate track, the concrete pad under the opener, and any below-grade conduit entries are all vulnerable. After the first heavy rain of the season, verify that water drains away from the opener and the track within a few hours. Standing water is the enemy: it seeps into the gearbox through the seal, works its way into low voltage connections, and accelerates rust on every ferrous surface. If you have a below-ground track, this check matters even more, because a submerged limit switch or photo eye sensor will fail within days. For hillside properties, check that run-off is not eroding soil under the gate posts. A gate that drops half an inch after a rain season is a gate that will soon bind against the striker plate.
Which Lubricants Work and Which Ones Damage Your Gate
The lubricant aisle is full of products that will wreck your gate opener’s drive components. This is not a matter of brand preference, it is a matter of chemistry. Using the wrong product is worse than using nothing, because a wrong lubricant creates a sticky film that traps abrasive grit and turns your chain or rack into a lapping compound.
What works:
- White lithium grease for metal-to-metal sliding contact, including rack and pinion tracks, gearbox internals, and hinge pins.
- Chain lube designed for motorcycle or industrial chains for chain-drive gates. It penetrates the chain pins, then sets into a tacky film that stays put and resists fling-off.
- Silicone spray, dry film type for plastic components, nylon rollers, and weather seals. It lubricates without attracting dirt.
- Dielectric grease for electrical connectors, battery terminals, and low-voltage plugs. It prevents corrosion and does not interfere with the connection.
What actively damages gate hardware:
- WD-40. WD-40 is a solvent and water displacer, not a lubricant. It strips whatever lubricant is present, then evaporates and leaves the chain or rack drier than it was before. It also attracts dust. We see WD-40 misused more than any other single product on gates in Los Angeles. This is the number one thing to remove from your maintenance toolkit for gate components.
- Motor oil. Motor oil is designed for enclosed, pressurized engine systems. On a gate chain or rack, it flings off, collects dust, and creates a thick sludge that increases wear. It also damages polymer bushings and seals in some opener gearboxes.
- Generic penetrating oil. Penetrating oil is useful for loosening rusted fasteners, but it has no business as a lubricant on a gate drive. Like WD-40, it displaces the existing lubricant and dries out.
- Graphite powder on any component exposed to direct sun. In Los Angeles heat, graphite bakes into a hard residue that binds small moving parts. It belongs in indoor locks, not outdoor gate hardware.
If your gate has not been lubricated properly in a while, a one-time professional service can correct the situation. Our technicians at Calder Gate Repair carry the right lubricants for each brand and component, and we can point you to exactly which products to use on your specific setup going forward. Learn more about our gate repair services in Los Angeles.
The Maintenance Log: Leverage for Warranties and Resale
A maintenance log is the cheapest insurance policy you will ever keep. It is a simple record: date, what you inspected, what you adjusted, what you lubricated, what you replaced, and what still concerns you. A note scrawled in a notebook is fine. A photo on your phone attached to a note app entry is better. The point is consistency and documentation.
Why the log matters for warranty claims: When a $400 control board fails at month 23 of a 24-month warranty, the manufacturer wants to know the failure was not caused by neglect. A log showing quarterly lubrication, regular sensor checks, and a clean installation history shifts the conversation from “prove you maintained it” to “here is the replacement.” Without documentation, you are relying on the manufacturer’s goodwill, and warranty departments are not staffed by people in a generous mood. We have seen documented maintenance logs turn declined claims into approved replacements on multiple occasions, because the log establishes that the equipment was operated within the manufacturer’s stated service envelope.
Why the log matters for resale: A gate opener carries real resale value. In Los Angeles, where automatic driveway gates are common in neighborhoods from the Hollywood Hills to Rancho Park, a functional gate with a maintenance history is a marketable feature. A gate that has been neglected is a known liability, and buyers flag it during inspection. When you eventually sell your home, your maintenance log becomes part of the disclosure package. It tells the buyer the gate was cared for, which means one less contingency, one less negotiation point, and a smoother close. That is leverage, and it costs you one notebook and 10 minutes a month.
Common Mistakes to Avoid
- Using WD-40 or a similar solvent as a chain or rack lubricant. It strips the existing lubricant, dries out, and leaves the drive components running metal-on-metal. This mistake alone is responsible for a meaningful fraction of the premature chain and rack replacements we perform in Los Angeles.
- Testing the battery backup by checking the indicator light only. The light confirms the battery is receiving charge, not that it can deliver current under load. Only a load test, where you disconnect AC power and operate the gate, tells you whether the battery will work during an actual outage.
- Adjusting the force or limit settings to compensate for a mechanical problem. If the gate is binding, cranking up the force setting makes the opener push harder. The correct fix is to repair the binding, not to force the opener to overcome it. Over-forced openers are how gates bend and small children get hurt.
- Skipping the photo eye sensor wipe during dry, dusty months. Los Angeles dust settles on the sensor lenses and gradually degrades the beam strength. A five-second wipe with a dry microfiber cloth keeps the sensors reading reliably and prevents intermittent non-close faults.
- Lubricating a belt drive. Belt drives are designed to run dry. Any lubricant applied to a belt causes it to slip on the drive pulley, which wears the belt and makes the opener work harder. Belt drives are inspect-and-replace, not lubricate.
- Ignoring seasonal triggers in favor of a rigid calendar. A strict quarterly schedule that ignores Santa Ana events means your gate runs on a track packed with abrasive grit for weeks after every windstorm. In Los Angeles, the calendar is a guideline and the weather is the actual schedule.
- Treating the annual inspection as optional once the gate is working fine. The point of annual service is to catch the conditions that will cause a failure in month 9, not to fix a failure that has already happened. The most expensive repair is always the one you could have prevented.
When to Call a Professional
Some tasks on this schedule are safely in the average homeowner’s hands. Others involve component-adjacent work around high-tension springs, a live electrical supply, or a moving gate that weighs several hundred pounds, and a mistake there has real consequences. Call a professional if the gate is hard to move by hand when disengaged, which usually means a spring or a structural failure. Call if the opener trips a breaker or shows scorch marks on the control board. Call if the photo eye sensors fail the obstruction test, because an automatic gate that does not reverse is a serious safety hazard, and never disable or bypass the sensor. Call if you are uncomfortable with any step in this guide. The right technician can do this work safely in less time than it takes you to read this section, and the call is the cheapest part of the job. Calder Gate Repair offers electric gate repair in Los Angeles with a written price before any work starts, and you can reach us anytime at (903) 417-0793.
Frequently Asked Questions
Professional gate opener maintenance in Los Angeles typically runs from $120 to $250 for a quarterly or 6-month service call, depending on the opener brand and the extent of the service. Annual comprehensive service, which includes calibration, component inspection, and lubrication, typically runs from $200 to $350. These ranges assume a functioning opener; parts replacement like a battery or a control board is additional. Most Gate Opener Repair services in Los Angeles run between $250 and $550 before parts, while major component replacements such as a gearbox or a full opener replacement can run from $800 to $2,500 depending on the brand. Call (903) 417-0793 for an exact quote on your specific opener; estimates are free and the price is written before any work begins.
Yes, the monthly and quarterly tasks in this guide, including visual inspection, sensor lens cleaning, track brushing, and chain lubrication, are within reach of most homeowners with basic hand tools. The 6-month battery load test and annual calibration are also possible for a homeowner who is comfortable working around a moving gate and disconnecting power. If you are ever unsure, or if you spot something that looks wrong, the safer path is to call a professional rather than guess, or explore our more guides & resources for additional help.
Use white lithium grease for rack and pinion tracks and chain lube designed for industrial or motorcycle chains for chain drives, regardless of the opener brand. For Viking and DoorKing units specifically, the rack teeth respond well to a light, even coat of white lithium grease applied after brushing the track clean. Never use WD-40, motor oil, or penetrating oil as a lubricant on any gate opener component.
Replace the battery every 3 to 5 years regardless of whether it passes a load test. In Los Angeles, where control boxes are often exposed to direct sunlight and summer heat inside the enclosure consistently exceeds 100 degrees, batteries degrade faster than their rated life in cooler climates. If you do not know how old the battery is, check for a date code on the battery housing or note it during your next 6-month inspection and start the replacement clock from there.
Intermittent false reversals are almost always caused by a photo eye sensor issue: a dirty or scratched lens, a sensor that has drifted out of alignment, or a sensor wire that is shorting against the gate frame. In Los Angeles, dust and wind-driven sand are the usual suspects, but occasional sun glare at certain angles can also trip an older sensor. Clean both lenses with a dry microfiber cloth, realign the sensors, and if the problem persists, have a technician test the sensor circuit.
Our technicians are factory-familiar with nine major brands covering virtually every residential opener in Los Angeles, including Linear, Viking, Ghost Controls, and DoorKing, along with LiftMaster, FAAC, BFT, Elite, and Mighty Mule. We stock common parts for these brands and can source less common components quickly. Every repair includes a written price before work begins, a written guarantee, and our 365-Day Done Right Promise: if the repair fails within 365 days, we return at no charge. Call (903) 417-0793 for a free estimate, any time, day or night.
The Bottom Line
Gate opener maintenance is not about following a manufacturer’s checklist to the letter. It is about knowing which tasks prevent the most expensive failures and making those tasks non-negotiable. The battery load test at 6 months, the quarterly rack and track lubrication, the post-Santa Ana inspection, and the annual calibration are the four highest-leverage actions in this entire guide. Do those and the other tasks on this schedule, and your opener will run years past its expected service life. Skip them and you will meet us under less pleasant circumstances, at 8am with a gate stuck closed and a car trapped in the driveway. For help with any step of this schedule, Calder Gate Repair offers free estimates in Los Angeles, a written price before any work starts, and the Calder Gate Repair home team behind every job. Call (903) 417-0793, and a real person will answer.
Written by Nico Alvarez, Owner at Calder Gate Repair, serving Los Angeles since 2009.