
Last updated October 9, 2026
Free on-site gate assessment - hinges, posts, and your LiftMaster or Nice gate operator checked before anything is quoted
The assessment is free and the quote is the invoice.
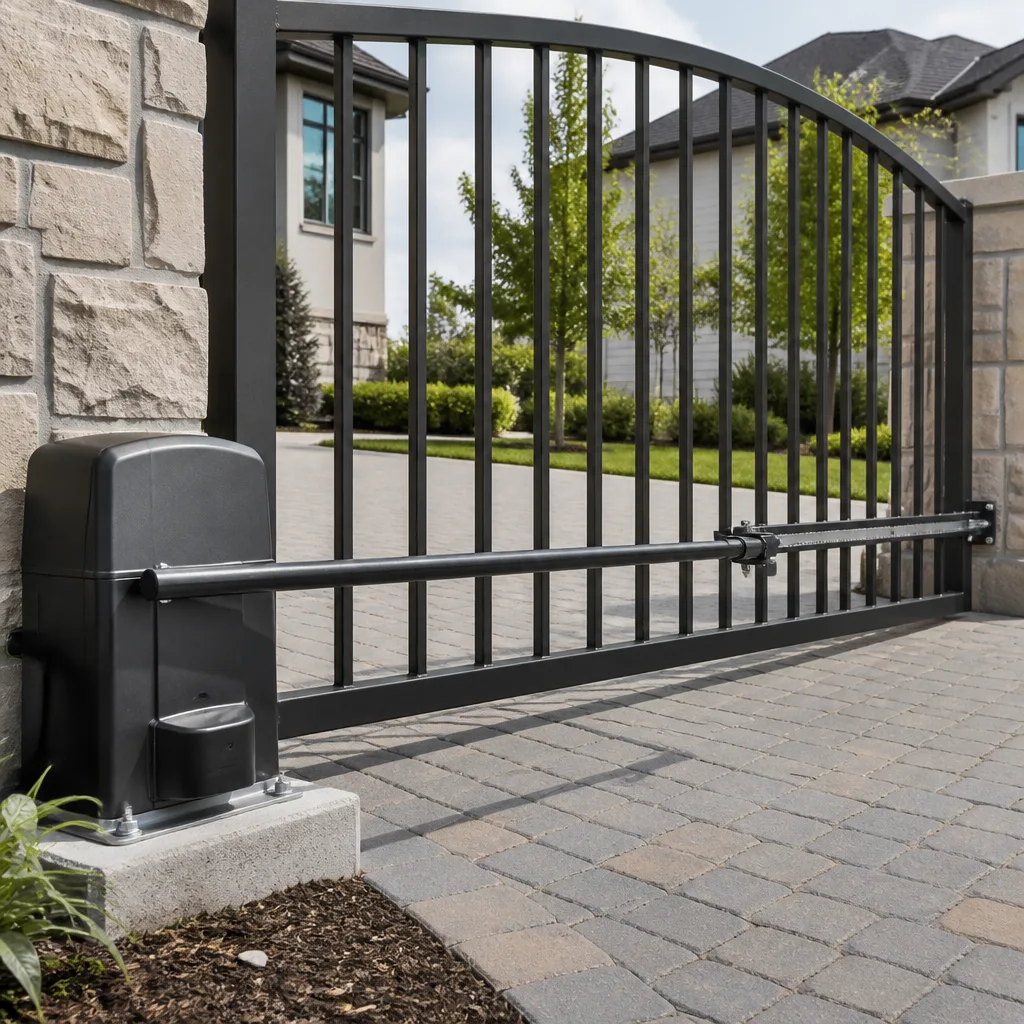
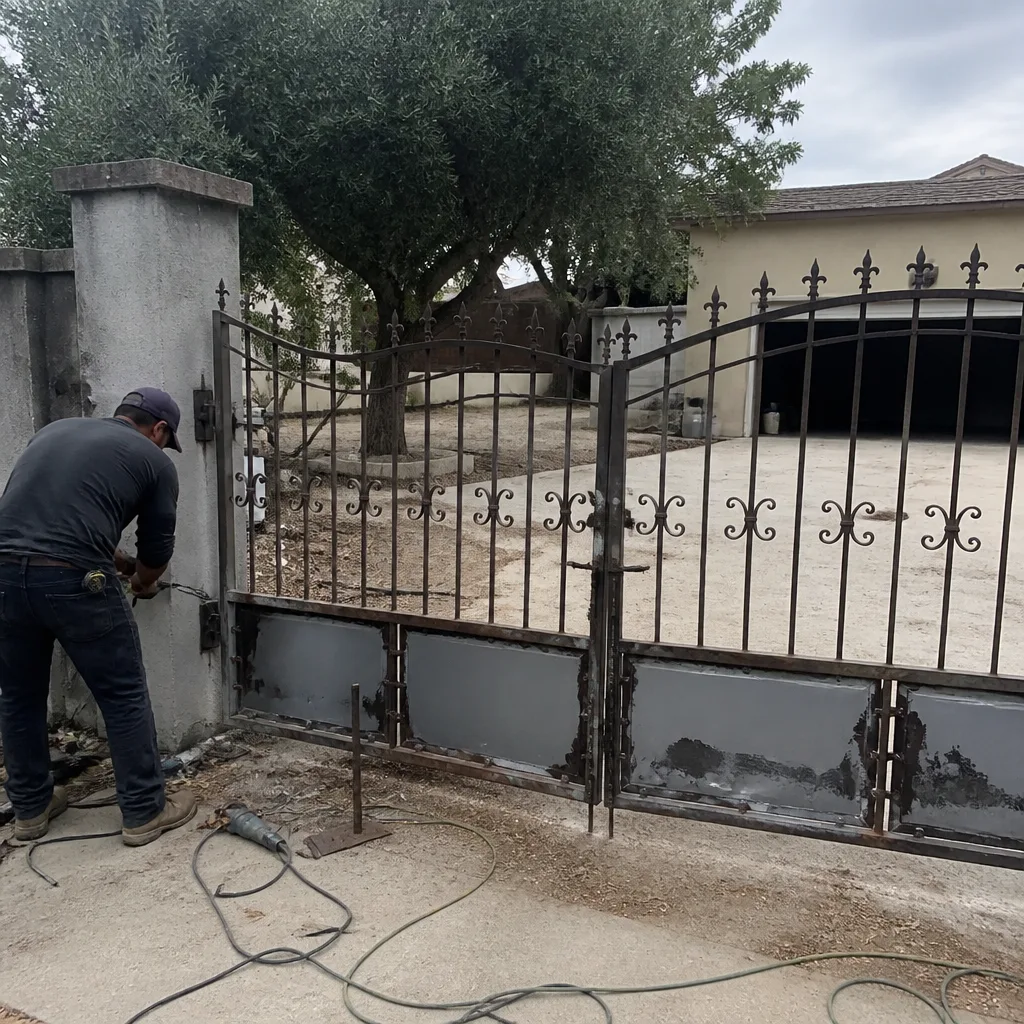 Before
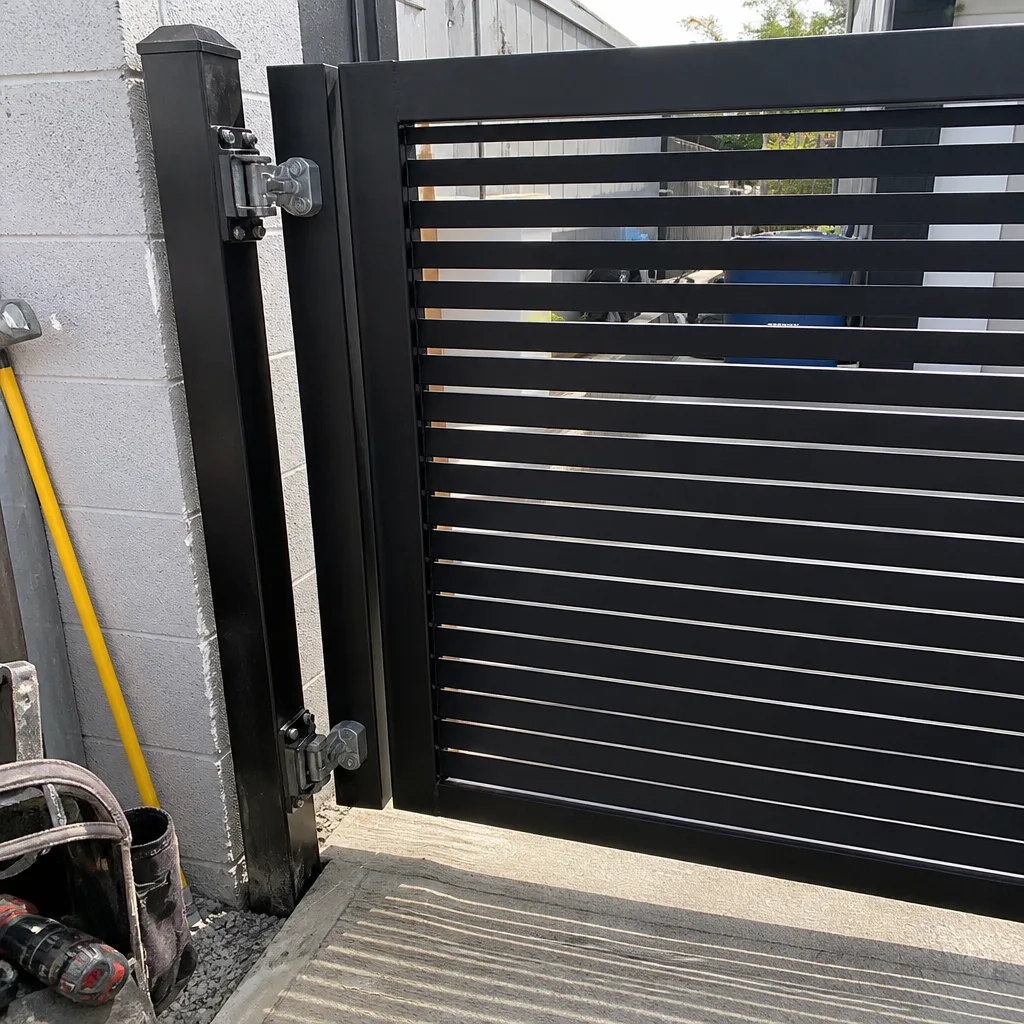 After
After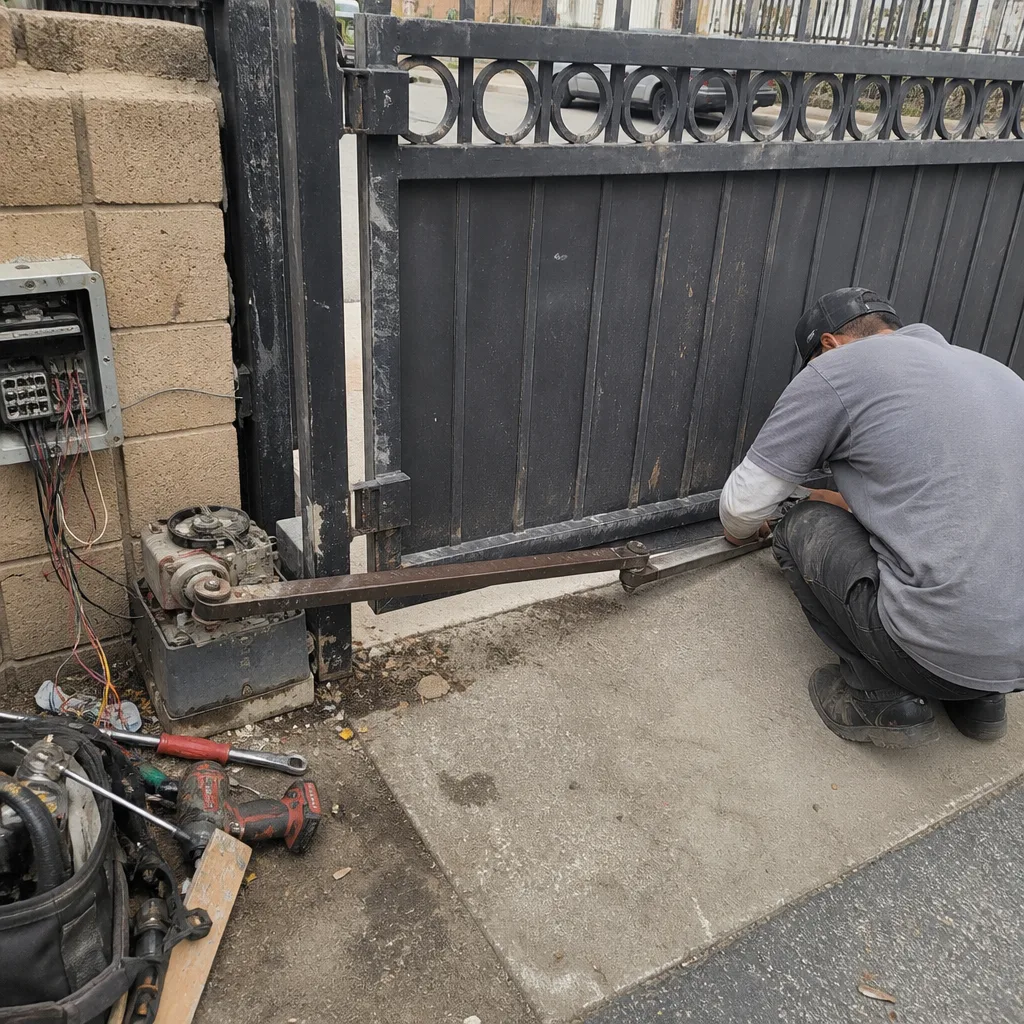 Before
 After
After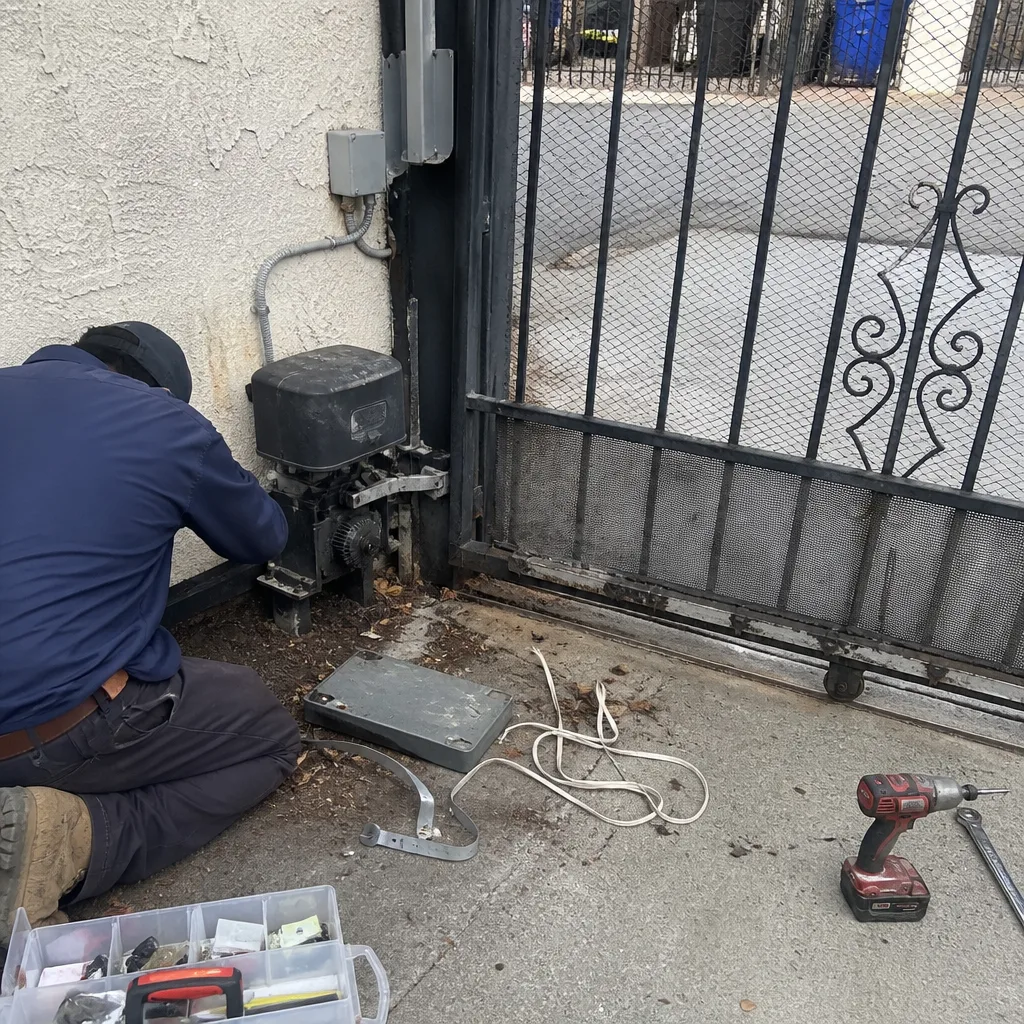 Before
 After
AfterGate Opener Repair Warning Signs Every Homeowner Should Know
The most expensive Gate Opener Repair services we see around Los Angeles is the one where the homeowner tells us, “It was working fine until yesterday.” When we open the control board, the capacitor is bulging, the limit switch has been out of adjustment for months, and water has been seeping in past a gasket that hardened three summers ago. None of that happens overnight. The warning signs were there, but they looked like minor annoyances: an extra press on the remote, a gate that stopped six inches short, a hum that lasted half a second too long. This guide covers the exact signs that homeowners rationalize away, what each one means inside the unit, and which ones mean you should stop using the gate today.
Quick Answer
Gate openers rarely fail without warning. The most reliable early warning signs are a remote that needs multiple presses, a gate that doesn’t travel its full distance, a grinding or straining noise during operation, and visible damage on the control board like bulging capacitors or scorch marks. If you notice any of these on a gate opener in Los Angeles, address them within a week or two. If you hear grinding metal or see smoke or scorching, stop using the gate immediately and call a professional.
Table of Contents
- The Delayed Response: Why “Three Presses” Is Never Just a Battery
- Inconsistent Travel Distance: When the Gate Stops Short or Overruns
- Control Board Warning Signs You Can See with a Flashlight
- The Noise Layer: What Your Gate Sounds Like Weeks Before Failure
- Brand-Specific Warning Signs: Chain-Drive vs. Ram vs. Underground
- The Soft Failure Sequence: Predicting the Second Failure After the First
- Warning Sign to Urgency Matrix: Schedule Soon vs. Stop Using Today
The Delayed Response: Why “Three Presses” Is Never Just a Battery
Here’s the pattern we hear at least once a week from homeowners across Los Angeles, from Sherman Oaks to Silver Lake: the remote needs two or three presses before the gate responds. The gate always opens eventually, so the remote gets blamed. The battery gets swapped. The problem doesn’t go away, but it doesn’t get worse fast enough to force action either. Six months later the gate stops responding entirely, usually at the worst possible time, and the real repair costs three times what an early fix would have run.
Here’s what’s actually happening inside a gate opener when response gets sluggish. The remote sends a signal. The receiver on the control board picks it up. The board then sends power to the motor through a relay. When the delay is inconsistent, one of three components is degrading:
- A failing relay on the control board. Relays have mechanical contacts inside them. After thousands of open-close cycles, those contacts arc, pit, and develop resistance. The first symptom is exactly what homeowners report: the gate doesn’t respond on the first press, then works on the second or third. The relay is struggling to close. Eventually it won’t close at all.
- A capacitor losing its charge capacity. Capacitors give the motor its startup kick. When a capacitor weakens, the motor still runs, but it needs a beat longer to spin up. The gate feels like it hesitates. On LiftMaster and Viking units especially, we see capacitor degradation show up as delayed response long before total failure.
- Antenna or receiver degradation. The receiver antenna on the control board can corrode over time, particularly in coastal Los Angeles neighborhoods like Playa del Rey or San Pedro where salt air accelerates oxidation. Range drops first. Then response gets flaky. Then it stops.
The takeaway: a remote that needs extra presses is never just the battery if a fresh battery doesn’t fix it within a day. It’s an electrical component telling you it’s tired. At Calder Gate Repair, we’d rather check it when it’s a $60 relay than replace a control board that got fried because a failing relay arced one too many times.
Inconsistent Travel Distance: When the Gate Stops Short or Overruns
Watch your gate for a week. Does it stop at the same point every single time? If it stops two inches short on Tuesday and overruns by an inch on Thursday, you’re looking at a limit switch problem, and it will only get worse.
Limit switches, the small sensors that tell the gate when to stop, are one of the most common failure points on every gate opener brand we service, and Ghost Controls and DoorKing systems in particular. Here’s what each inconsistency pattern means:
- Stopping short consistently. The close limit switch is tripping early. Common cause: physical drift in the switch mount, debris buildup around the switch, or corrosion on the switch contacts. On a chain-drive system, a loose chain can also cause early stopping because the chain slips just enough to confuse the switch timing.
- Overrunning the stop point. The open limit switch is failing to trigger. The gate hits its physical stop, the motor keeps pushing for a second or two, and the gate bounces back. That bounce puts stress on the gearbox and chain. Over time, it rounds out gear teeth and stretches chains. Elite ram operators are particularly vulnerable to this because the hydraulic pressure masks the overrun until the ram seal fails.
- Stopping at a different point every day. This is the most serious travel symptom. It usually means the limit switch assembly is loose, the wiring to the switch is frayed and making intermittent contact, or the control board is misreading the switch signal. Intermittent electrical contact near the limit switch should be treated as a stop-using-the-gate issue, because the next failure mode can be the gate closing on a car or person.
In Los Angeles, where many homes have gates that open directly onto busy streets or alleys, a gate that overruns its stop point can swing into traffic. That’s not a maintenance footnote. That’s a liability.
Control Board Warning Signs You Can See with a Flashlight
Most homeowners never look inside the gate opener control box. That’s understandable. But the control board shows visible warning signs weeks or months before the opener fails, and identifying them takes two minutes with a flashlight. Here’s what to look for:
- Bulging or domed capacitors. Capacitors are the small cylinder-shaped components on the board. They should have flat tops. If the top looks swollen or domed, the capacitor is actively failing. It will burst eventually, and when it does, it can take other board components with it. On BFT and FAAC boards, we see capacitor bulging as the single most reliable predictor of a board failure within 30 to 90 days.
- Scorch marks or brown discoloration. Any darkening around a component or on the board’s solder side means heat damage has already occurred. Scorch marks near a relay mean that relay has been arcing. Scorch marks near a terminal block mean a loose connection has been generating resistance heat. Both are progressive.
- Moisture intrusion stains. Look for white chalky residue, water lines, or rust on the inside of the control box. Moisture is the number one killer of gate opener electronics in Los Angeles, not because we get constant rain, but because many control boxes are mounted low and sit in morning marine layer condensation. The residue tells you the enclosure seal or the conduit entry has been compromised.
- Ant damage or insect nests. Ants are drawn to the warmth and electromagnetic fields of control boards. A scattering of dead ants inside the enclosure means ants have been shorting contacts. In some Los Angeles neighborhoods, especially hillside areas, ant intrusion into gate control boxes is the single most common cause of phantom opener behavior.
The Noise Layer: What Your Gate Sounds Like Weeks Before Failure
Every gate opener makes sound. The diagnostic skill is knowing which sounds are normal and which are warnings. After servicing gate openers across Los Angeles for years, we’ve learned to diagnose certain brands from the driveway before opening a single panel. Here’s what to listen for:
- A grinding or crunching sound during travel. On chain-drive systems, this usually means a loose or stretched chain riding up on the sprocket teeth. On gear-driven openers, it means gear teeth are already damaged. This is not a lubricate-it-and-move-on situation. The grinding is metal being removed from the system. Every day of grinding shortens the life of the gearbox.
- A high-pitched squeal on startup. A brief squeal when the motor starts often means belt slippage on belt-drive units or a dry bearing on the motor shaft. If the squeal lasts longer than a second or is present throughout the travel, the motor bearing itself is failing.
- A low hum with no movement. The motor is receiving power but can’t move the gate. This is a stop-using-the-gate warning sign. The cause is usually a seized gearbox, a jammed chain, or a failed start capacitor. Continuing to press the remote while the motor hums in a stalled state will burn out the motor windings and turn a potentially repairable issue into a full motor replacement.
- New clunking or banging at the travel endpoints. The gate should stop with a controlled deceleration. If it now hits the stops hard, the limit switches or the soft-start/soft-stop function on the board is failing. Ghost Controls and Viking units have soft-stop logic that degrades gracefully, giving you weeks of warning through increasingly firm stops.
Brand-Specific Warning Signs: Chain-Drive vs. Ram vs. Underground
Gate openers fail differently depending on the drive mechanism. Knowing what family your opener belongs to helps you interpret the warning signs correctly.
Chain-drive slide gate openers (DoorKing, Elite, older Viking models)
Chain-drive systems telegraph failure through the chain itself. Watch for visible sag in the chain, rust on chain links, or chain links that have worn flat on the inside. Listen for clicking as the chain passes over the sprockets. A chain-drive gate that jerks during travel usually has a loose chain tensioner. DoorKing units in Los Angeles, many of which have been in service for 15-plus years, often show chain stretch long before the motor or board gives out. The fix is chain adjustment or replacement, which is far cheaper than a burned-out motor.
Ram / piston operators (Ghost Controls, Elite, Viking hydraulic units)
Ram operators hide their failures behind fluid. A hydraulic ram that is low on fluid or has a deteriorating seal will move the gate slower over time. That slow degradation is easy to rationalize (“it’s always been slow”), but it’s not normal. Watch for fluid weeping around the ram seal, visible scoring on the piston shaft, and a gate that struggles more when the temperature drops. Los Angeles winter mornings in the 40s make failing hydraulic seals noticeably stiffer.
Underground actuator openers
Underground systems fail from water intrusion and corrosion first. Warning signs include debris or water pooling around the actuator box, a gate that pivots with more resistance than it used to, and any new squeal from the pivot point. By the time an underground actuator fails, it typically requires excavation and replacement, which is the most expensive repair category in gate openers. Early attention to the pivot and the box seal is the only way to avoid that invoice.
The Soft Failure Sequence: Predicting the Second Failure After the First
Gate openers rarely fail in isolation. Components are connected electrically and mechanically, and when one part degrades, it loads stress onto its neighbors. Here’s the predictable sequence we see across hundreds of Los Angeles gate opener repairs:
- The capacitor weakens. The motor takes longer to spin up. The gate feels hesitant. This is the earliest stage, and the cheapest fix.
- The motor draws more current to compensate. The higher current load heats the relay contacts on the board. The relay starts to arc.
- The arcing relay develops resistance. The gate’s travel becomes inconsistent. The remote needs extra presses. Some control boards will show visible darkening around the relay.
- The relay fails or welds itself shut. If the relay welds, the gate can run continuously, burning out the motor and potentially the transformer. At this point, the repair is board, motor, and possibly transformer, which is the most expensive gate opener repair short of full replacement.
Here’s the point: the first warning sign in that sequence, a hesitant gate or a remote that needs a second press, is a $60 to $150 repair. Waiting until stage four turns it into a $600 to $900 repair. That’s the soft failure pattern. Every gate opener brand we work with, from LiftMaster to Mighty Mule, follows some version of this sequence.
Warning Sign to Urgency Matrix: Schedule Soon vs. Stop Using Today
Here’s how to sort every warning sign into action categories:
- Schedule soon (within a week or two): Remote needs occasional extra presses. Gate travel inconsistent by an inch or two. Visible capacitor bulging with no other symptoms. New squeak or light grinding. Chain sag. Slow gate travel. Any of these is a warning, not an emergency, but they all get more expensive with time.
- Schedule promptly (within a few days): Consistent stopping short. Gate that has overrun once or twice. Scorch marks on the board. Moisture stains inside the control box. Grinding that has become constant. These mean active damage is occurring on every cycle.
- Stop using the gate and call a professional today: Motor hums with no movement. Smoke or a burning smell from the control box. Gate jerks violently during travel. Gate has overrun into a car, wall, or person. Relay clicking rapidly without gate movement. Any of these carries a real risk of further damage, injury, or property damage. Disengage the opener and operate the gate manually if you must use it, then call.
Common Mistakes to Avoid
- Assuming it’s the battery. If a fresh battery doesn’t restore normal remote range and response within a day, the problem is in the opener, not the remote. Replacing batteries repeatedly while the receiver degrades just delays the inevitable and lets secondary damage accumulate.
- Lubricating a grinding gate. Lubricant masks grinding for a few days, then the metal-on-metal wear resumes, now with cleaner surfaces cutting faster. A grinding gate needs mechanical inspection, not spray lubricant.
- Ignoring a hesitating gate because “it still works.” Predictable soft-failure sequences mean every week of hesitation is loading stress onto the relay and motor. The “it still works” mindset is exactly why $150 repairs become $900 repairs.
- Resetting the breaker repeatedly without investigating. If the gate opener trips its breaker more than once, the opener is drawing too much current. Repeated resets without a diagnosis can damage the transformer and board permanently.
- DIY limit switch adjustments without checking the underlying cause. Limit switches drift for a reason. Adjusting the switch position without addressing loose mounts, worn chains, or wiring issues simply moves the problem and makes the next failure less predictable.
- Waiting for total failure to shop prices. Emergency gate opener replacement in Los Angeles always costs more than planned repair. You pay a premium for urgency and lose negotiation flexibility. The homeowners who address early warning signs on their schedule consistently pay less.
When to Call a Professional
Any gate opener repair involving line voltage, control board work, capacitor replacement, or the motor itself should be handled by a trained professional. Capacitors store electrical charge even when the unit is unplugged, and an accidental discharge can cause serious injury. Chain tensioning on slide gates under load is similarly dangerous without the right tools. If your gate is showing any of the stop-using-today signs, or if you’ve spotted multiple schedule-soon signs at once, call rather than wait. Calder Gate Repair offers free estimates in Los Angeles, every estimate includes a written price before any work starts, and every repair carries the 365-Day Done Right Promise: if the repair fails within 365 days, we return at no charge. Call (903) 417-0793 to book a diagnostic visit. You can also learn more about our broader services on our Calder Gate Repair home page, or see our dedicated Gate Opener Repair in Los Angeles page for pricing and process details.
Frequently Asked Questions
Most gate opener repairs in Los Angeles run $150 to $450 before parts, depending on the component and access difficulty. Limit switch replacement typically lands at the low end, while control board repair or replacement runs higher. Calder Gate Repair always provides a written price before any work begins, so you’ll know the exact cost before a single part is touched. For more detail on pricing, see our Gate Repair in Los Angeles page. Call (903) 417-0793 for a free estimate on your specific opener.
For many common repairs like limit switch adjustments, capacitor replacement, and relay fixes, same-day service is available across the Los Angeles area. Calder Gate Repair dispatches background-checked, uniformed technicians with a live, trackable arrival time, not a four-hour window. Call (903) 417-0793 and a live person answers 24/7 to check same-day availability in your neighborhood.
No, lubrication will not fix grinding. Grinding means metal components are wearing against each other, typically a chain on a sprocket or gear teeth in the gearbox. Lubricant masks the symptom briefly while the wear continues. The correct fix is mechanical inspection and adjustment or part replacement. Grinding should be addressed within a few days, not ignored.
The 365-Day Done Right Promise is Calder Gate Repair’s written guarantee on every repair. If the repair fails within 365 days of the service date, we return and fix it again at no charge. That’s a free second visit, stated in writing on every job, no fine print.
Yes. Our technicians are factory-familiar with nine major gate opener brands including Viking, Ghost Controls, DoorKing, and Elite, plus LiftMaster, FAAC, BFT, Linear, and Mighty Mule. If your opener brand isn’t on that list, call us anyway. We service most residential and light commercial operators across Los Angeles. See our Electric Gate Repair in Los Angeles page for more on our brand coverage.
That depends on the symptom. If the gate hesitates, stops slightly short, or needs an occasional extra remote press, you can typically continue using it for a few days with minimal risk. If the motor hums without movement, the gate jerks, or there’s any smoke or burning smell, disengage the opener and operate the gate manually until a technician arrives.
The Bottom Line
Gate opener failures are almost never sudden. They follow a pattern: capacitor weakening, relay arcing, motor stress, board failure. Each stage announces itself with a symptom homeowners are prone to dismiss, a slow gate, an extra remote press, a stop point that drifts by two inches. Ignoring these signs doesn’t keep the gate working. It just moves the cost down the road and multiplies it. Los Angeles homeowners who act on early warning signs spend less, keep their gates running longer, and avoid the emergency call at the worst possible moment. See our Gate Repair Emergency Preparedness Guide for Los Angeles Homes for what to do when failure can’t wait. Calder Gate Repair makes that decision easier with written pricing, real arrival times, and the 365-Day Done Right Promise on every job. If your gate has been telling you something, listen to it. Call (903) 417-0793 for a free estimate and get it handled before the next failure in the sequence.
Written by Nico Alvarez, Owner at Calder Gate Repair, serving Los Angeles since 2009.