
Last updated October 9, 2026
Free on-site gate assessment - hinges, posts, and your LiftMaster or Nice gate operator checked before anything is quoted
The assessment is free and the quote is the invoice.


 Before
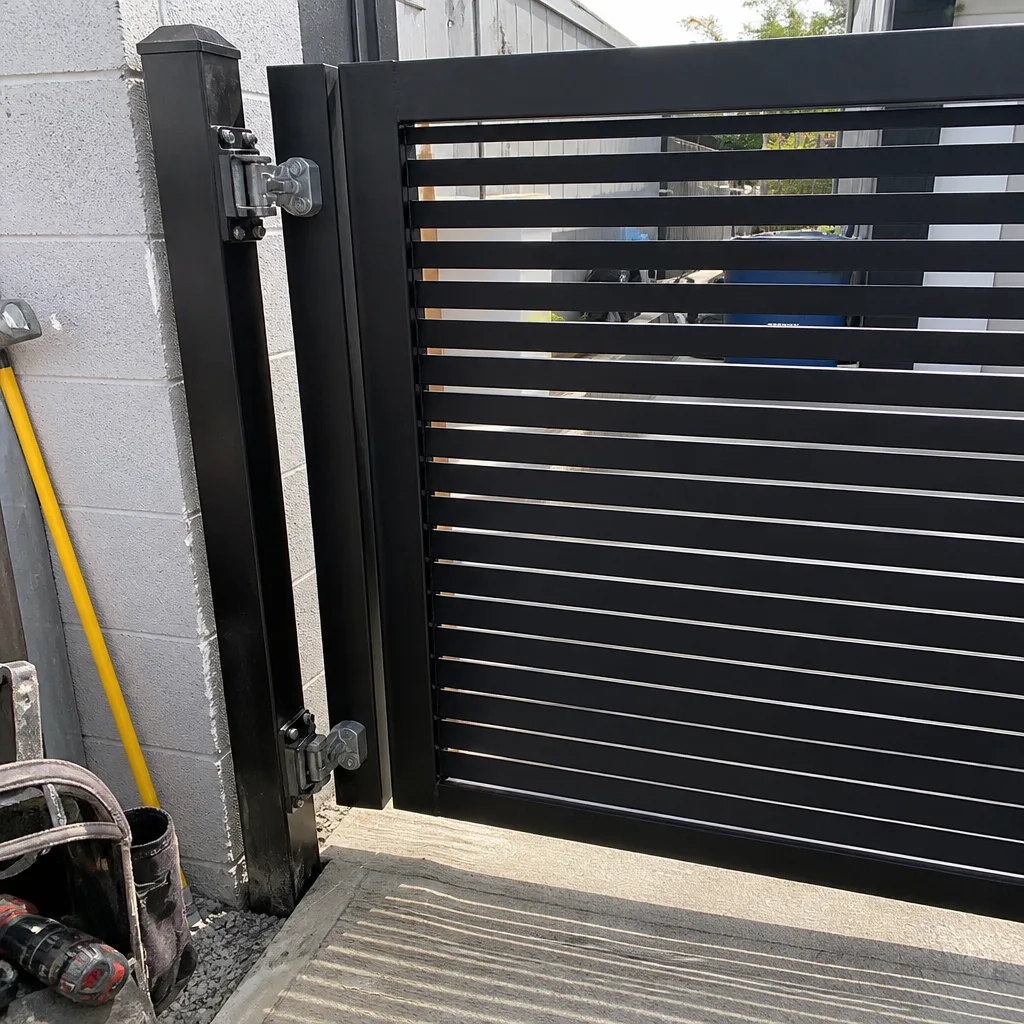 After
After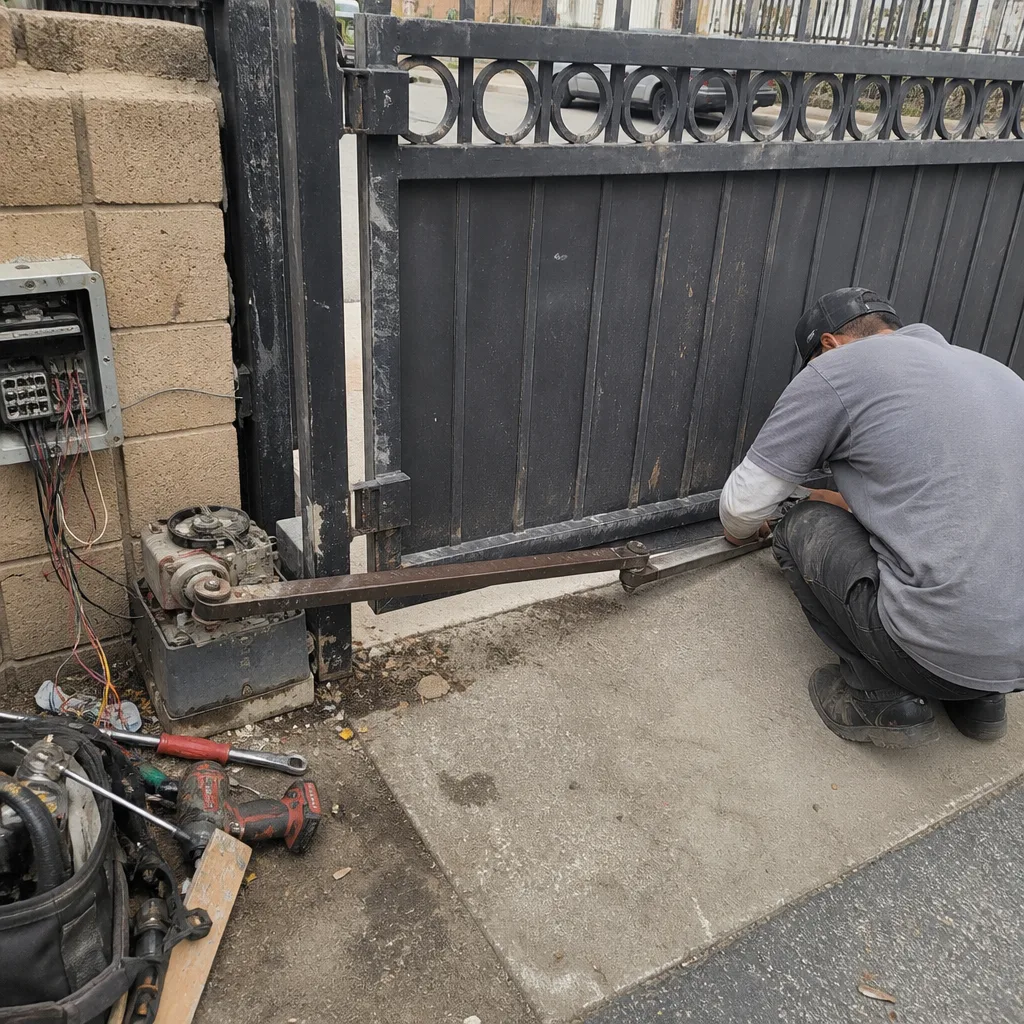 Before
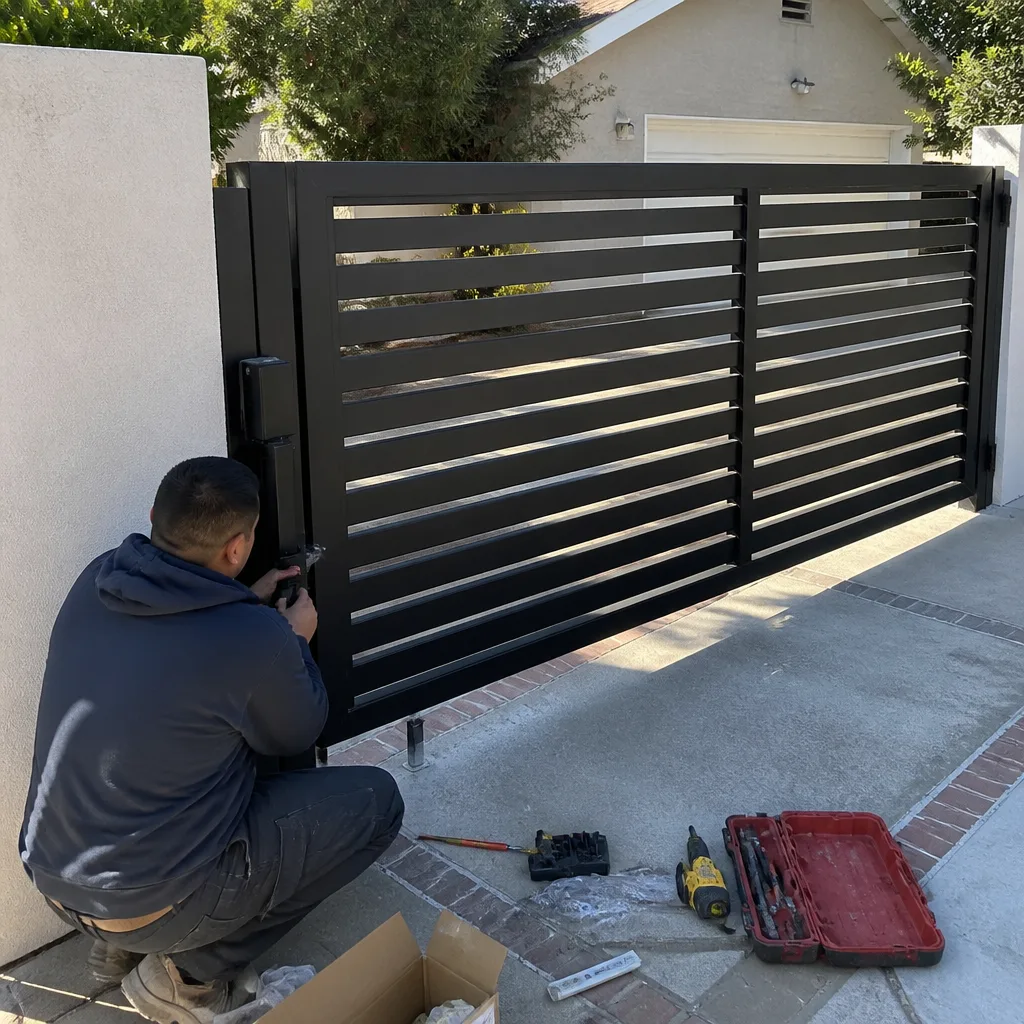 After
After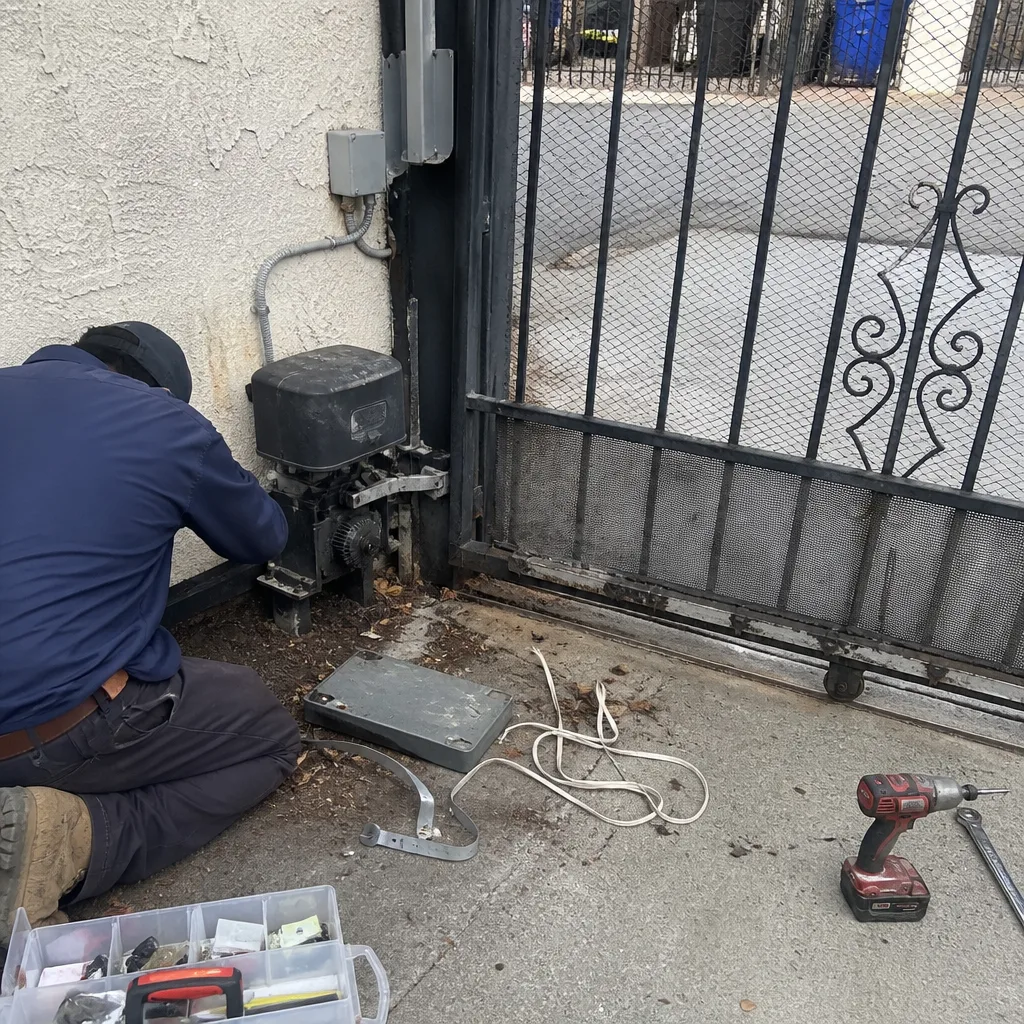 Before
 After
AfterElectric Gate Repair Maintenance Schedule: What to Do and When
Corroded wire terminals are the number-one cause of intermittent electric gate failure, and they take two minutes to inspect but are almost never on any maintenance checklist. Homeowners in Los Angeles will spend hours diagnosing a gate that opens halfway, reverses for no reason, or refuses to respond to a remote, when the culprit is often a green crust forming on a low-voltage connection. Most maintenance advice skips the electrical side entirely, treating a gate like a fence instead of what it actually is: a mechanical system controlled by a computer. This guide breaks maintenance into two separate tracks, mechanical and electrical, with specific intervals, so you catch failures before they strand you outside your own driveway. For related reading, see our Electric Gate Repair Troubleshooting: Common Problems and How to Fix Them.
Quick Answer
An electric gate needs a dual-track maintenance schedule: mechanical tasks like hinge lubrication and track cleaning every 3 to 6 months, and electrical tasks like terminal inspection and sensor alignment every 6 to 12 months. Corroded wire terminals, not worn gears, are the most common cause of intermittent gate failure, and a two-minute visual inspection twice a year prevents most problems. Southern California’s UV exposure degrades low-voltage wiring insulation faster than in most US markets, so annual electrical inspection is not optional in Los Angeles.
Table of Contents
- Why Electric Gates Need Two Separate Maintenance Tracks
- Monthly Maintenance: The 10-Minute Visual Walkaround
- Quarterly Mechanical Tasks: Lubrication, Alignment, and Track Care
- Semi-Annual Electrical Tasks: Terminals, Sensors, and Battery Backup
- Annual Deep Service: What a Full Inspection Covers
- Brand-Specific Notes: What LiftMaster, FAAC, and DoorKing Actually Require
- Los Angeles Climate Factors: UV, Salt Air, and Santa Ana Dust
- The Maintenance Log Template That Protects Your Warranty
- Common Mistakes to Avoid
- When to Call a Professional
- Frequently Asked Questions
- The Bottom Line
Why Electric Gates Need Two Separate Maintenance Tracks
An electric gate is really two machines bolted together. The mechanical half is the gate itself: hinges, rollers, tracks, chains, and the gear train inside the opener. The electrical half is everything that makes the mechanical half move on command: the control board, transformer, wiring connections, safety sensors, limit switches, and the receiver that listens for your remote.
Most homeowner maintenance checklists only cover the mechanical side. People notice a squeaky hinge. People notice a gate that scrapes the driveway. But nobody notices a terminal block slowly corroding inside the control box, because the box is closed and the gate still works. Until it doesn’t.
In our experience across Los Angeles neighborhoods from Sherman Oaks to Torrance, roughly half of all “the gate just stopped working” calls trace back to something electrical that degraded over months, not something that broke suddenly. A wire terminal loses contact. A capacitor dries out. A safety sensor drifts out of alignment and the gate refuses to close. These are maintenance issues, not repair emergencies, and they are almost always preventable.
So the schedule below is split. Mechanical tasks happen more often because moving parts wear from friction. Electrical tasks happen less often but take more care, and some of them should only be done with the power off.
Monthly Maintenance: The 10-Minute Visual Walkaround
Once a month, walk your gate with your eyes open. No tools required. Ten minutes, maybe less. This is the tripwire that catches small issues before they become service calls.
- Watch one full open-and-close cycle. Stand where you can see the full path. The gate should move smoothly in both directions, without hesitating, stalling, or reversing unexpectedly. Any jerkiness is a signal that something mechanical is binding or something electrical is intermittent.
- Listen. A healthy gate opener hums at a consistent pitch. New sounds, grinding, clicking, or a laboring motor mean something has changed. Write it down in your maintenance log with the date.
- Look at the gate path. Leaves, dirt, rocks, and tree debris accumulate in slide gate tracks faster than most Los Angeles homeowners expect, especially during Santa Ana wind season. Clear anything resting in the track or within 12 inches of the gate’s travel path.
- Check the gate itself. Push gently on the gate. It should not wobble more than a fraction of an inch. Loose hardware, sagging hinges, or a gate that has shifted on its mountings will put load on the opener motor and shorten its life.
- Test the auto-reverse. Place a small object, a cardboard box works fine, in the gate’s path and close it. The gate should reverse on contact. If it doesn’t, stop using it and call a professional. This is a safety system, not a convenience feature, and a gate that doesn’t reverse can cause serious injury.
The monthly check requires no electrical knowledge and no tools. It’s about building a habit of noticing your gate the same way you notice your car’s dashboard lights.
Quarterly Mechanical Tasks: Lubrication, Alignment, and Track Care
Every three to four months, the mechanical half of your gate needs hands-on attention. These tasks are straightforward for most homeowners, but they require the right materials and a willingness to get a little dirty.
Lubrication: What to Use and What to Skip
Gate hinges for swing gates and steel rollers for slide gates need lubrication. Use a dry silicone spray or white lithium grease. Do not use WD-40 as a lubricant. WD-40 is a solvent and water displacement product, not a lasting lubricant, and it will actually wash out whatever grease is still there. Apply lubricant to hinge pins on swing gates and to the roller bearings and track on slide gates. A light coat is enough. Excess lubricant attracts dust, and in Los Angeles dust is not in short supply.
Track and Wheels for Slide Gates
Slide gates in Los Angeles are common on narrow lots and hillside properties, and they take a beating. Check that the track is clean and level. Check the guide rollers for wear. If a roller is scored, cracked, or has play when you turn it by hand, order a replacement now, not after it fails. A seized roller will drag, and a dragging gate will overload the motor until the thermal protection trips and the gate simply stops responding.
Chain and Belt Tension
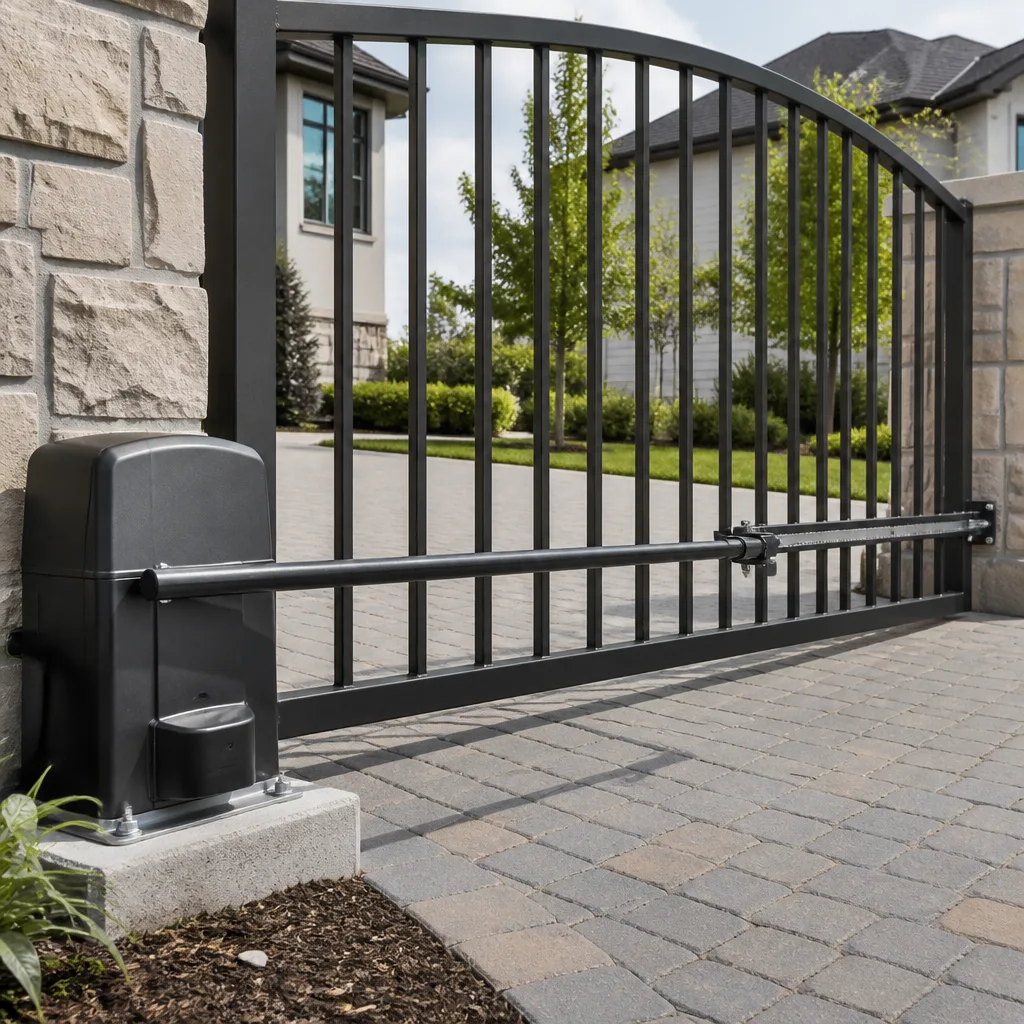
Most residential slide gate openers use either a chain drive or a belt drive. The chain or belt should deflect no more than about a quarter to half an inch when you press on it. Too tight, and you’re wearing out the motor bearings. Too loose, and the chain can skip teeth or the belt can slip. Adjusting chain tension is a simple mechanical task on most models, but if you’re uncomfortable, this is a five-minute job for a technician.
Alignment Check
After lubrication and cleaning, run the gate through a full cycle. It should open fully, pause briefly, and close fully without any help. If the gate is drifting closed or open on its own, the mechanical alignment or limit settings need attention. Note any drift in your log.
Semi-Annual Electrical Tasks: Terminals, Sensors, and Battery Backup
Twice a year, the electrical half of your gate needs inspection. This is the track most people skip, and it’s the track that prevents most failures.
Terminal Connection Inspection
Turn off power to the gate opener at the breaker before opening the control box. Inside, you’ll find a control board with rows of screw terminals where wires connect: power in, motor out, sensor wires, keypad wires, battery leads. Corrosion appears as a white, green, or blue crust on the wire or screw. Loose connections appear as darkened insulation from heat. Gently tug each wire. It should not move. If any terminal is corroded or loose, and you are not comfortable cleaning and re-tightening low-voltage connections, call a professional. This is the two-minute inspection that catches the number-one failure point in gate systems.
Capacitor Visual Check
Capacitors are the small cylindrical components on the control board that store and release energy to start the motor. A failing capacitor may bulge at the top, leak, or show scorch marks. If you see any of those signs, the capacitor needs replacement before it fails completely. Capacitor failure often presents as a gate that hums but won’t move, or that starts slowly. Replacement is a simple part swap for a technician but involves stored electrical energy, so it’s not recommended as DIY work for most homeowners.
Safety Sensor Check
Photo eye sensors sit on either side of the gate opening, usually a few inches off the ground. They send an invisible beam across the opening. Anything that breaks the beam tells the gate to stop and reverse. Twice a year, wipe each sensor lens with a soft cloth. Check that the sensors are aligned; most have a small indicator light that stays steady when aligned and blinks when not. Realign by gently adjusting the sensor housing until the light steadies. If your gate has contact edges, those rubber strips along the leading edge, press them. They should compress and spring back without sticking.
Battery Backup Check
Many Los Angeles gate openers have a DC battery backup so the gate still works during power outages. The battery is typically a sealed lead-acid unit that lasts 3 to 5 years. Check the battery date code or the installation date in your log. If the battery is more than 4 years old, plan for replacement. A dead backup battery often goes unnoticed until a power outage, which is exactly when you need it.
Annual Deep Service: What a Full Inspection Covers
Once a year, a deep service covers everything from the monthly and semi-annual lists plus the items that require tools, training, or replacement parts. Many Los Angeles homeowners schedule this for the beginning of summer, after the rainy season, or after Santa Ana wind season, when dust and wind have had time to do their worst.
A complete annual service should include:
- Full terminal torque check: Every screw terminal re-tightened to spec, every ground connection verified.
- Capacitor and relay test: A technician with a multimeter can measure capacitor health and relay function before either component fails.
- Gear and sprocket inspection: Internal drive gears wear predictably. Inspecting them once a year catches wear before the gate starts slipping.
- Limit switch calibration: Limit switches, the small sensors that tell the gate when to stop, drift over time. Annual recalibration keeps the gate from over-traveling or leaving a gap.
- Wiring insulation check: Inspect all accessible low-voltage wiring for UV damage, cracking, and exposure.
- Battery load test: A backup battery that holds a surface charge but collapses under load is not a backup. A load test tells the difference.
- Force adjustment: The opener’s force setting, how hard it pushes before reversing, should be exact. Too much force creates a safety hazard. Too little leaves the gate stalling.
An annual deep service with a written inspection report creates documentation. If something fails later, that log helps you file a warranty claim, brief another technician, or prove that the system was maintained if a safety question ever arises.
Brand-Specific Notes: What LiftMaster, FAAC, and DoorKing Actually Require
Generic gate maintenance advice often conflicts with what manufacturers actually specify in their warranties, so we also publish more guides & resources to help homeowners stay informed. Here’s what the brands Calder Gate Repair works on most frequently in Los Angeles actually recommend.
LiftMaster residential slide and swing gate openers generally require annual inspection by a qualified technician, with specific attention to safety systems and force settings. Their warranty language expects documented maintenance, and a claim on a failed motor may be denied if the gate was never serviced. LiftMaster control boards are sensitive to moisture intrusion, so checking the enclosure gasket is part of any LiftMaster inspection.
FAAC hydraulic gate operators, common on larger Los Angeles properties and pedestrian gates, require checking hydraulic fluid levels and hoses annually. Fluid that is milky or dark indicates contamination and needs replacement. FAAC openers also need periodic bleeding if air enters the hydraulic circuit, which presents as a gate that moves in jerks or hesitates mid-cycle.
DoorKing slide gate operators, a mainstay of commercial and larger residential installations across Los Angeles, use chain drives that must be inspected for lubrication and tension. DoorKing control boards are generally straightforward but are sensitive to voltage dips, which are not uncommon in older Los Angeles neighborhoods with aging electrical infrastructure. A surge protector on the opener circuit is cheap insurance.
Viking, BFT, and Linear openers each have similar annual inspection expectations, with specific torque values, belt tension specs, and sensor alignment procedures. If your gate uses one of these brands and you are reading a generic maintenance guide that doesn’t mention the brand, be skeptical. A one-size-fits-all schedule doesn’t match any manufacturer’s actual warranty terms.
Los Angeles Climate Factors: UV, Salt Air, and Santa Ana Dust
Los Angeles is not one climate. A gate in Pacific Palisades faces salt fog and marine layer moisture. A gate in the Valley faces 100-degree summer heat and Santa Ana dust. A gate in the foothills faces morning temperature swings that produce condensation inside the control box. All of these are hard on gate systems in different ways.
The single factor that separates Los Angeles from most of the country is UV. Southern California sun degrades plastic and wire insulation years faster than in, say, Seattle or Chicago. Low-voltage wiring that runs from the opener to the keypad, the sensors, and the antenna is encased in plastic insulation. After five or six years of Los Angeles sun, that insulation can crack, and cracked insulation invites moisture, which causes the corrosion that causes the intermittent failures. During the annual inspection, any exposed wiring with visible cracks or fading should be wrapped or replaced.
Salt air near the coast accelerates corrosion on every metal component, not just wire terminals. Hinges, fasteners, and the control box itself corrode faster in Venice or Long Beach than in Sherman Oaks. Coastal homeowners should move the semi-annual electrical checks to quarterly, and use marine-grade hardware when replacements are needed.
Santa Ana winds load the air with dust and fine sand. That dust works into slide gate tracks and settles on control boards. A dusty board runs hotter. A gritty track wears rollers faster. After Santa Ana season, typically September through November in Los Angeles, clean your track and, if possible, gently blow out the control box with compressed air. Power off first.
The Maintenance Log Template That Protects Your Warranty
Manufacturers ask for proof of maintenance when you file a warranty claim. Your memory is not proof. A one-page maintenance log is. Here’s the simple version.
Keep the log near the opener, inside the control box cover or on the wall next to it, and use it every time you do anything to the gate. A simple spiral notebook works. A digital note on your phone works too, but make sure it’s backed up.
Your log should record:
- Date of every inspection, lubrication, and service.
- What you did: “Lubricated hinges with white lithium grease” or “Cleaned photo eye lenses and realigned sensors.”
- What you found: “Right guide roller shows scoring, will monitor” or “No issues.”
- Replacement parts installed: Brand, model, and date. “Replaced FAAC hydraulic fluid, 1 liter.”
- Any technician who worked on the system: Company name, technician name, and a brief summary of the work.
- Battery date code and installation date.
This log accomplishes three things. It documents maintenance for warranty claims. It provides a history for any technician who later works on the gate, so they’re not diagnosing from zero. And it reminds you what was done last time, so you don’t skip or duplicate tasks. Five minutes of note-taking after each service is the cheapest insurance available for a gate system.
Common Mistakes to Avoid
- Using WD-40 as a lubricant. It washes out the grease that was already there and evaporates. Use dry silicone spray or white lithium grease on moving parts, and save the WD-40 for loosening stuck bolts.
- Ignoring small symptoms. A gate that hesitates for half a second before moving, or that hums before starting, is telling you something. Those symptoms precede most failures, and the repair is cheaper before the part dies completely.
- Skipping the electrical side entirely. A homeowner might lubricate the hinges faithfully for a decade and never open the control box. Then a corroded terminal kills the board, and the repair costs three times what a terminal cleaning would have.
- Testing safety devices by hand instead of with an object. You won’t know if the auto-reverse works until something solid blocks the gate. Use a box, a trash can, or a board. Your hand is not a useful test and can become a serious injury.
- Replacing a dead backup battery with the wrong type. Sealed lead-acid and lithium batteries are not interchangeable in most openers. Installing the wrong chemistry can damage the charging circuit.
- Over-tightening chain tension to fix a slipping chain. A chain that slips is usually a worn sprocket, not a loose chain. Cranking the tension to compensate will destroy the motor bearings in a few months.
- Working inside the control box without cutting power. Low voltage doesn’t mean no voltage. The transformer that feeds the board carries line voltage, and capacitors store charge even after power is cut. If you’re not sure, don’t open it.
When to Call a Professional
Some maintenance tasks are safe for any careful homeowner. Some are not. Call a professional when the gate’s auto-reverse function is not working, when you hear grinding from inside the opener gearbox, when the breaker that feeds your gate trips repeatedly, or when you see scorch marks, melted insulation, or bulging capacitors inside the control box. Any exposed line-voltage wiring is a professional repair, full stop. And if the gate ever moves on its own, without a command from a remote or keypad, disable it and get someone out immediately. Calder Gate Repair offers free estimates in Los Angeles, and every job carries a written price before work starts, a written guarantee, and a free second visit if the repair fails within the 365-Day Done Right Promise window. Call (903) 417-0793 to schedule.
Frequently Asked Questions
Monthly visual checks, quarterly mechanical tasks, semi-annual electrical inspections, and one annual deep service per year is the schedule that matches most manufacturer warranty requirements and Los Angeles climate conditions. Coastal areas with salt air may need semi-annual electrical checks moved to quarterly. Call (903) 417-0793 for a maintenance quote specific to your gate and neighborhood.
Most annual deep-service visits for residential gate systems in Los Angeles run between $150 and $350, depending on the opener brand, gate type, and whether parts like batteries or worn rollers need replacement. A basic lubrication and inspection visit without parts is typically on the lower end. Calder Gate Repair quotes the price in writing before any work starts, so the number on the invoice is the number agreed to at the door.
Yes, the monthly visual checks and quarterly mechanical tasks like lubrication and track cleaning are within reach for most homeowners. Electrical work requires more caution: inspecting terminals is safe if the power is off, but anything involving capacitors, line voltage, or exposed wiring should be left to a trained technician. Never open the control box without cutting power at the breaker first.
LiftMaster, FAAC, DoorKing, and Linear all have strong track records in Southern California, but reliability depends less on brand and more on installation quality and consistent maintenance. Calder Gate Repair trains on nine leading brands, including LiftMaster, FAAC, BFT, Linear, Viking, Ghost Controls, DoorKing, Elite, and Mighty Mule, so the right answer for your property is the one that can be serviced properly.
Intermittent operation is usually electrical, not mechanical, and the leading cause is a corroded or loose wire terminal that makes contact sometimes and breaks contact other times. Other causes include a failing capacitor, a battery backup that is partially failed, or a safety sensor that drifts in and out of alignment. The fix often starts with a terminal inspection, which catches the problem before it becomes a full failure.
Most annual deep services include basic remote and keypad programming checks, and many technicians will reprogram or add remotes as part of a service visit. If your remote stopped working after a power outage or a control board replacement, reprogramming is usually a quick task. Calder Gate Repair handles opener programming on all major brands, including LiftMaster, FAAC, BFT, and Linear. Call (903) 417-0793 and a live person answers, 24/7.
The Bottom Line
An electric gate is two systems, mechanical and electrical, and only the mechanical half gets attention from most homeowners. The electrical side, terminals, capacitors, sensors, and backup battery, degrades silently and causes the majority of intermittent failures. A two-track maintenance schedule, monthly visual checks, quarterly mechanical tasks, semi-annual electrical work, and an annual deep service, prevents most breakdowns and keeps your warranty valid. Los Angeles adds its own pressure with UV damage, salt air, and Santa Ana dust, which means the schedule is not optional here. Document it all in a maintenance log, and when something is beyond your comfort zone, call a professional who writes the price before starting. For electric gate repair in Los Angeles, Calder Gate Repair handles everything from gate opener repair in Los Angeles to full gate repair in Los Angeles, and every job is covered by the 365-Day Done Right Promise. Start with the Calder Gate Repair home page to see the brands we service and the guarantees we put in writing.
Written by Nico Alvarez, Owner at Calder Gate Repair, serving Los Angeles since 2009.