
Last updated October 9, 2026
Free on-site gate assessment - hinges, posts, and your LiftMaster or Nice gate operator checked before anything is quoted
The assessment is free and the quote is the invoice.

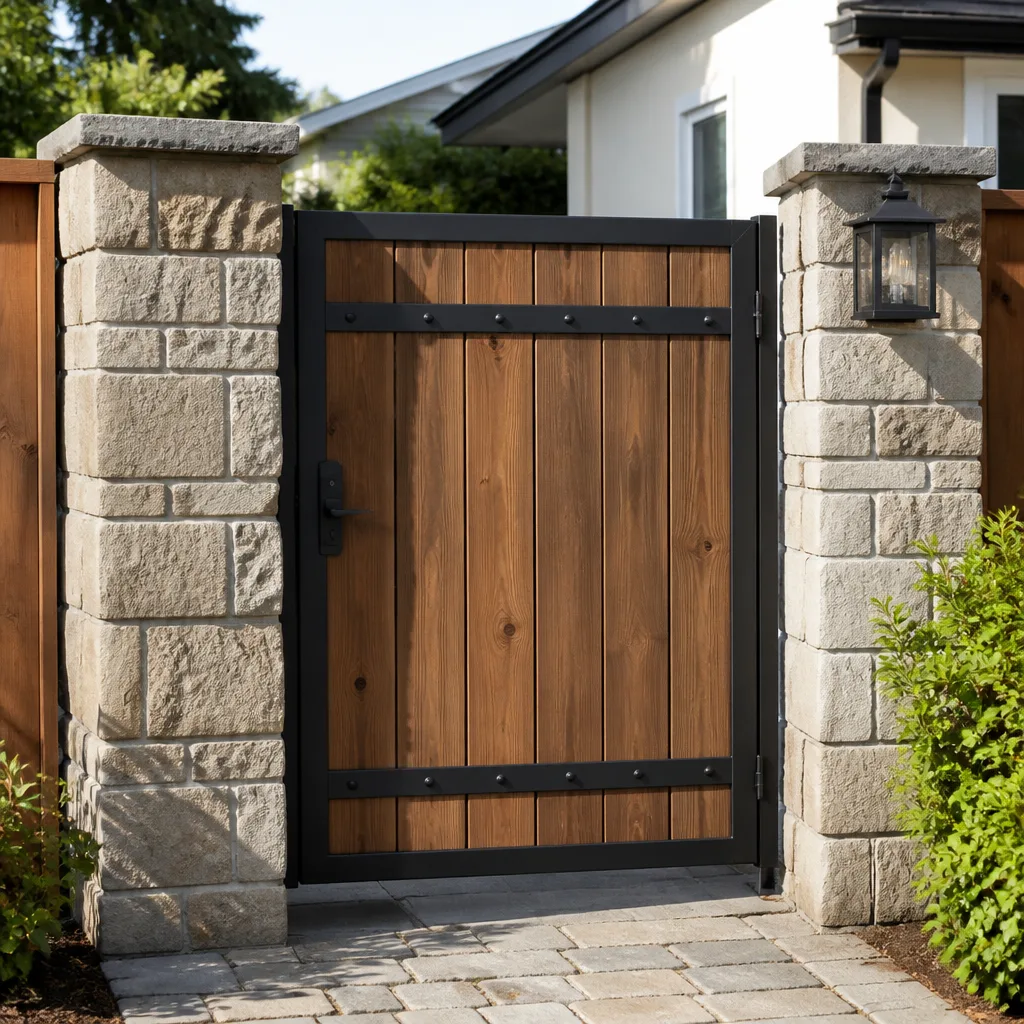

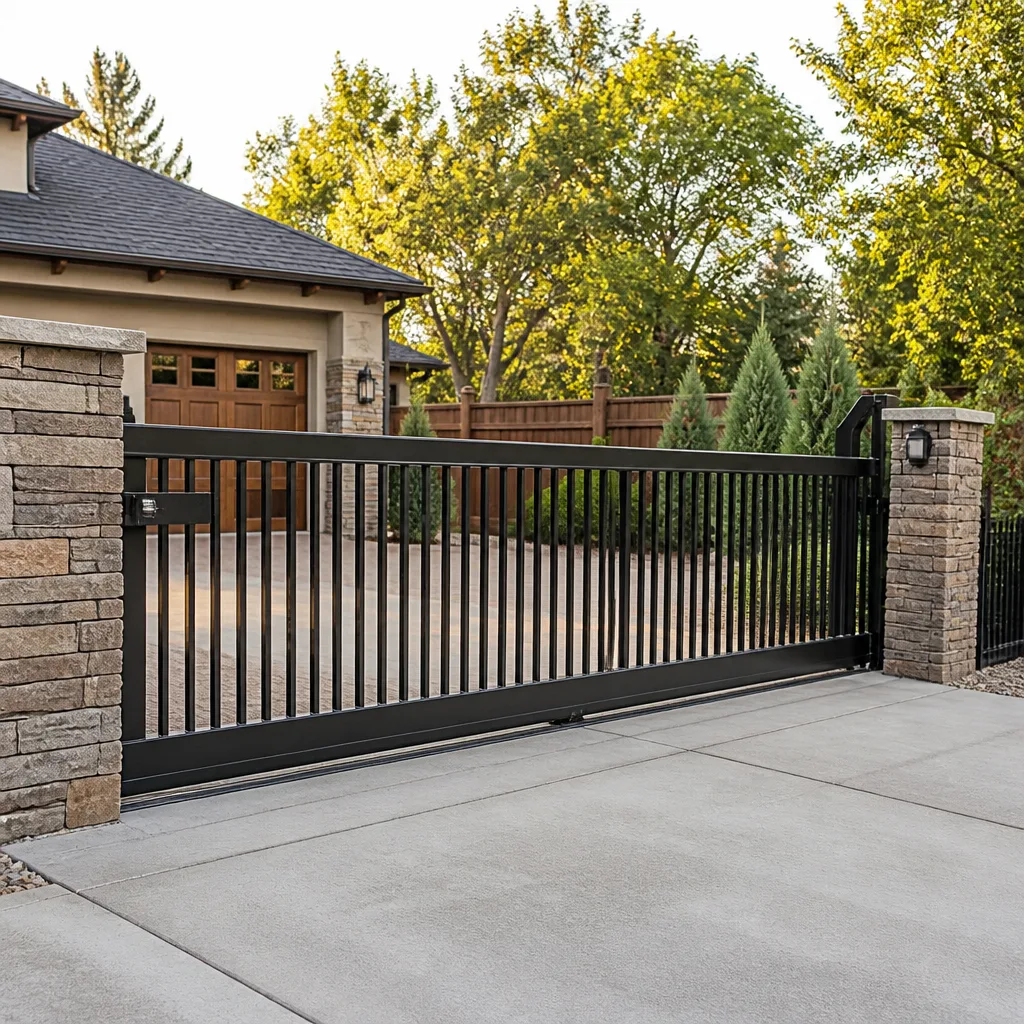
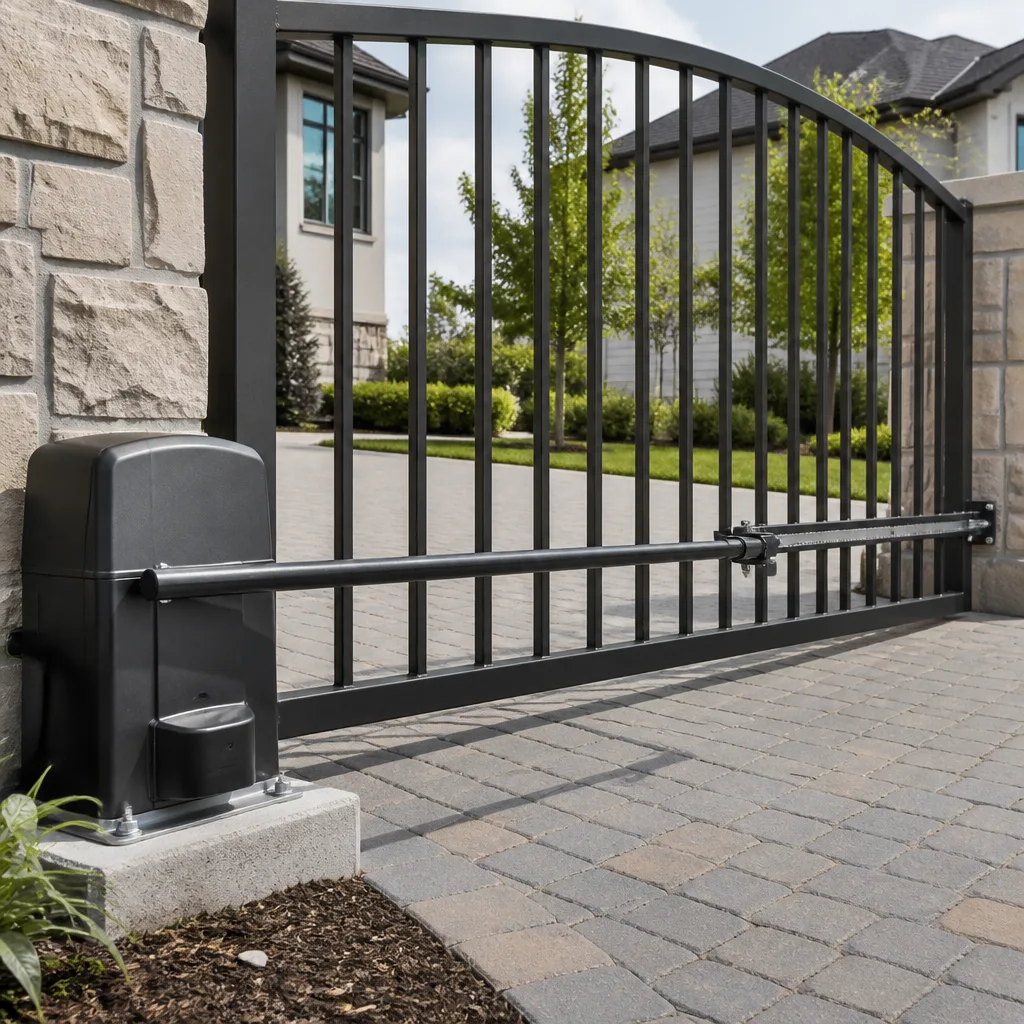
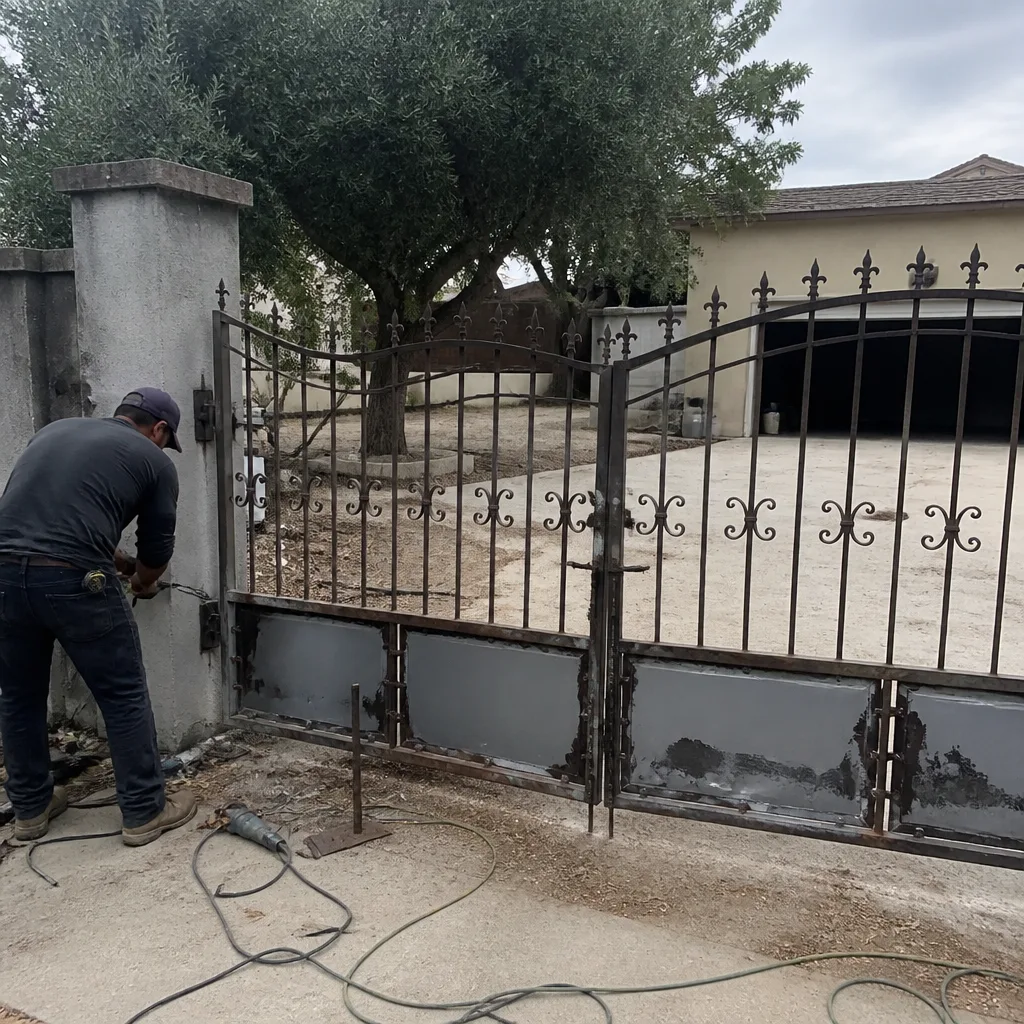 Before
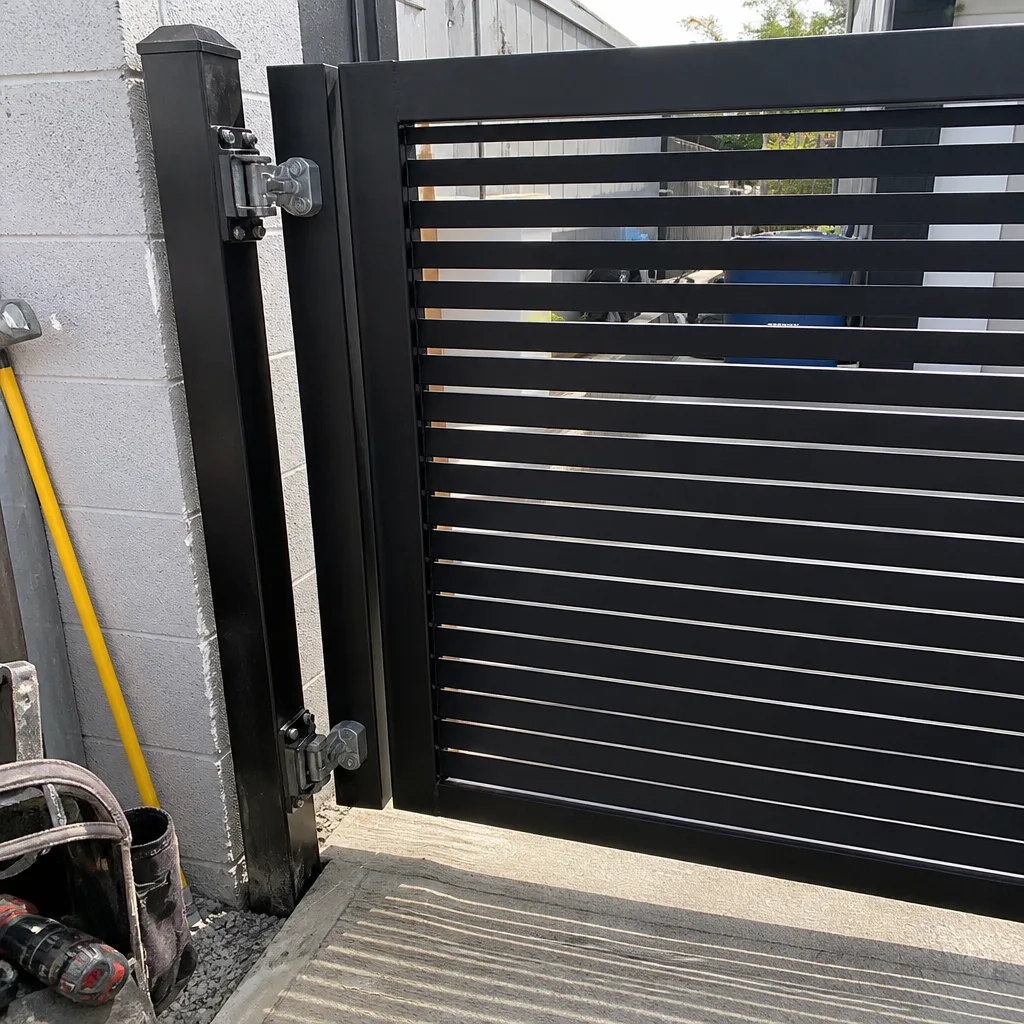 After
After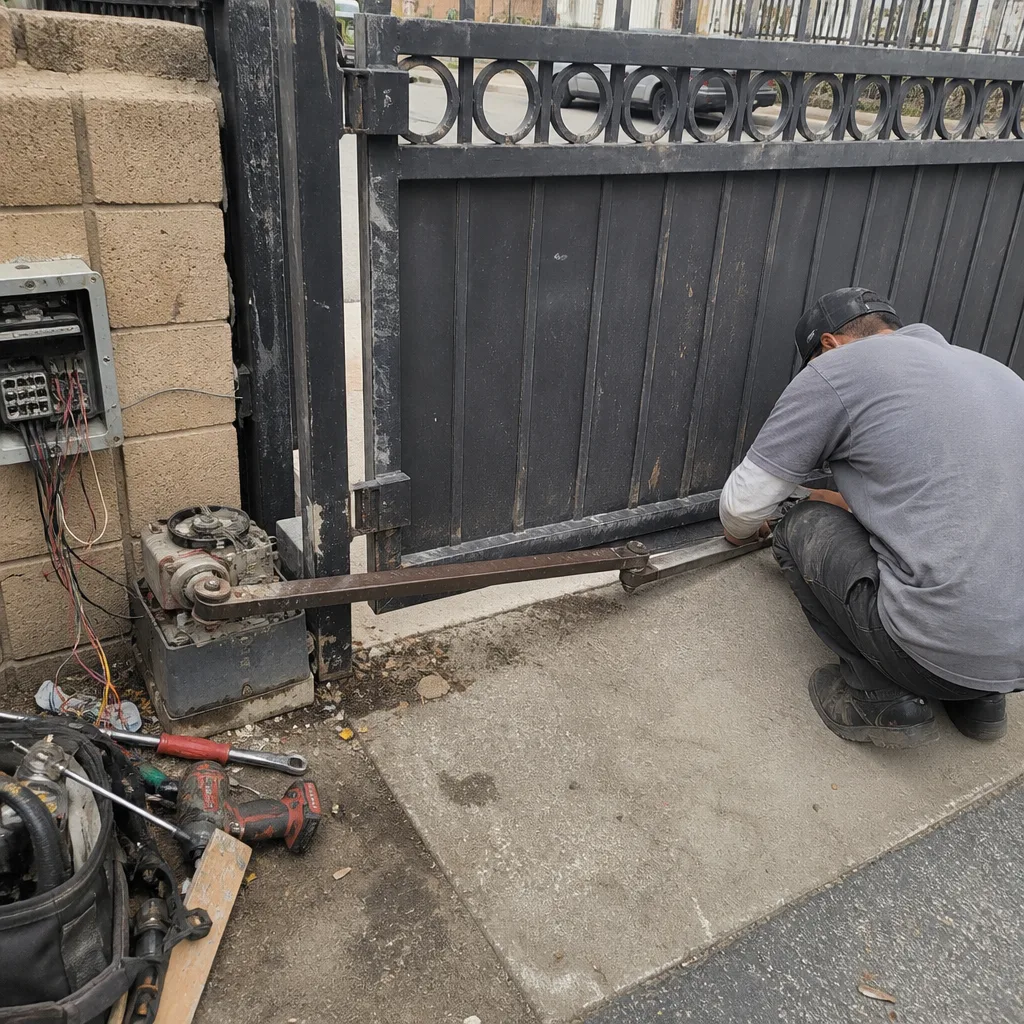 Before
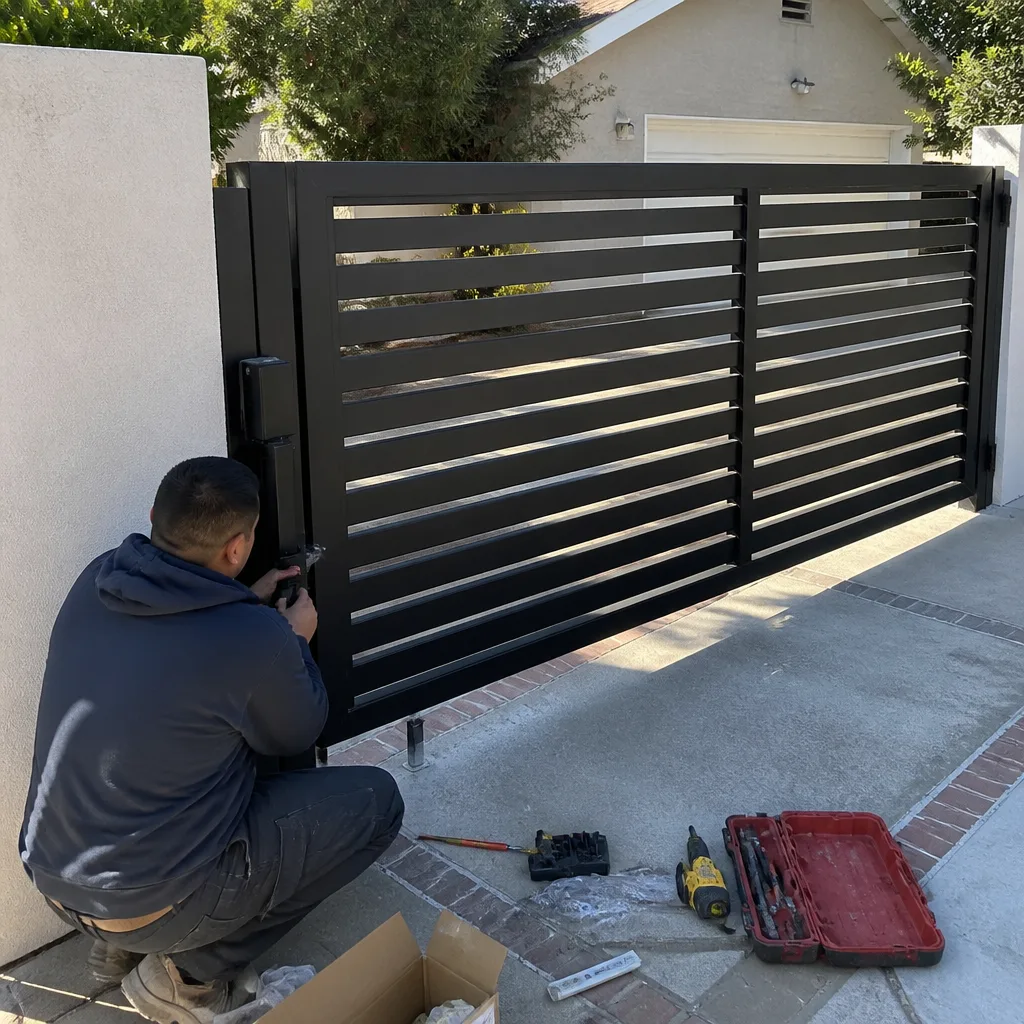 After
After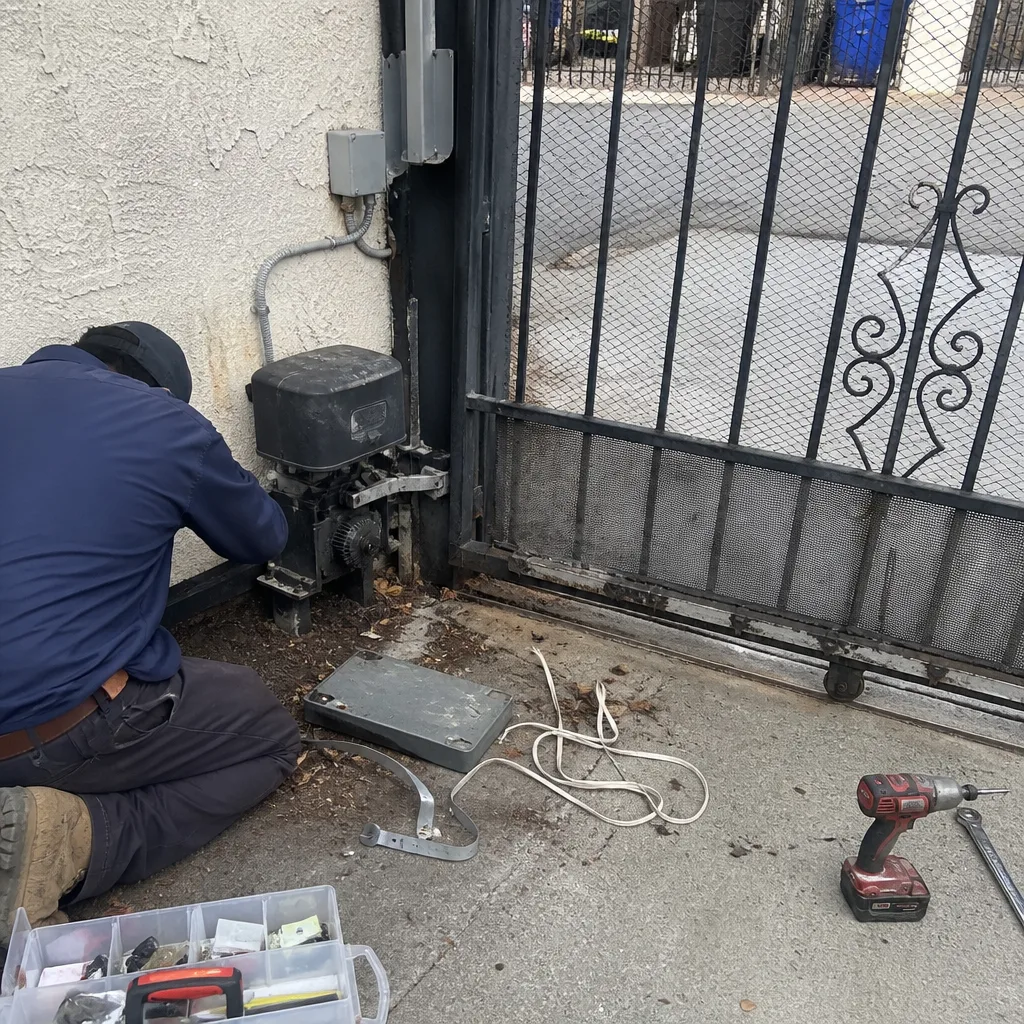 Before
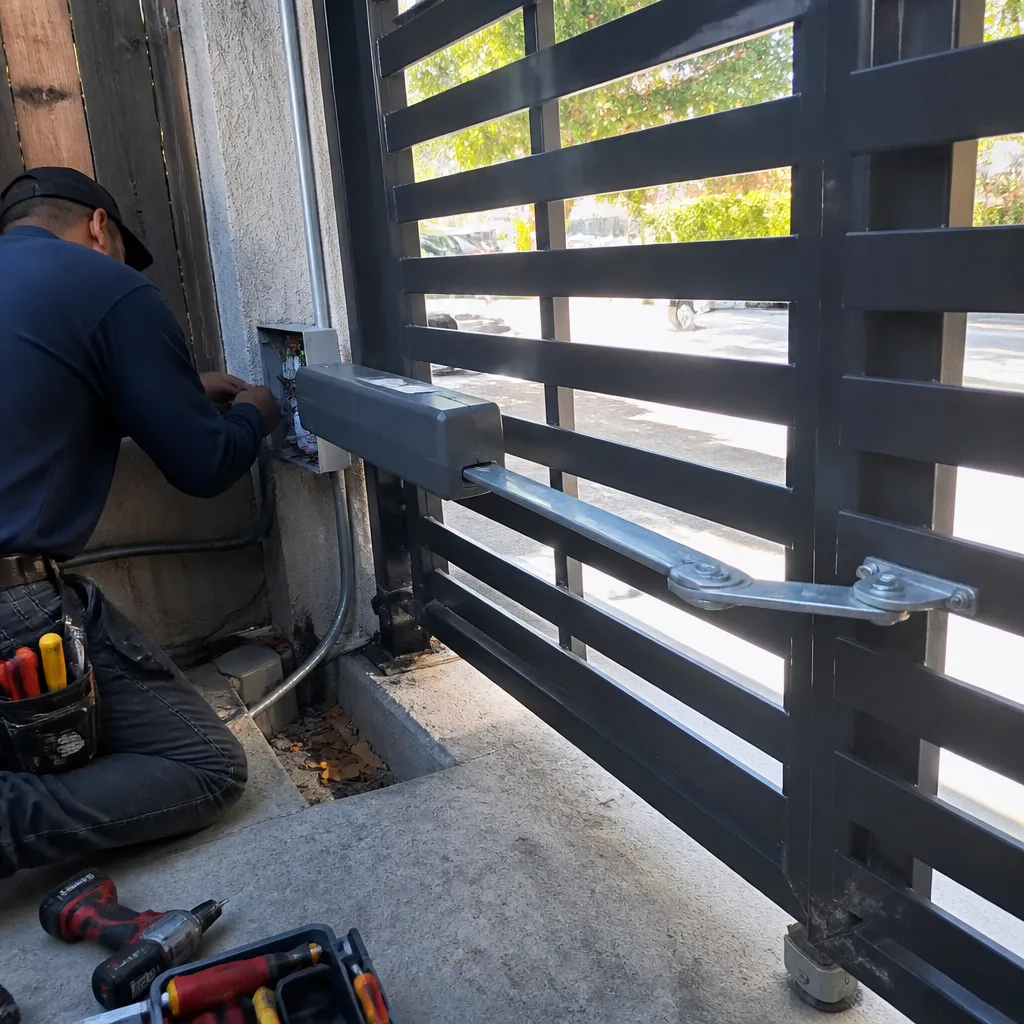 After
AfterGate Repair Troubleshooting: Common Problems and How to Fix Them
Here’s a number that surprises most Los Angeles homeowners: roughly seven out of ten gate failures we see are not caused by a dead motor. They’re caused by a safety sensor knocked out of alignment, a limit switch that drifted, or a hinge that sagged under the weight of the gate. The motor is usually fine. That’s good news, because those smaller fixes cost a fraction of what a full opener replacement runs. In this guide and our Gate Repair Warning Signs Every Homeowner Should Know resource, we’ll walk you through a simple three-branch diagnostic tree that tells you in under five minutes whether your gate problem is mechanical, electrical, or structural. We’ll also decode the sounds your gate makes, cover which DIY steps void warranties on brands like LiftMaster and FAAC, and show you exactly what to document before you call anyone so you get a real price on the first phone call, not after an “assessment fee.”
Quick Answer
Gate repair troubleshooting comes down to three root causes: mechanical wear (hinges, wheels, chains), electrical failure (sensors, boards, capacitors, limit switches), or structural misalignment (posts, track, sagging gate). Start by identifying which category your problem falls into using the sounds the gate makes and the way it behaves, then fix the small things first: realign the safety sensors, check the limit switch, clean the track. If the fix involves the motor itself, high-tension components, or anything touching the control board, call a trained gate technician. In Los Angeles, Calder Gate Repair offers our Gate Repair services with free estimates and a written price before any work starts.
Table of Contents
- The Three Root Causes: Mechanical, Electrical, or Structural
- What Your Gate’s Sounds Are Telling You
- The Five-Minute Diagnostic: A Decision Tree
- Which Troubleshooting Steps Void Your Warranty
- How to Safely Test Limit Switches and Safety Sensors
- What to Document Before You Call a Technician
- Common Mistakes to Avoid
- When to Call a Professional
The Three Root Causes: Mechanical, Electrical, or Structural
Every gate problem we’ve diagnosed in Los Angeles, from Bel Air to Silver Lake to the San Fernando Valley, fits into one of three buckets. Once you know which bucket you’re in, you’ll avoid paying for a motor replacement when all you needed was a $12 hinge. Here’s how the categories break down.
Mechanical wear: the moving parts
Mechanical problems involve parts that physically rub, roll, slide, or swing. After years of Los Angeles sun, dust, and the occasional Santa Ana windstorm, these components simply wear out. The most common mechanical failures we see are:
- Worn hinge bearings on swing gates, which cause sagging and misalignment at the latch
- Bent or rusted track sections on sliding gates, especially on properties near the coast where salt air accelerates corrosion
- Stretched drive chains that skip teeth on the sprocket
- Flat or cracked wheels on cantilever and V-track sliding gates
- Debris buildup in the track channel, which is common in hillside neighborhoods where leaves and soil wash down after rain
Mechanical problems announce themselves. You’ll hear grinding, scraping, or a rhythmic thunk as the gate moves. The gate may move but struggle, or stop halfway and reverse. The good news: mechanical fixes are usually the least expensive repair category, and they’re often preventable with annual lubrication and track cleaning.
Electrical failure: the brains and sensors
Electrical problems live in the opener unit, the sensors, the wiring, and the control board. This is where things get more technical. The most common electrical failures in Los Angeles involve:
- Photo-eye safety sensors knocked out of alignment or covered in dust
- Limit switches that drifted out of position, so the gate doesn’t know when to stop
- Failed capacitors on older LiftMaster and BFT units, which cause clicking with no movement
- Corroded wire connections, especially on gates installed within a mile of the coast
- Blown fuses or tripped breakers on the gate’s dedicated circuit
- Dead remote batteries and lost programming after power surges
Electrical problems present as clicking, humming, or complete silence. The gate may not respond to any input, or it may open but not close, or close but not reopen. These problems range from a $5 fuse to a $400 control board, so accurate diagnosis before you call matters.
Structural misalignment: the frame and posts
Structural issues are the third category, and they’re the most expensive to ignore. The gate’s frame, posts, or foundation shift, and the entire gate is now fighting itself. In Los Angeles, we see this after earthquakes, after heavy rain causes soil movement, or on hillside properties where the land naturally settles year over year. Contributing factors include:
- Sinking or leaning gate posts due to soil erosion or insufficient concrete footing
- A gate that has sagged under its own weight, causing the latch to no longer line up with the receiver
- Warped or twisted gate frames, especially on wide double gates in high-wind areas like Porter Ranch or Woodland Hills
- Rail misalignment where the sliding track has shifted out of level
Structural problems mimic both mechanical and electrical symptoms. The gate may strain, the opener may overheat and shut down, and sensors may refuse to align. That’s why this three-category thinking matters: the symptom tells you where to look, but the root cause is often one layer deeper.
What Your Gate’s Sounds Are Telling You
Your gate speaks a diagnostic language. Here’s what each sound means, based on what we hear every week at homes across Los Angeles.
Grinding or scraping
A grinding or scraping noise while the gate moves is almost always mechanical. The gate is dragging on the track, the hinge is metal-on-metal, or the chain is rubbing against a guard. The most common culprit on sliding gates is a wheel that has seized and is now being dragged along the rail. On swing gates, it’s a hinge bearing that has lost its lubrication and is grinding. The fix is usually a lubrication, a wheel replacement, or a hinge rebuild. The important thing is to act fast: grinding friction accelerates wear, and what’s a simple fix today becomes a bent track or a snapped hinge in a few months.
Clicking with no movement
Clicking means the opener is receiving the command and trying to engage, but it can’t. On LiftMaster and Linear units, a rapid clicking sound often points to a failed capacitor or a weak battery in the backup system. A single click when you press the remote could be a stuck relay on the control board. On FAAC and BFT hydraulic operators, a click followed by nothing may mean the motor is getting power but the hydraulic pump isn’t building pressure. The diagnostic move here is to check whether the gate moves at all with manual release engaged (more on that below). If it moves freely by hand, the problem is electrical. If it’s stuck even by hand, the problem is mechanical.
Humming with no movement
A low humming sound from the opener means the motor is receiving power and running, but the gate isn’t moving. On many systems, this points to a failed capacitor, which is a component that gives the motor the extra torque it needs to start. Without it, the motor hums but can’t overcome the gate’s resting inertia. Humming can also mean the motor is running but the drive belt or chain has slipped off the sprocket. In Los Angeles, where many homes have heavy ornamental iron gates on older openers, we see this capacitor failure pattern frequently on units that are seven or more years old.
No sound at all
Complete silence means no power is reaching the opener, or the control board has died. Start with the circuit breaker and GFCI outlet. Then check the remote battery. Then look at the control board for a small LED light, which on most brands (including BFT and Mighty Mule) should be illuminated when the board has power. If the board is dead and the breaker is fine, you’re looking at a possible transformer failure or a control board replacement. That’s not a DIY job, but you can document all of this before you call.
The Five-Minute Diagnostic: A Decision Tree
Here’s the exact sequence we use to separate mechanical from electrical from structural, simplified into a five-minute homeowner version. You don’t need specialized tools for most of it.
- Check the power source. Confirm the breaker is on, the GFCI is reset, and the opener’s control board shows a power indicator light.
- Test the remote and keypad. If the wall button works but the remote doesn’t, the remote’s battery or programming is the issue, not the gate. If neither works, the problem is deeper in the system.
- Look at the gate’s physical position. Has it sagged? Does it sit level? Can you see a gap where the track used to be flush? If the gate looks uneven, you’re in structural territory.
- Check the safety sensors. On both sides of the gate opening, you’ll find small photo-eye sensors near the ground. Are they aligned? Are the lenses clean? A blinking light on the sensor often means they’re not communicating.
- Release the manual override and try moving the gate by hand. If it moves freely and smoothly, the mechanical system is fine and the opener is the problem. If it’s heavy, grinding, or won’t budge, the problem is mechanical or structural.
That sequence alone resolves many service calls before they ever need a truck. In Los Angeles, where a service visit can also compete with traffic across town, a five-minute self-check saves both money and time; for deeper reading, see our Gate Repair Warning Signs: A Los Angeles Homeowner’s Reference Guide.
Which Troubleshooting Steps Void Your Warranty
Before you open the cover on your gate opener, read this section. Some troubleshooting steps are safe. Others will void the manufacturer warranty on your LiftMaster, FAAC, BFT, or Linear opener, and they’re not obvious until it’s too late.
LiftMaster and Linear: the capacitor and board rule
LiftMaster and Linear warranty agreements broadly state that opening the motor housing or control board enclosure voids coverage unless performed by an authorized technician. That includes replacing a capacitor yourself. If you open the housing and the motor fails 60 days later, the manufacturer will typically deny the claim, even if your capacitor replacement wasn’t related. The safe DIY steps on these brands: resetting the breaker, reprogramming remotes, realigning photo-eye sensors, and lubricating hinges.
FAAC and BFT: hydraulic systems
FAAC and BFT are popular in Los Angeles for heavy and commercial-style gate systems, and many of their models are hydraulic. Tampering with hydraulic fluid, pressure relief valves, or the internal pump voids the warranty. Opening the hydraulic reservoir to “top off” fluid is also not recommended: hydraulic fluid doesn’t evaporate, so a low reservoir indicates a leak, not normal wear. If you see fluid stains near the piston or pump, photograph them and call a technician.
The universal gate-opener rule
Across virtually every brand, including Ghost Controls and Mighty Mule, the following steps are safe and generally covered:
- Replacing remote and keypad batteries
- Reprogramming remotes and keypad codes using the manufacturer’s manual
- Realigning photo-eye sensors
- Cleaning the track and wheels
- Resetting GFCI outlets and breakers
And across every brand, the following void the warranty if done improperly:
- Opening the motor housing or control board enclosure
- Adjusting limit switch screws without following the brand’s calibration procedure
- Modifying or bypassing safety sensors
- Changing hydraulic fluid or pressure settings
- Installing aftermarket control boards or power supplies
This is why a written repair guarantee matters. If a trained professional performs the work and something fails, the repair is covered. If a homeowner opens the board and something fails, the warranty is gone and the cost is full retail. The risk equation rarely makes sense.
How to Safely Test Limit Switches and Safety Sensors
These two components are responsible for a huge share of “my gate won’t close” and “my gate won’t stop in the right spot” calls. Here’s how to test both without opening the motor housing.
Testing the photo-eye safety sensors
The photo-eye sensors sit on opposite sides of the gate opening, down near the ground. One sends an infrared beam, the other receives it. If that beam is broken, the gate’s safety logic prevents closing.
- Inspect for obstructions. Leaves, grass, soil, or even a child’s bike in the beam path will stop the gate. Clear the path.
- Clean the lenses. Dust and spider webs are the silent killers of photo-eyes in Los Angeles, especially in dry, dusty neighborhoods. Wipe both lenses with a soft, dry cloth.
- Check the indicator lights. On most models, each sensor has a small LED. A solid green light typically means it’s receiving power. A blinking or unlit LED means misalignment or a bad sensor.
- Realign them. Gently adjust one sensor until the receiving sensor’s LED turns solid. You should hear a subtle click or see the LED change.
If aligning the sensors doesn’t resolve the issue, the problem is likely a damaged sensor or a wiring fault. At that point, you’ll want a technician to diagnose it, because replacing a sensor incorrectly can damage the control board.
Testing the limit switch
Limit switches tell the gate opener when the gate has reached its fully open or fully closed position. Think of them as the gate’s “stop here” markers. When a limit switch drifts or fails, the gate might open all the way but then reverse and reopen, or it might stop halfway.
The safe way to test a limit switch without opening the motor housing:
- Observe the gate’s stopping behavior. Watch where the gate stops when opening and closing. Does it overshoot and hit the post? Does it stop early? Note the exact behavior.
- Listen for a repeated click. Some limit switches click when engaged. A gate that clicks and reverses repeatedly at the same point often has a misaligned or failed limit switch.
- Reset the opener’s travel limits using the manufacturer’s instructions in your owner’s manual. Many modern LiftMaster and Linear units allow limit adjustment from the keypad or a small set of buttons on the control panel, without opening the housing.
- If the gate ignores limit adjustments or the problem returns within days, the limit switch itself is likely failing. That’s a replacement job for a technician.
What to Document Before You Call a Technician
Here’s the step that separates a smooth, accurate quote from a vague “we’ll have to send someone out” situation. Before you call anyone in Los Angeles, gather these details. You’ll get a firmer price on the first call.
Take photos of:
- The opener brand name and model number, usually on a sticker on the side or back of the unit
- The gate itself from both angles, showing how it sits on its track or hinges
- The safety sensors and the area around them
- Any visible damage: rust, bent metal, fluid stains, loose wires
- A short video (10 to 15 seconds) of the gate attempting to open or close, with sound
Note down:
- What the gate does when you press the remote (opens but won’t close, doesn’t respond, stops halfway, reverses)
- What sound it makes (grinding, clicking, humming, silence)
- When the problem started and whether it got gradually worse or happened suddenly
- Whether the breaker has tripped and whether you’ve already reset it
- Your gate’s approximate age and when it was last serviced
This information lets a technician identify the likely part and give you a realistic price range over the phone. It also means fewer surprises when the invoice arrives, because you’ll already have a written quote.
Common Mistakes to Avoid
- Lubricating the safety sensors. WD-40 and similar sprays leave a film on photo-eye lenses that blocks the infrared beam. Clean lenses with a dry cloth, never a lubricant.
- Adjusting the limit switch screws without the manual. On older LiftMaster and Linear openers, over-tightening those screws can strip the mechanism. If you don’t have the manual, leave that adjustment to a technician.
- Forcing the gate open when the opener is engaged. Pulling against the motor’s resistance can bend the drive arm or strip gears. Always use the manual release lever first.
- Ignoring sagging hinges for “later.” A gate that sits even half an inch low is putting constant stress on the opener, the track, and the hinges. In Los Angeles, where many gates are heavy iron, that stress turns a $50 hinge into a $900 track replacement.
- Replacing the opener before checking the outlet. We’ve seen more than a few homeowners order a new $500 opener when the GFCI outlet had simply tripped. Check the breaker, the outlet, and the remote batteries first.
- Bypassing the safety sensors to make the gate close. This is the most dangerous mistake on this list. Safety sensors exist to prevent the gate from closing on a person, pet, or car. Bypassing them creates real injury risk and is a code violation in Los Angeles.
When to Call a Professional
You’ll know it’s time to call if the gate is not responding to any input and the breaker is fine, if the gate moves but makes loud grinding or snapping sounds, if you smell burning plastic near the opener, or if the gate has shifted so far out of alignment that it won’t close completely. Also call if the problem involves the opener motor, the control board, hydraulic components, or any repair that requires opening the motor housing. High-tension springs and chains can cause serious injury if they fail while you’re working on them. Calder Gate Repair offers free estimates in Los Angeles. Call (903) 417-0793 and you’ll speak to a live person, not a voicemail.
Frequently Asked Questions
The most common reason is a misaligned or obstructed photo-eye safety sensor. If the sensors aren’t communicating, the gate’s safety system prevents closing and typically reverses or stops. Clean the lenses, clear the beam path, and realign the sensors. If that doesn’t fix it, the sensor or its wiring has failed, and electric gate repair in Los Angeles typically costs $150 to $325 for a sensor replacement.
Most gate repairs in Los Angeles run between $150 and $450 for common issues like sensor realignment, limit switch replacement, hinge repair, and wheel replacement. Opener motor replacement and control board repairs run higher, typically $400 to $900 depending on the brand. Structural work like post replacement varies widely. Always get a written quote before work starts, which is the standard set by gate repair in Los Angeles specialists.
You can safely handle remote reprogramming, sensor realignment, track cleaning, and hinge lubrication. You should not attempt motor repairs, control board replacement, hydraulic work, or high-tension spring and chain service. Those repairs involve components that can cause serious injury and will void your manufacturer warranty if performed incorrectly. If the repair requires opening the motor housing, call a professional.
A quality gate opener like a LiftMaster or FAAC unit typically lasts 10 to 15 years in Los Angeles, assuming regular maintenance. Coastal proximity shortens that lifespan due to salt air corrosion, and high-usage gates on busy streets in areas like Mid-City or Koreatown may wear out sooner. If your opener is more than 12 years old and needs a major repair, replacement is often the better long-term value.
Start with the circuit breaker and GFCI outlet. Then test the remote and wall button with fresh batteries. Then check the control board’s power indicator light. If the breaker trips again immediately after resetting, stop resetting it and call a technician, that’s a sign of a short circuit, not a routine power fault. Gate opener repair in Los Angeles technicians can diagnose that quickly.
Homeowners insurance typically covers a gate and opener if they’re damaged by a covered peril like a vehicle collision, fire, or a fallen tree, but not for normal wear and tear. A sagging hinge, failed capacitor, or drifted limit switch is a maintenance issue, not an insurance claim. Check your policy’s specific language before assuming coverage.
The Bottom Line
Most gate problems fall into one of three categories: mechanical, electrical, or structural (we cover these in more guides & resources). Identifying the category before you call anyone saves you from paying for a wrong diagnosis. Start with the power source, then the remote, then the sensors, then the physical gate itself. Document what you find with photos and video. Never open the motor housing or bypass safety sensors. And when you do call, work with a company that puts the price in writing before the first tool comes out. That’s the standard in Los Angeles, and it’s the only way to avoid surprise invoices. Our team is trained on the most common opener brands, from LiftMaster to FAAC to BFT to Linear, and every repair includes a written price before any work starts, a written guarantee, and a free return visit if the repair fails within 365 days under our Done Right Promise.
Need help now? Call (903) 417-0793 for a free estimate. We answer live, 24/7.
Written by Nico Alvarez, Owner at Calder Gate Repair, serving Los Angeles since 2009.