
Last updated October 9, 2026
Free on-site gate assessment - hinges, posts, and your LiftMaster or Nice gate operator checked before anything is quoted
The assessment is free and the quote is the invoice.

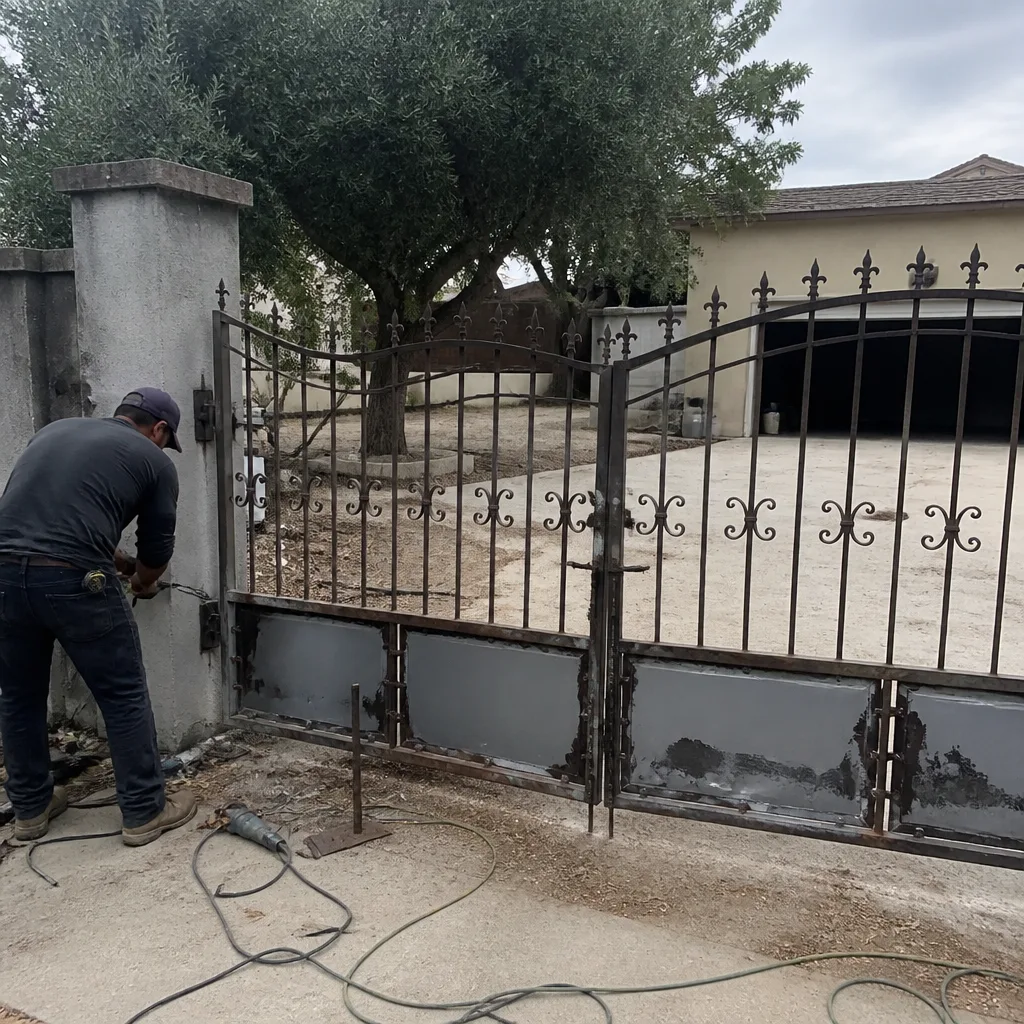 Before
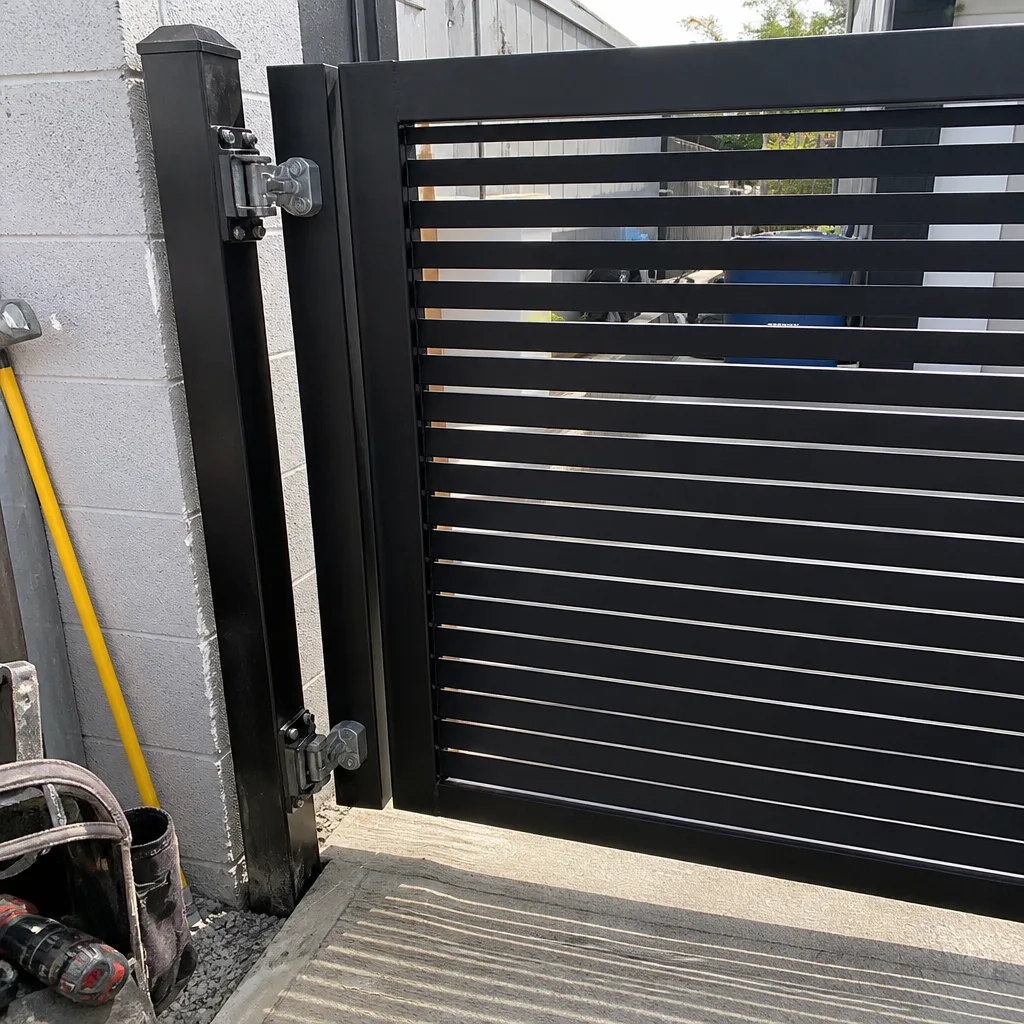 After
After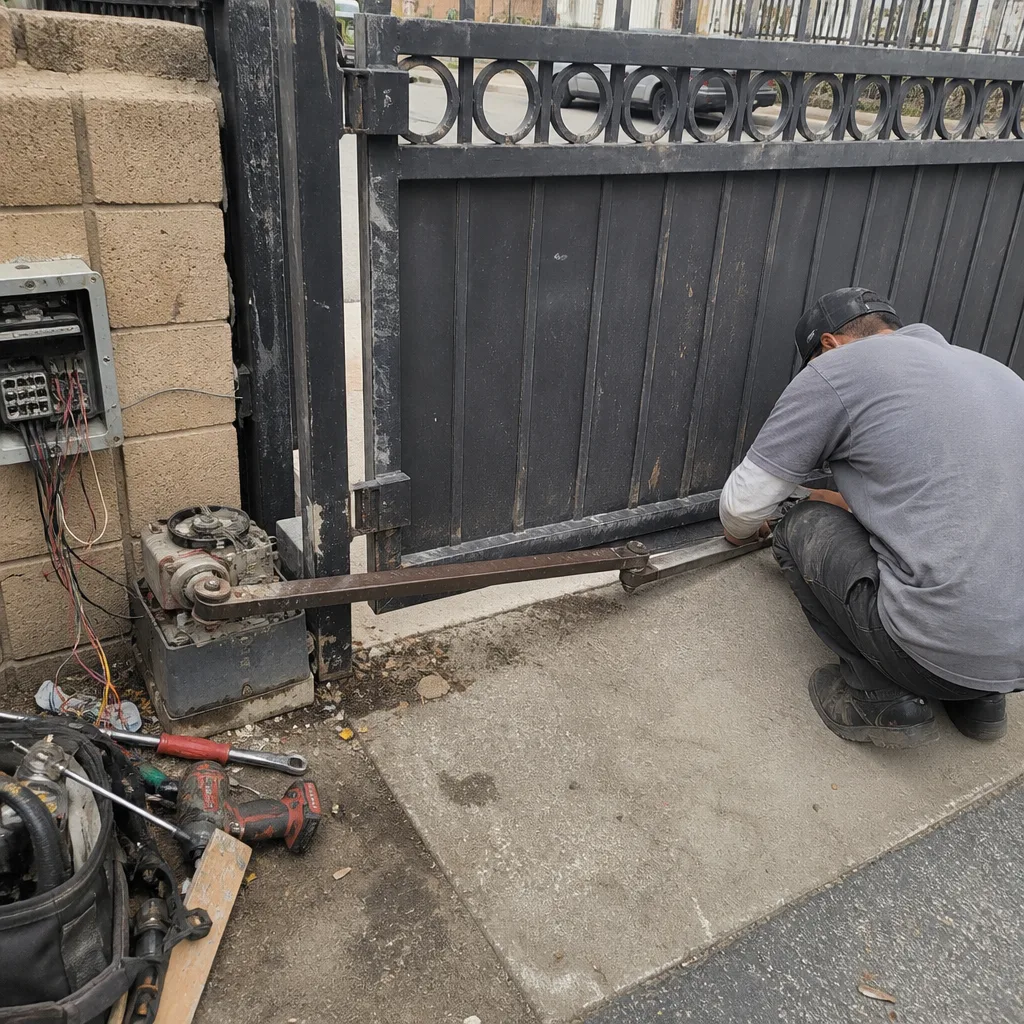 Before
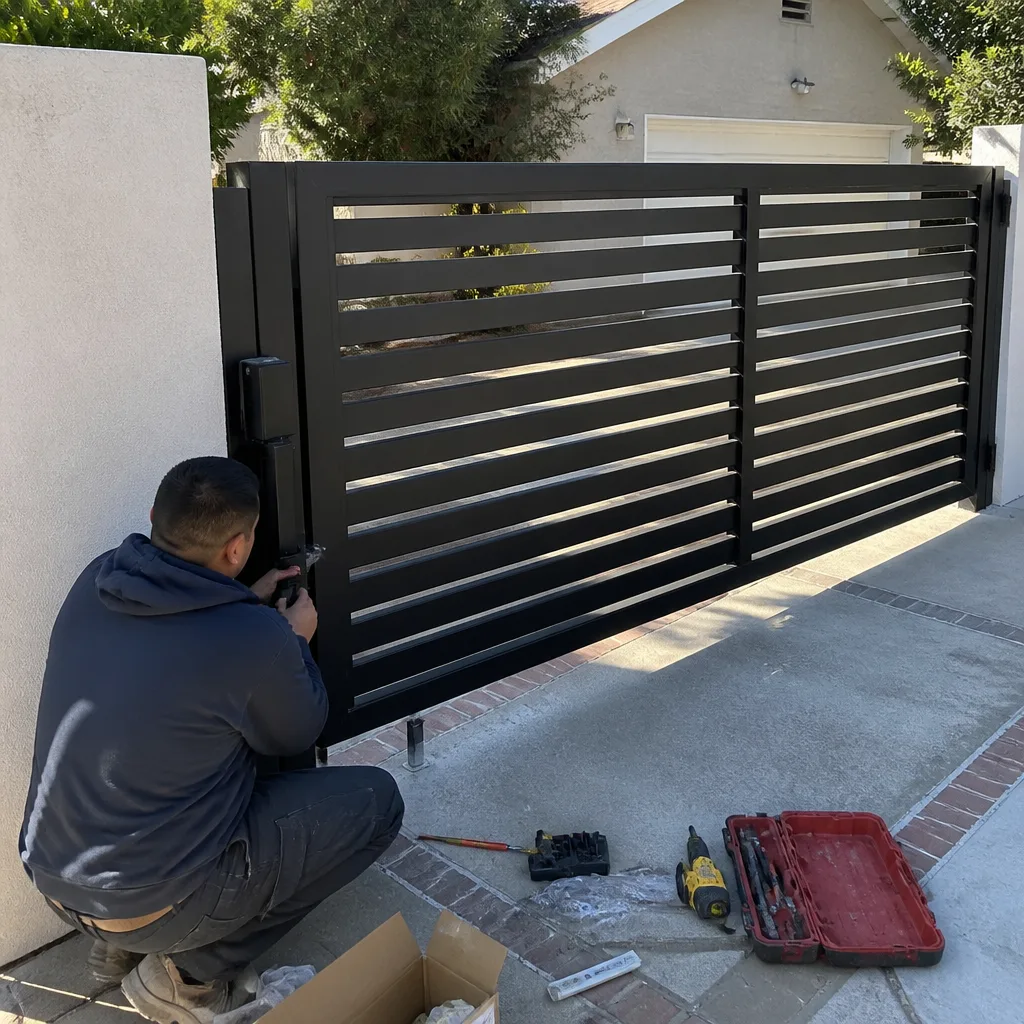 After
After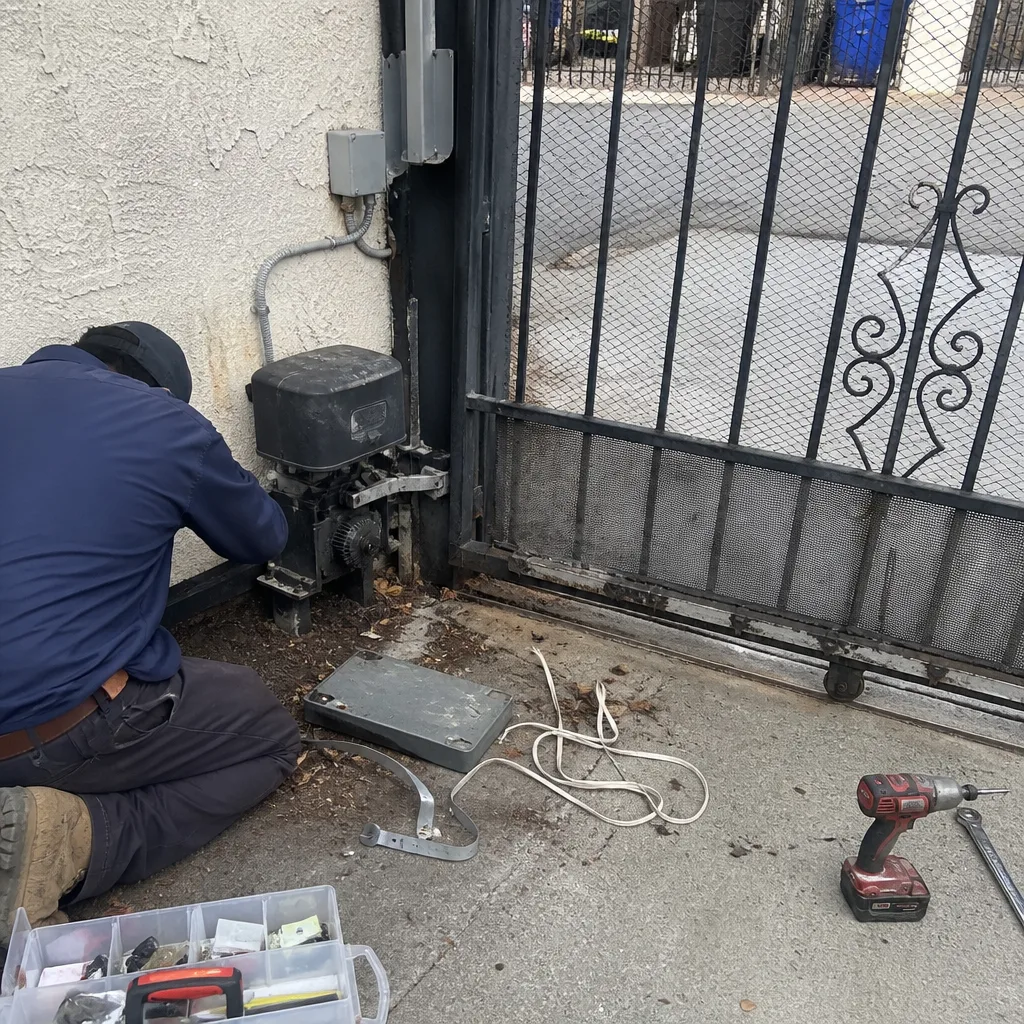 Before
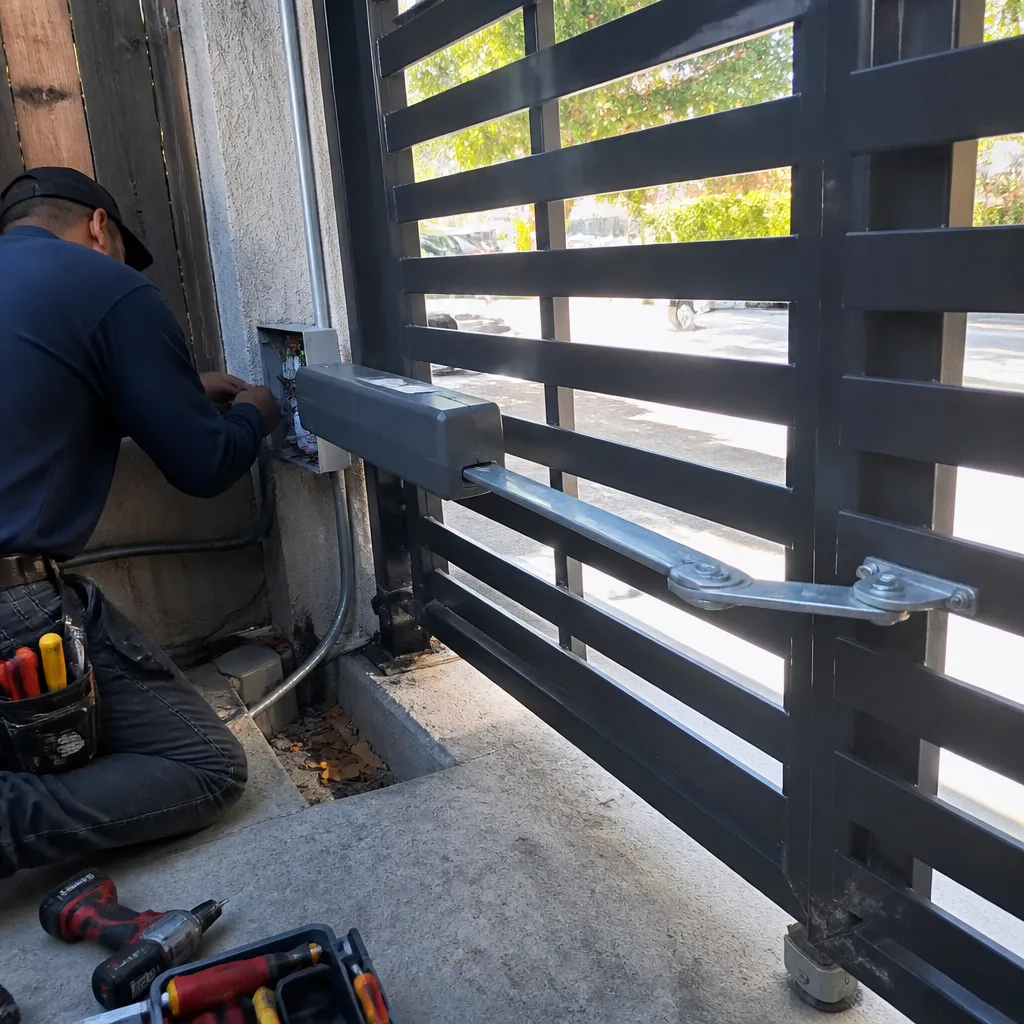 After
AfterDIY vs Professional Electric Gate Repair: What’s Safe to Do Yourself
Here’s something most DIY gate repair articles won’t tell you: the transformer inside your electric gate opener does step voltage down to 24 volts for the control board, sensors, and keypad, but the input side of that same transformer is still pulling 120 volts AC from your panel. In Los Angeles, where automatic gates are common on hillside properties in Silver Lake, Encino, and the Palisades, we get calls every month from homeowners who opened the wrong compartment assuming everything in the box was low voltage. This guide separates the genuinely low-risk DIY tasks from the repairs where the line between a $12 fuse and a hospital visit is a matter of inches, and if you’re unsure where that line falls, our DIY vs Professional Gate Repair: What’s Safe to Do Yourself goes deeper on making that call. You’ll learn which repairs are safely doable on a Saturday morning, which ones require a licensed C-10 electrical contractor in California, and what a professional repair should actually cost so you can compare it against the real price of a DIY attempt.
Quick Answer
Safe DIY electric gate tasks are limited to remote reprogramming, photo eye sensor cleaning, basic limit switch adjustment on specific brands, and battery backup replacement. Anything involving the 120V input side of the transformer, capacitor discharge, gate motor disassembly, or line-voltage wiring requires a licensed professional because the risk is electrical shock, not just a broken part. Most Gate Repair jobs in Los Angeles run $180 to $340 in labor before parts, while a botched DIY attempt on the wrong component can easily cost $800 or more to correct.
Table of Contents
- The Voltage Map: What’s Actually Inside Your Gate Opener
- 4 DIY Tasks That Are Genuinely Safe
- The Danger Zone: Repairs You Should Never Attempt Yourself
- California Licensing: What a C-10 Electrical Contractor Means for Gate Repair
- The Real Cost Comparison: DIY vs Professional Repair
- How to Get an Accurate Written Quote Before Anyone Shows Up
- Common Mistakes to Avoid
- When to Call a Professional
The Voltage Map: What’s Actually Inside Your Gate Opener
Every electric gate system in Los Angeles, whether it’s a swing gate in Hancock Park or a slide gate in Sherman Oaks, runs on two distinct electrical circuits. Understanding the difference is the single most important piece of knowledge for any DIY decision. The control circuit operates at low voltage, typically 12 to 24 volts DC. This is the domain of your remote controls, keypad, photo eye sensors, limit switches, and the main control board. The power circuit operates at 120 volts AC. This feeds the transformer, the motor’s start capacitor, and in many installations, a direct line to the operator arm itself.
Here’s the wiring map in plain language, working from what you can touch safely to what you should never touch:
- Low voltage safe zone (12-24V DC): Remote control receivers, wireless keypads, photo eye sensors, edge sensors, limit switches, control board connections, battery backup terminals (when the system is unplugged from wall power).
- 120V danger zone: The transformer’s input terminals, the incoming power cord and junction box, the motor capacitor (which stores charge even after power is disconnected), the motor’s internal wiring, and any connection point where Romex or conduit enters the operator housing.
- Hybrid caution zone: The control board itself. On brands like LiftMaster, Linear, and Ghost Controls, the control board sits physically adjacent to high-voltage terminals. We’ve seen DIYers replace a control board on a BFT opener and brush a capacitor terminal with a screwdriver because the two zones were only three inches apart inside the housing.
The rule we teach every Los Angeles homeowner: if you cannot identify which wires are low voltage and which are not with absolute certainty, you should not have the cover off the operator. That uncertainty is exactly what separates a safe repair from a hazardous one.
4 DIY Tasks That Are Genuinely Safe
We’re not anti-DIY. Some electric gate maintenance tasks are straightforward, safe, and worth doing yourself as long as you understand what you’re touching. Here are the four repairs we recommend for homeowners who want to handle basic upkeep. These all live entirely within the low-voltage control circuit and don’t require opening the high-voltage side of the operator.
1. Remote Control Reprogramming
Dead remote? New remote that won’t pair? Reprogramming is a low-stakes, low-voltage task on virtually every gate opener brand sold in Los Angeles, including LiftMaster, FAAC, Viking, Ghost Controls, and Linear. The process varies by model, but it typically involves pressing a learn button on the control board or receiver, then pressing a button on the remote within a set window, usually 10 to 30 seconds. Most homeowners can do this in under five minutes with the manual in hand. The key is not to confuse the learn button with any adjacent terminal block. Keep your fingers on the button only.
2. Photo Eye Sensor Cleaning
If your gate starts closing and then immediately reverses, or refuses to close at all, the photo eyes are the first suspect. These are the small paired sensors mounted near ground level on either side of the gate opening. In Los Angeles, dust, irrigation overspray, spider webs, and direct sun glare are the usual culprits. Clean them with a soft cloth and glass cleaner, check that the small alignment lights are both on (most brands show a steady LED when aligned), and remove anything touching the sensor path. This is a five-minute fix that resolves a surprising number of phantom gate problems, and it’s completely safe to do yourself.
3. Basic Limit Switch Adjustment on Specific Brands
When your gate opens too far, not far enough, or slams at the end of travel, the limit switch is often misadjusted. On brands like Ghost Controls and some Linear residential models, the limit switches are clearly labeled mechanical or magnetic components that are designed for homeowner adjustment. You’ll generally turn a small screw or move a magnetic collar a fraction of an inch, test the travel, and repeat until the gate stops where it should. The key phrase here is “specific brands.” On LiftMaster and Viking commercial-style operators, limit adjustment can involve interacting with components near high-voltage wiring, and we don’t recommend that for DIY. Check that your model’s limit switches are accessible on the low-voltage side before attempting this.
4. Battery Backup Replacement
If your gate opener has a battery backup (common in Los Angeles where power outages happen during Santa Ana winds), replacing the battery is generally a safe, plug-and-play task. The battery typically sits in its own compartment, separate from the line-voltage wiring, and connects using simple spade connectors or a polarized plug. The crucial safety step is to disconnect the operator from wall power first, and to photograph the existing battery’s wiring orientation before you remove it so you can reconnect the new battery the same way. Batteries for residential gate openers usually run $40 to $90 depending on brand and capacity.
The Danger Zone: Repairs You Should Never Attempt Yourself
Here’s the uncomfortable truth that most DIY articles skip: the riskiest part of an electric gate opener isn’t the gate itself, and it isn’t even the control board. It’s the start capacitor. A motor capacitor in a gate opener can hold a charge of 300 to 500 volts even after the operator is unplugged from the wall. Touch the capacitor terminals with the back of a screwdriver, or worse, your finger, and the discharge can throw you, burn you, or stop your heart. We know a veteran gate technician in the San Fernando Valley who still treats every capacitor as live until he’s manually discharged it with a proper resistor tool. He’s been doing this for 20 years.
Repairs we tell Los Angeles homeowners to leave alone, every time:
- Capacitor replacement: As described above, stored charge makes this dangerous. A professional knows how to discharge the capacitor safely before testing or replacing it.
- Transformer replacement or any 120V wiring: This crosses the line from low-voltage controls into your home’s line-voltage electrical system. In California, state law requires a licensed electrical contractor (C-10) for this type of work.
- Motor replacement or rebuild: Beyond the electrical exposure, motor work requires correct sprocket alignment, proper belt or chain tension, and correct torque specs. A misaligned motor can destroy a gear rack in weeks.
- Control board replacement on BFT, Viking, or DoorKing commercial operators: These boards are often mounted adjacent to line-voltage components. One wrong slip during removal, and you’ve contacted a live terminal.
- Anything involving the gate’s structural hinges, post mounting, or concrete foundation: A gate that falls is deadly serious. Swing gates on Los Angeles hillside properties can weigh 600 pounds or more, and gravity does not negotiate.
We’re not saying this to protect our business. We’re saying it because the most expensive repair call we make is the one that follows someone else’s attempted DIY fix on the wrong component. In our experience, a homeowner who confidently opens the high-voltage side of an operator is one who didn’t know there was a high-voltage side at all. That’s the gap this information gap, not skill, is what sends people to urgent care.
California Licensing: What a C-10 Electrical Contractor Means for Gate Repair
Los Angeles sits under California’s Contractors State License Board (CSLB), and that board has specific rules about who can legally perform electrical work on a gate opener. The short version: any repair that involves connecting, disconnecting, or modifying line-voltage (120V) wiring requires a licensed C-10 electrical contractor. That’s not a recommendation; it’s California Business and Professions Code, and unlicensed electrical work can void your homeowner’s insurance policy if the work is later determined to have caused damage.
Gate repair specialists in Los Angeles typically operate under one of three license classifications:
- C-10 Electrical Contractor: Required for line-voltage work such as wiring a new gate operator, adding a dedicated circuit, or relocating an electrical junction box.
- C-61 / D-28 (Doors, Gates, and Activating Devices): A specialty license that covers gate installation and service, including low-voltage controls and mechanical work. Many gate companies in Los Angeles hold this classification.
- B General Building Contractor: The broad license class that allows a company to handle the construction of the gate structure and foundation work, though electrical work still requires the C-10.
Here’s how to verify that any company you’re considering actually holds the license they claim. Search the CSLB license database directly at cslb.ca.gov using the contractor’s license number, which California requires every legitimate contractor to print on their website, their written estimates, and their trucks. If a company won’t provide their license number before a visit, that’s a red flag. For our own Gate Repair in Los Angeles work, every truck running under the Calder name carries the required California licensing for the specific scope of work being performed, and the license number is printed on every written estimate. This isn’t about legal theater. It’s about the fact that an unlicensed repair can leave you with no recourse if the work fails or hurts someone.
The Real Cost Comparison: DIY vs Professional Repair
The national DIY narrative around gate repair relies on a convenient math: a replacement part costs $45, a technician charges $250, therefore DIY saves you $205. That math ignores the actual cost structure of real Los Angeles gate repairs. Here’s the honest comparison based on what we see daily.
Typical DIY attempt costs:
- Replacement part from an online retailer: $35 to $180 (frequently the wrong version, a generic aftermarket, or a part that doesn’t match the operator’s control board revision).
- Tools you don’t already own: $20 to $80 (specific security driver bits, a multimeter, wire strippers, terminal crimpers).
- Time spent researching, troubleshooting, and installing: 3 to 6 hours of your own labor.
- Total DIY cost: $55 to $260 plus your time.
Typical professional repair costs in Los Angeles:
- Service call and diagnostic: $75 to $120 (often waived or applied toward the repair if you proceed).
- Labor for a typical repair (limit switch, photo eye replacement, receiver module, minor control board relay): $180 to $340.
- Common parts: photo eye pair $35 to $90, limit switch assembly $25 to $60, receiver module $80 to $180, control board $150 to $450.
- Total professional cost: $180 to $600 before parts, with the caveat that every Los Angeles homeowner should receive a written price before any work starts.
The cost when DIY goes wrong:
- Replacing a control board that was damaged during a DIY attempt: $150 to $450 in parts plus $200 to $300 in labor.
- Repairing a gate that crashed off its track or bent its hinge post due to an incorrect limit switch adjustment: $400 to $1,200.
- Rewiring a junction box that was wired incorrectly and tripped the breaker or damaged the transformer: $250 to $500.
- In the worst cases, the cost is medical, not financial, and that’s not a number we’ll put in a table.
The pattern we’ve observed in Los Angeles over the last decade and a half: homeowners who attempt DIY gate repair and succeed almost always do so on remote programming, sensor cleaning, or battery replacement. Homeowners who attempt DIY limit switch or control board work often succeed in getting the gate moving again, then call us a month later when the underlying issue, usually a failing capacitor or worn gear, resurfaces. The repair they needed was never the repair they attempted. That’s the hidden cost of DIY: time spent fixing the wrong thing while the right problem gets worse.
How to Get an Accurate Written Quote Before Anyone Shows Up
The Los Angeles gate repair market is full of companies that quote one price on the phone and present another at the door. A legitimate written estimate protects you from that, but you have to know what to ask for and what to provide to make the estimate accurate. Here’s the information we ask for when we take a call at our Electric Gate Repair in Los Angeles service line, and it’s the same information you should have ready for any company you call.
- Brand and model of the opener: The name is usually printed on the control board cover or on the operator housing. LiftMaster, FAAC, BFT, Linear, Viking, Ghost Controls, DoorKing, Elite, and Mighty Mule all use different part numbers, and the right part for a Viking slide gate operator is different from the right part for a LiftMaster swing gate operator. A company that can’t tell you which brands they stock or service is likely guessing.
- What the gate is doing, in plain terms: Is it dead silent? Humming but not moving? Opening halfway and reversing? Beeping but not responding to remotes? The specific symptom tells a technician which component to bring, and that determines whether they can complete the repair in one visit or need to order a part.
- The gate type and approximate size: Swing or slide? Single or double leaf? Rough length and height? These affect the motor size, the appropriate replacement parts, and the labor time required.
- Photos of the operator and control board: A clear photo of the operator housing, the control board, and any visible damage helps a technician pre-diagnose the problem before they arrive. This is standard practice at Calder Gate Repair, and it’s a sign of a professional operation.
A legitimate written estimate should include the following, before any work begins: the service fee or diagnostic charge, the anticipated labor cost in a clear dollar range, the cost of any parts with part numbers, and whether the diagnostic fee is applied toward the repair if you proceed. In Los Angeles, California, state law requires that the estimate be provided in writing and that the final price cannot exceed the written estimate by more than 10% without your approval. Any company that refuses to put the price in writing before starting work is not a company you want touching your gate.
Common Mistakes to Avoid
In 15 years of working on gate openers across Los Angeles, we’ve seen a specific set of DIY errors repeated so often they feel almost scripted. Knowing these before you touch a screwdriver might save you a costly correction.
- Assuming the entire operator is low voltage. The transformer’s input side carries 120V AC. The control side carries 24V. Opening the wrong cover means contacting high voltage by accident. This is the single most common and most dangerous error we see, especially on FAAC and BFT units where the high-voltage terminals are less visually obvious than on American brands.
- Watching a YouTube tutorial for a different brand. The limit switch adjustment on a Ghost Controls unit is not the same as the limit switch adjustment on a Linear unit, and following a Viking tutorial while working on a LiftMaster opener is how gates get driven through their end stops.
- Disconnecting the battery backup while the system is still plugged in. Low voltage doesn’t mean no voltage. Always disconnect wall power first, and wait the recommended time for any capacitor to discharge (which is still not complete discharge; see the capacitor warning above).
- Buying aftermarket parts from an unrelated marketplace. A generic photo eye from an unknown seller often doesn’t communicate properly with the brand’s control board. The part fits, the wiring matches, but the communication protocol is off, and the gate behaves erratically.
- Forgetting that a gate is a structural assembly, not an appliance. Adjusting travel settings without checking the hinge bolts, the rack alignment, and the gate’s overall weight distribution can cause the gate to bind, warp, or fail at the weld.
- Skipping the permit when adding a new gate operator or moving a power supply. Los Angeles building codes, especially in hillside and fire zone districts, have specific requirements for gate setbacks and emergency access. A gate that doesn’t meet Fire Department access requirements can be ordered to be removed at your expense.
When to Call a Professional
Call a professional if you hear a humming sound but the gate doesn’t move, if the gate opens by itself randomly, if the breaker trips when the opener runs, if the gate reverses on nothing, if you smell electrical burning near the operator, or if the gate moves unevenly and makes grinding noises. These symptoms indicate component-level failures in the motor, capacitor, transformer, control board, or power supply. They are not remote, sensor, or adjustment issues. Calder Gate Repair offers free estimates in Los Angeles; call (903) 417-0793 and a live person will help you describe the symptom, determine whether the repair is safe to attempt yourself, and schedule a visit with a written price before any work begins. For more guides & resources on keeping your gate running smoothly, visit our blog.
Frequently Asked Questions
The most common and most dangerous DIY mistake is opening the high-voltage side of the operator without knowing it’s the high-voltage side. Los Angeles has thousands of residential gate operators with 120V AC wiring and a capacitor that can hold a lethal charge even after the system is unplugged. The capacitor is the specific part that injures people.
Control board replacement varies by brand and board location. On some LiftMaster and Ghost Controls residential models, the board is mounted in a low-voltage-only area and a competent homeowner can swap it by matching wire positions exactly. On BFT, Viking, and commercial FAAC units, the board often sits within reach of live 120V terminals, and this replacement should be left to a licensed professional. The rule: if you have to work around exposed line-voltage wiring to reach the board, stop.
Most gate opener repairs in Los Angeles run $180 to $340 in labor before parts. Common parts like photo eyes, limit switches, and receiver modules run $35 to $180. A full control board replacement typically lands between $400 and $700 installed. Every repair from Calder Gate Repair comes with a written price before work starts. Call (903) 417-0793 for an exact quote; estimates are free.
Most repair work replacing a part, adjusting a limit switch, cleaning sensors does not require a permit. However, adding a new gate operator, installing a new electrical feed, or changing the gate’s footprint in a hillside or fire zone district may trigger Los Angeles Department of Building and Safety permit requirements. When in doubt, ask the technician before the work begins. A licensed company will tell you honestly whether a permit is needed.
Ghost opening is typically caused by one of three things: a failing photo eye that intermittently drops its signal, a corroded or damaged control board relay that randomly triggers the open command, or interference from another device operating on a nearby frequency (common in dense Los Angeles neighborhoods). The photo eyes and control board are both low-voltage components, but diagnosing which one requires a multimeter and some patience. A professional can usually isolate the cause in under an hour.
Calder Gate Repair runs same-day and emergency service across the Los Angeles area, with a live person answering every call 24/7 so you know exactly when a background-checked, uniformed technician will arrive. Call (903) 417-0793 and we can usually give you a live arrival time over the phone, not a four-hour window.
The Bottom Line
Electric gate repair sits at the intersection of low-voltage electronics and line-voltage electrical work, and the difference between the two is the most important piece of knowledge in this guide. Remote reprogramming, sensor cleaning, battery replacement, and careful limit switch adjustment on specific brands are real DIY options that save Los Angeles homeowners money. Everything else, capacitor work, transformer service, motor replacement, and any wiring that touches 120V, belongs in professional hands with a C-10 license and the experience to do the job without opening the wrong compartment. Gate opener repair in Los Angeles is one of those home repairs where the cost of expertise is a bargain compared to the cost of guessing. If you’re unsure which side of the operator you’re looking at, the cheapest and safest repair is the phone call: (903) 417-0793.
Written by Nico Alvarez, Owner at Calder Gate Repair, serving Los Angeles since 2009.