
Last updated October 9, 2026
Free on-site gate assessment - hinges, posts, and your LiftMaster or Nice gate operator checked before anything is quoted
The assessment is free and the quote is the invoice.


 Before
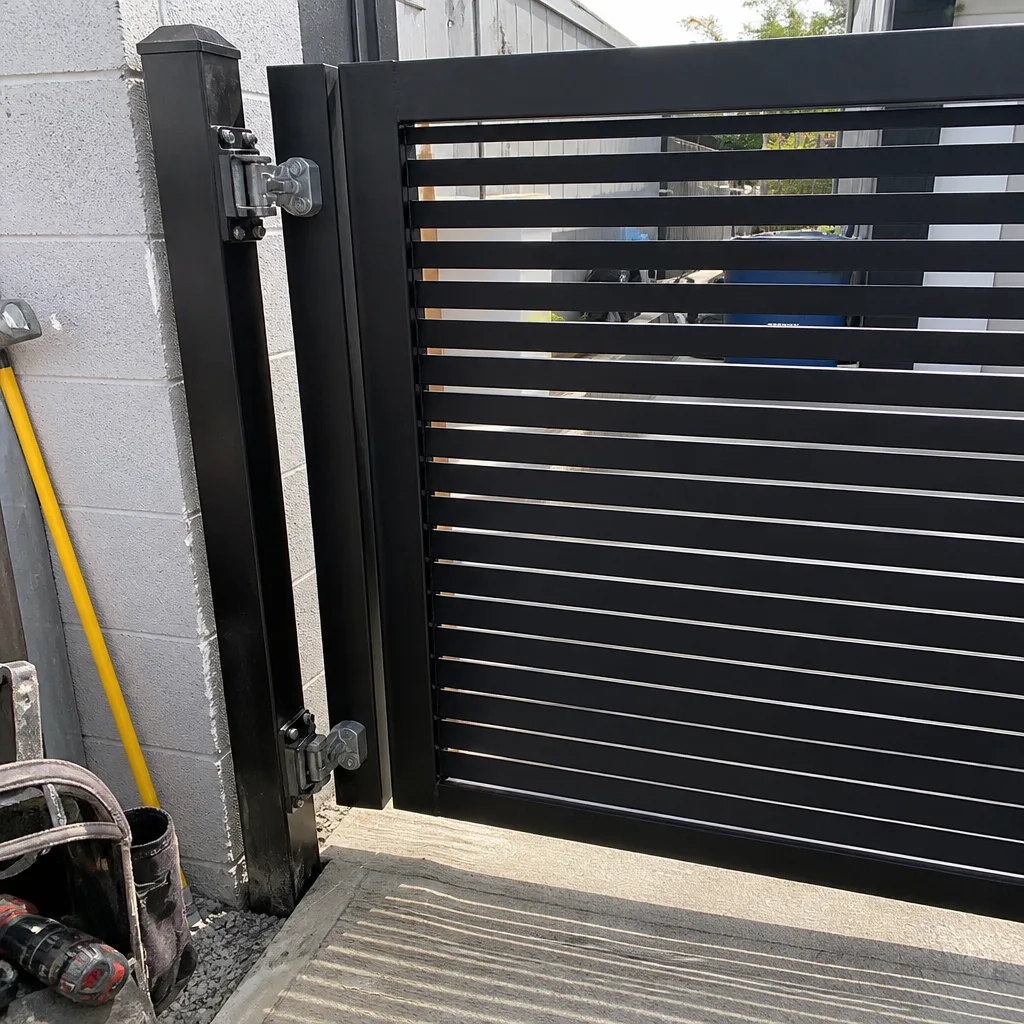 After
After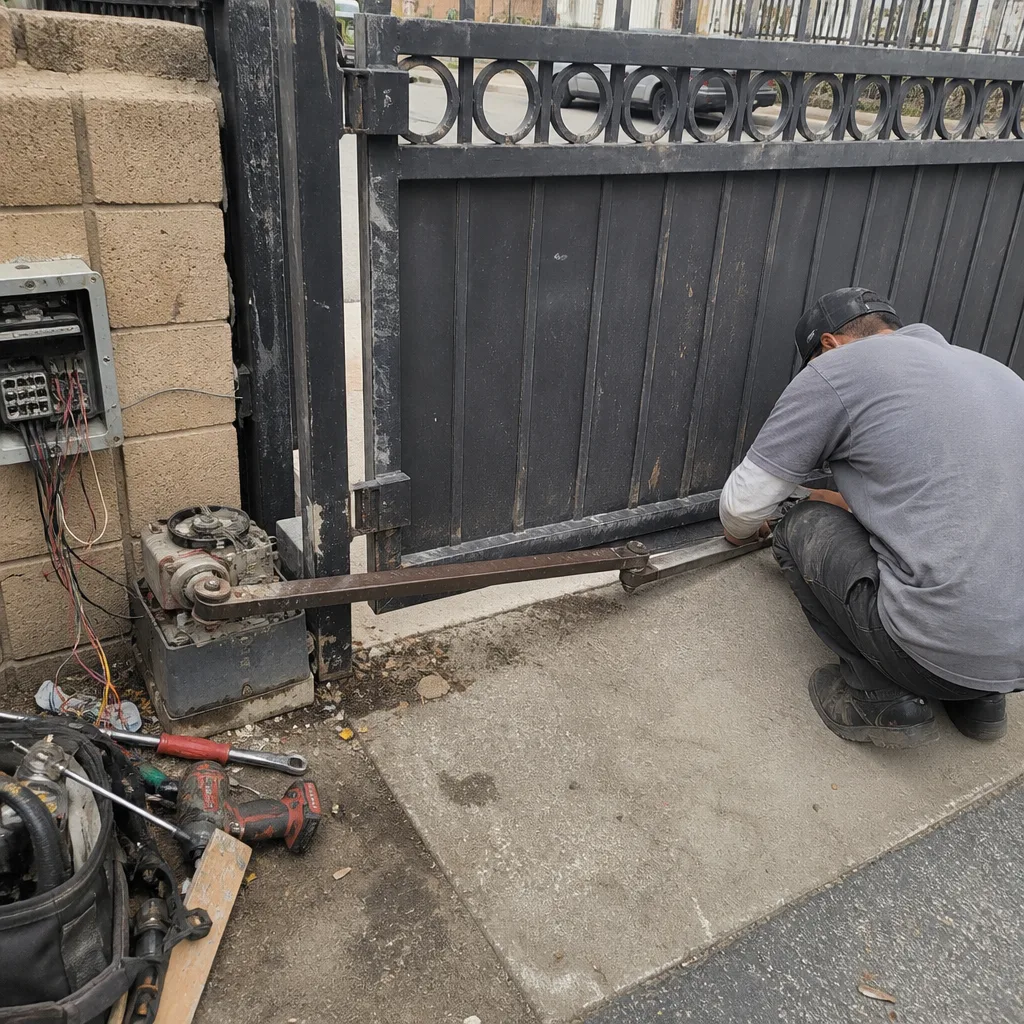 Before
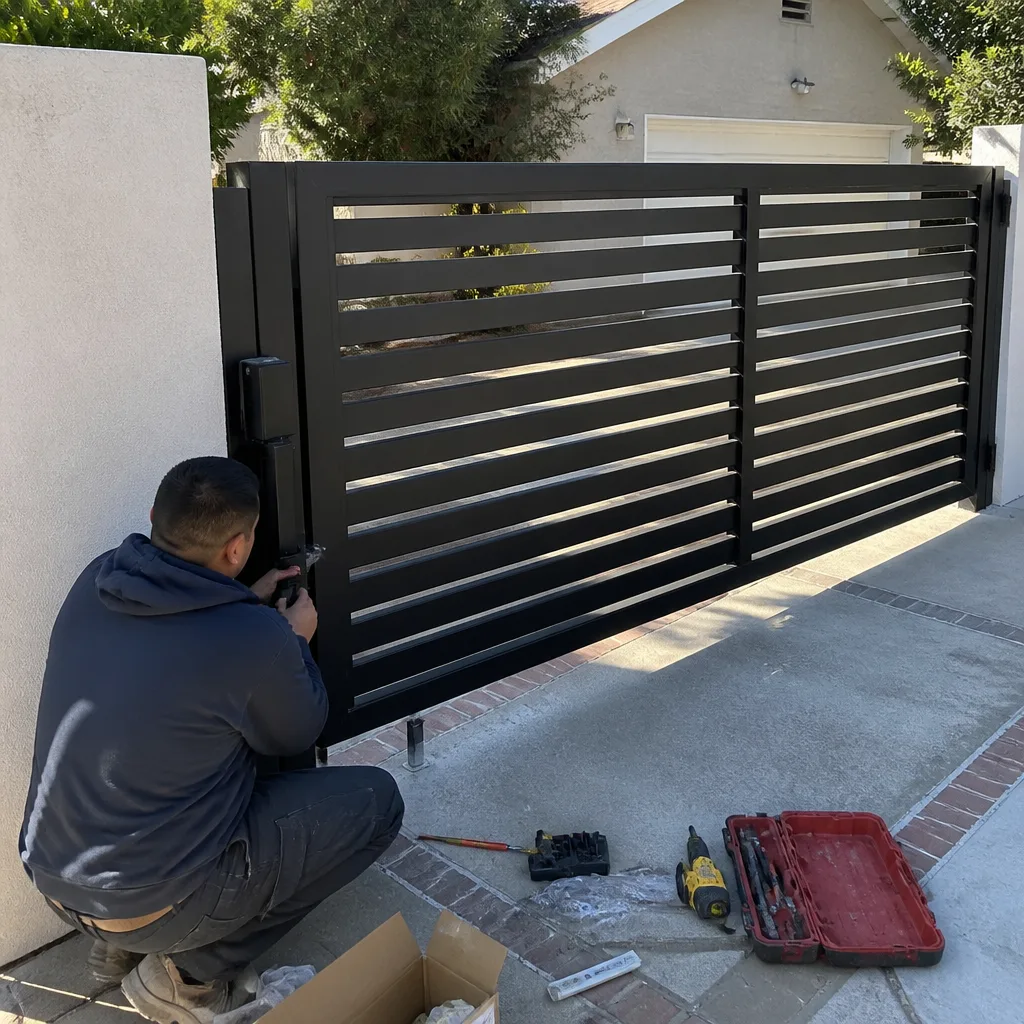 After
After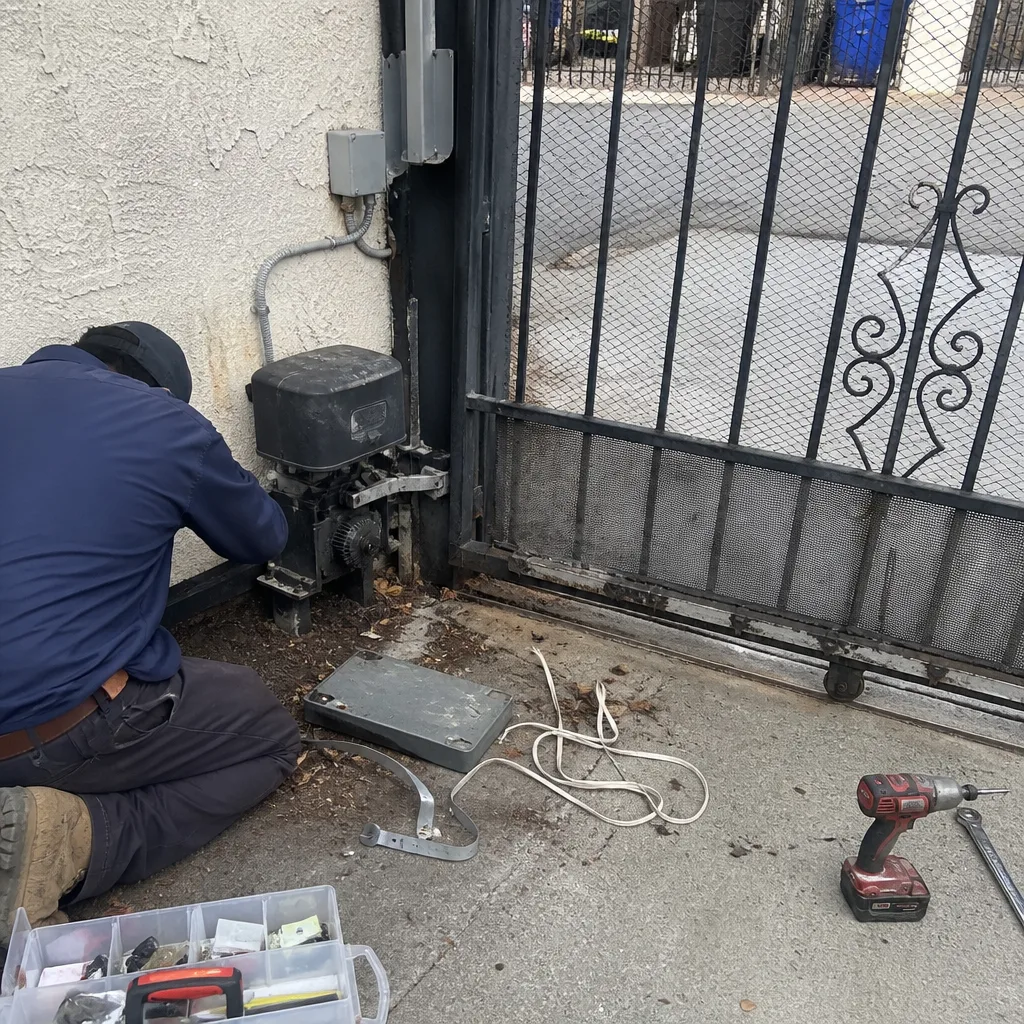 Before
 After
AfterDIY vs Professional Gate Opener Repair: What’s Safe to Do Yourself
A surprising number of gate opener failures in Los Angeles have nothing to do with the motor at all. They’re caused by photo-eye sensors knocked out of alignment after a gardener’s leaf blower, remote receivers reset by a neighborhood power surge, or limit switches gummed up with coastal salt air. But the real question isn’t whether you’re handy. It’s whether the component you’re about to touch stores energy you can’t see, or whether the repair carries liability that outlives the fix. This guide maps the line between what’s genuinely DIY-safe and what deserves a trained technician, using what we’ve learned from thousands of gates across Los Angeles, from Westchester bungalows to Encino estates. For a deeper look at this decision, see our DIY vs Professional Gate Repair: What’s Safe to Do Yourself guide. By the end, you’ll know exactly which jobs to grab a screwdriver for and which ones to call in before the gate wins.
Quick Answer
You can safely replace remote batteries, reprogram remotes and keypads, realign photo-eye sensors, clean debris from tracks, and swap a burned-out gate bulb on your own. You should not touch actuator springs, capacitor banks, underground wiring, or any repair that requires opening the motor housing while it’s under warranty. The line isn’t skill: it’s stored energy and liability. When a component can release force without warning or a mistake voids a warranty, call a professional gate repair technician instead.
Table of Contents
- The Stored Energy Principle: The Real DIY Boundary
- DIY-Safe Tasks: What You Can Handle This Weekend
- Professional-Only Tasks: Where Risk Outweighs Savings
- Warranty Traps: DIY Repairs That Void Manufacturer Coverage
- Honest Cost-Benefit: When DIY Savings Actually Pay
- Rental Property Owners: The Liability Angle Nobody Mentions
- Step-by-Step: Safe Reset Procedures You Can Do Yourself
- Common Mistakes to Avoid
The Stored Energy Principle: The Real DIY Boundary
Ask a gate technician what makes gate repair different from any other home repair, and we’ll point past the electrical components. The answer is rarely discussed on DIY forums: stored energy. A swing gate arm carries spring tension that can release with enough force to break bones. A slide gate chain runs under mechanical load connected to a motor with enough torque to drag a person. Capacitors inside the motor housing hold a charge even after the breaker is off, and that charge can deliver a genuine electrical shock. These aren’t risks you can just be careful around, because you can’t see them until they release.
In Los Angeles, we see this more often than you’d think. Homeowners in hilly neighborhoods like Mount Washington or Baldwin Hills have heavy iron gates on slopes, which means gravity is always adding load to the hinges and actuator. A gate that weighs 400 pounds on flat ground pushes substantially harder on an incline. When a spring or gear fails on a slope gate, the gate can swing or slide faster and further than you’d predict. In our experience, this single factor, Los Angeles topography, turns what would be a manageable repair in a flat neighborhood into one that demands a spring compression tool, a second pair of trained hands, and the knowledge that the gate’s failure mode changes once it’s on a hill. For Los Angeles homeowners specifically, our DIY vs Professional Gate Repair: The Los Angeles Homeowner’s Decision Guide covers more local factors.
Here’s a helpful mental model we use with customers. Divide every gate component into two columns. Column A: things that move because you move them with your hand (a remote, a keypad, a photo-eye bracket). Column B: things that move because stored energy moves them, or things that store energy themselves (springs, capacitors, drive chains under tension, hydraulic pistons). Column A is your DIY territory. Column B belongs to someone who works with that force every week.
DIY-Safe Tasks: What You Can Handle This Weekend
Not everything requires a service call. In fact, several of the most common gate opener complaints we hear in Los Angeles are just maintenance tasks with simple fixes. The difference between a nuisance and a repair call is often fifteen minutes with a screwdriver and the right checklist. Here’s what we consider genuinely safe for a careful homeowner, assuming you can follow a brand-specific manual for your opener.
Quick tip before you start: always disconnect power at the breaker or unplug the opener first. Even for tasks that don’t involve wiring, a gate that activates unexpectedly while your hands are in the mechanism is a bad afternoon. Most openers have a mechanical release lever too, which lets you move the gate by hand while you work. Use it.
Remote and Keypad Programming
This is the most common complaint in the city, and it rarely indicates a broken opener. A Garage door-style rolling code remote, like those used by Linear and Mighty Mule openers, can fall out of sync after a power blip. Reprogramming usually involves pressing a Learn button on the opener unit and pressing the remote button within a set window, typically 30 seconds. Your opener’s manual has the exact sequence for your model. If you’ve misplaced the manual, most manufacturers publish PDF copies online.
When reprogramming fails, the issue might be the remote’s internal battery contact or the opener’s receiver board, not the remote itself. But before you assume that, try a fresh battery. It sounds obvious, and it’s surprising how often that’s the fix.
Photo-Eye Sensor Alignment
If your gate starts to close and then immediately reverses, the photo-eye sensors are the prime suspect. These are the small units mounted near the ground on each side of the gate opening. They send an invisible beam between them; when the beam breaks, the opener refuses to close. In Los Angeles, routine yard work, heavy wind, or even the weight of a car driving too close to a gate post can knock a sensor out of alignment.
The fix is usually as simple as loosening the mounting bracket screws, aiming both sensors at each other, and watching for the small indicator light to turn solid instead of blinking. Some units, like those on older Viking or DoorKing openers, may have a small adjustment wheel. A solid green or solid red light typically means you’re aligned. If there’s no light at all, check the low-voltage wire where it enters the sensor for a break.
Track and Debris Clearing
Slide gates are common throughout Los Angeles because they work well on sloped driveways. Their openers push a chain along a track, and the track collects everything: leaves, dirt, small rocks, even children’s toys. When the track gets obstructed, the opener strains, trips its force sensor, and reverses or refuses to move. Brushing the track and lubricating the gate rollers with a silicone-based spray takes minutes and is absolutely DIY-appropriate.
Replacing Exterior Accessories
Keypad housings, remote visor clips, gate bulbs, and antenna wires on brands like Ghost Controls are all considered consumer-side items. They don’t put you near stored energy, and the replacement parts are widely available. If you can wire a doorbell, you can typically swap a keypad. The one caution: match voltage exactly on anything with a transformer.
Professional-Only Tasks: Where Risk Outweighs Savings
Now for the other column. These are the tasks where the DIY savings stop being worth the risk, the warranty hit, or both. We’re not being gatekeepers here. This is about moving parts that can move through you.
Actuator Arm and Hinge Spring Work
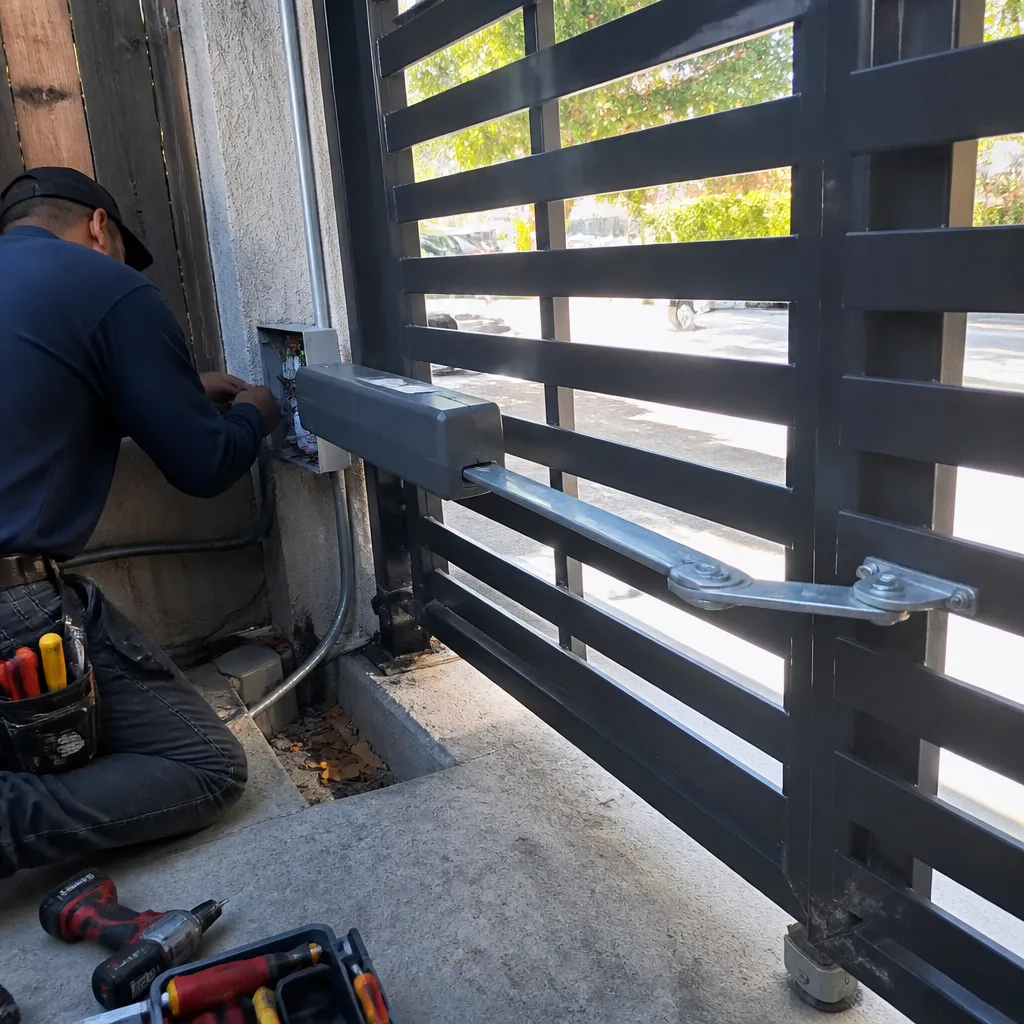
A swing gate actuator arm is essentially a spring under enormous pre-load. You can’t tell by looking how much tension it’s holding. If you unbolt the wrong end first, the arm can snap across the gate, or the gate itself can swing with enough force to knock a ladder out from under you. This is the closest thing in residential repair to working under a loaded suspension spring on a car. We’ve replaced arms after homeowners’ DIY attempts ended with broken fingers and bent gate posts, and those are the lucky outcomes.
Capacitor and Motor Housing Repairs
Even with the breaker off, a motor start capacitor can hold a charge strong enough to shock. Opening the housing also voids the warranty on most brands, including Linear and Viking, unless done by an authorized professional. If the motor is humming but not moving, or you hear a clicking sound from inside the housing, that’s a capacitor or control board issue. It’s not a DIY job. The risk is a real electrical injury, and the repair is rarely the simple fix people imagine.
Underground or Low-Voltage Wiring
Gate opener wiring runs from your house or a nearby outlet, often underground, to the opener. In Los Angeles, that wire is sometimes snaked through horticultural zones, under pavers, or along fences where gardeners’ tools find it. If you’re seeing intermittent power loss, a tripped breaker repeatedly, or the opener only works when the gate is in a certain position, you might have a damaged wire run. Locating and repairing the break properly requires a wire tracer, the right waterproof splice connectors, and knowledge of local low-voltage code. A shorted wire can also damage the opener’s control board if it’s not addressed correctly.
Adjusting Force and Limit Settings
Technically, anyone can twist a limit switch adjustment. Practically, setting a limit incorrectly means the gate doesn’t fully close, or worse, doesn’t stop in time and drives into its end post. Force settings are even more critical: too high means the gate won’t reverse when it hits an obstruction, which is what turns a gate into an injury. The limit switch is the small sensor that tells the gate when to stop, and a misadjusted limit on a heavy gate is a genuine safety problem, not just a nuisance. If you’re not certain which direction to turn, and what travel distance is appropriate for your gate’s weight, leave it alone.
Warranty Traps: DIY Repairs That Void Manufacturer Coverage
This is the part most DIY guides skip. Manufacturer warranties aren’t just about who touched the opener; they’re about what evidence of work remains. Here’s what we’ve seen in the field, particularly with higher-end gate openers in Los Angeles where customers spend real money on the install.
The Opened-Housing Trap
Virtually every gate opener manufacturer, from LiftMaster to BFT, states in the owner’s manual that opening the motor housing by an unauthorized person voids the drive unit warranty. If you’ve ever unscrewed the housing to “just look at” a humming motor, and then you call a professional for help, the technician can usually tell. Warranty claims get denied on this basis all the time.
The Non-Factory-Parts Trap
Installing a generic aftermarket control board or gear set from an online marketplace can work. It can also void the remaining manufacturer’s coverage, and it can create compatibility issues down the line. We’ve seen openers with mismatched boards where the receiver works but the safety edges don’t, which is a seriously unsafe configuration. Using factory-familiar parts from a technician trained on brands like DoorKing or Ghost Controls keeps the wiring harness matched and the warranty intact.
The Skip-the-Professional-Diagnosis Trap
Some manufacturers require a licensed or authorized professional to confirm a diagnosis before they’ll honor a parts warranty. That means if a gear fails at month 11 of a 12-month warranty, and you’ve replaced it yourself, you eat the cost. If you had called from the start, the part would have been covered. For a gate opener that can cost several hundred to over a thousand dollars, the diagnostic call is often the cheapest line item.
Honest Cost-Benefit: When DIY Savings Actually Pay
Let’s put real numbers on this. In Los Angeles, gate opener repair service calls typically run between $125 and $250 for the visit and diagnosis, with the repair itself adding parts and labor depending on what’s wrong. A common gear replacement on a slide gate opener might total $350 to $650 with labor and a factory-matching gear. A capacitor replacement might run $180 to $320. Control board replacement can push higher.
Meanwhile, the DIY-friendly tasks we listed earlier, remote batteries, sensor realignment, track cleaning, save you the cost of a service call while avoiding risk. Replacing a remote battery costs you $5 and five minutes. Reprogramming a keypad costs nothing but time. Those are clear wins.
The break-even point comes when a repair requires a specialty tool or a replacement part with enough engineering tolerance to matter. For example, a spring compression tool for a swing arm costs anywhere from $60 to $200, and you might use it once. A factory-matched gear set for a DoorKing slide opener can cost $150 to $400 on its own, and if you install it slightly wrong, the gate binds and chews through the new gear within a week. Now you’ve bought the part twice, and you’re calling us anyway.
We think the honest calculation is this: if the repair requires a tool you’ll never use again, and the downside of the repair failing includes a gate that won’t close, that’s when professional help stops being optional. Security gates need to close. A gate stuck open at night in Los Angeles is more than an inconvenience. It’s an invitation.
Rental Property Owners: The Liability Angle Nobody Mentions
If you own a rental property in Los Angeles with an electric gate, the DIY-versus-professional question changes entirely. This isn’t just about your own safety. It’s about your exposure if a tenant, guest, or delivery person gets hurt by the gate.
Property owners in Los Angeles have a legal duty to maintain safe conditions. When a gate repair is done by whoever answers a Craigslist ad, or by you with a wrench and a guess, there’s no documentation trail. If that gate later fails and hurts someone, the question becomes whether the owner exercised reasonable care. A written repair receipt from a professional gate repair company, with a diagnostic note, parts list, and before-and-after photos, is the difference between a defensible maintenance record and an avoidable liability claim.
Here’s the part most owners don’t know: a professionally documented repair also gives you recourse. At Calder Gate Repair, every repair in Los Angeles comes with a written price before work starts, a written guarantee on the repair, and a free second visit if the repair fails within 365 days. That’s our 365-Day Done Right Promise, and for a landlord it means any gate issue that recurs within the year isn’t another expense; it’s our problem to make right at no charge. You can’t get that from a rented tool and a YouTube walkthrough.
Step-by-Step: Safe Reset Procedures You Can Do Yourself
These are the two procedures we walk Los Angeles homeowners through most often over the phone. They’re safe, they’re fast, and they solve a surprising number of opener complaints without a service call.
How to Reset a Gate Opener Remote
- Disconnect power to the opener at the breaker or unplug it, then wait 10 seconds and restore power. Some openers reset only on a full power cycle.
- Locate the Learn button on the opener control board. The exact location varies by brand: on many Linear openers it’s near the antenna; on Ghost Controls it’s inside the main housing behind the cover panel.
- Press and hold the Learn button until the indicator light changes, usually from solid to blinking or from off to on.
- Within 30 seconds, press the button on your remote that you want to assign to the gate. Wait for the light pattern to change again, signaling the remote code was stored.
- Test the remote from 15 feet away. If it doesn’t work, repeat once. If it still fails, the issue may be the receiver board or the remote itself.
How to Realign Photo-Eye Sensors
- Turn off the opener’s power at the breaker. Never work on sensors or low-voltage wiring with the opener powered.
- Inspect each photo-eye unit. Look for obvious physical damage, debris covering the lens, or a sensor knocked askew.
- Loosen the mounting bracket screws just enough to swivel the sensors by hand.
- Aim each sensor across the gate opening at its twin. You’re looking for the small indicator light to turn solid. On many units, a blinking light means misalignment; a solid light means the beam is connecting.
- Tighten the brackets, then restore power and test the gate. If the gate still reverses on close, check for a low-voltage wire break or a bent bracket.
If either procedure doesn’t resolve the issue, it’s reasonable to stop there. The next step is often inside the motor housing, and that’s where the DIY window closes.
Common Mistakes to Avoid
- Opening the motor housing to “just look.” You void the manufacturer’s warranty the moment the screws come out. We’ve seen homeowners lose coverage on a $600 Linear opener because they wanted to check a loose wire, which was never inside the housing to begin with.
- Forgetting the breaker before touching wiring. It’s not just the opener. Gate low-voltage wiring connects to a transformer near the unit or inside a nearby outlet box. Overconfidence at this step is how people get shocked while assuming 24-volt wiring is inherently safe.
- Using WD-40 on gate tracks and chains. WD-40 is a solvent, not a heavy-duty lubricant. On Los Angeles hillside properties, it washes out during the first heavy rain and leaves the chain running dry. Use a silicone or lithium-based lubricant for chains and a dry lube for rollers.
- Over-tightening the limit switch to force a gate to close. This is one we see after someone backs into a gate post and knocks the limit out of position. Cranking the adjustment to restore normal travel often over-drives the gate into the stop, bending the mechanism further.
- Skipping the release lever before moving the gate by hand. Moving a gate against its opener with the drive engaged wears gear teeth and, on some models, damages the internal limit mechanism. Always disengage first.
- Replacing a control board with a generic part to save $40. The wiring harness pinouts don’t always match across brands. A mismatched DoorKing board can leave safety edges unpowered, which means the gate won’t stop if something hits it. That’s the exact failure that costs someone a finger or a pet.
- Assuming a stuck gate is always the opener. We find the real cause in the gate’s mechanical half more often than people expect: a warped wheel, a snapped hinge weld, a post that settled in Los Angeles’ shifting clay soil. Replacing opener parts before checking the gate’s own hardware wastes money.
When to Call a Professional
Call a professional, not a handyman, when the repair involves actuator springs, capacitor banks, anything inside the motor housing, underground low-voltage wiring, or force and limit calibrations on a gate heavier than a standard single-car swing panel. The same goes for any gate you rely on for security and any property where documentation matters for liability. We’ve covered the reasons throughout this guide: stored energy you can’t see, warranties you’d void, and repairs that fail in ways that put the gate’s safety systems offline. Calder Gate Repair offers Gate Opener Repair services with free estimates in Los Angeles, call (903) 417-0793, and our technicians arrive with a live arrival time you can track, written pricing before any work starts, and factory-level familiarity with linear, Viking, Ghost Controls, and DoorKing openers.
Frequently Asked Questions
Yes, replacing and programming a gate opener remote is a safe DIY task for almost any homeowner. The process involves pairing the new remote with the Learn button on your opener unit, and most brands, including Linear and Ghost Controls, provide clear documentation online. If a new remote won’t pair, the issue may be the opener’s receiver board rather than the remote itself.
Most gate opener repairs in Los Angeles run $180 to $520 before parts, depending on the issue. A capacitor replacement often falls on the lower end, a gear set replacement runs toward the middle, and a control board replacement can push higher. You should never agree to a repair without a written price first; at Calder Gate Repair, the price is quoted and agreed before any work begins. Call (903) 417-0793 for a free estimate on your specific opener.
In many cases, yes. Opening the motor housing, installing aftermarket parts, or adjusting internal components on a warranty-covered opener from brands like Viking or DoorKing can void the manufacturer’s coverage. The safe approach is to limit DIY work to consumer-side items like remotes, keypads, photo-eyes, and track cleaning, and let a professional handle anything inside the housing.
If your gate opens but refuses to close, the photo-eye safety sensors are usually the cause. One of the sensors is misaligned, blocked by debris, or has a broken low-voltage wire. Check the indicator lights on both sensors: if one is blinking, realign the bracket until the light turns solid. If both lights are off, look for a wire break at the sensor or transformer.
We don’t recommend it. A gate opener motor that hums but doesn’t move usually indicates a capacitor or gear problem, both of which require opening the sealed motor housing. That exposes you to a stored electrical charge and voids the manufacturer’s warranty. It’s one of the clearest examples of a repair where calling a professional from the start costs less than the DIY attempt.
Our technicians in Los Angeles are trained on Linear, Viking, Ghost Controls, DoorKing, LiftMaster, FAAC, BFT, Elite, and Mighty Mule openers. That covers virtually every residential gate opener in the Southern California market, so if you purchased your home with an opener already installed, chances are we service it. Call (903) 417-0793 and the person who answers can tell you over the phone whether your issue sounds like a simple remote reset or a full service call.
The Bottom Line
The DIY-versus-professional gate opener question isn’t a pride test. It’s a risk assessment. Some tasks on a gate opener are low-risk, low-cost, and completely appropriate for a homeowner with the manual in hand. Others involve stored energy, sealed housing, or legal exposure that turns a $100 savings into a $1,000 problem. Your job as a homeowner is to know which column you’re in before you pick up the tool. If the task involves moving parts that can move through you, or a warranty you’d like to keep, call a professional. Calder Gate Repair has served Los Angeles gate repair since 2009 as part of the Relay Home Co. family, and every repair includes a written price, a written guarantee, and the 365-Day Done Right Promise. For gate repair service in Los Angeles or electric gate repair, call (903) 417-0793 for a free estimate from a live person, 24/7.
Written by Nico Alvarez, Owner at Calder Gate Repair, serving Los Angeles since 2009. For more guides & resources, visit our blog.