
Last updated October 9, 2026
Free on-site gate assessment - hinges, posts, and your LiftMaster or Nice gate operator checked before anything is quoted
The assessment is free and the quote is the invoice.

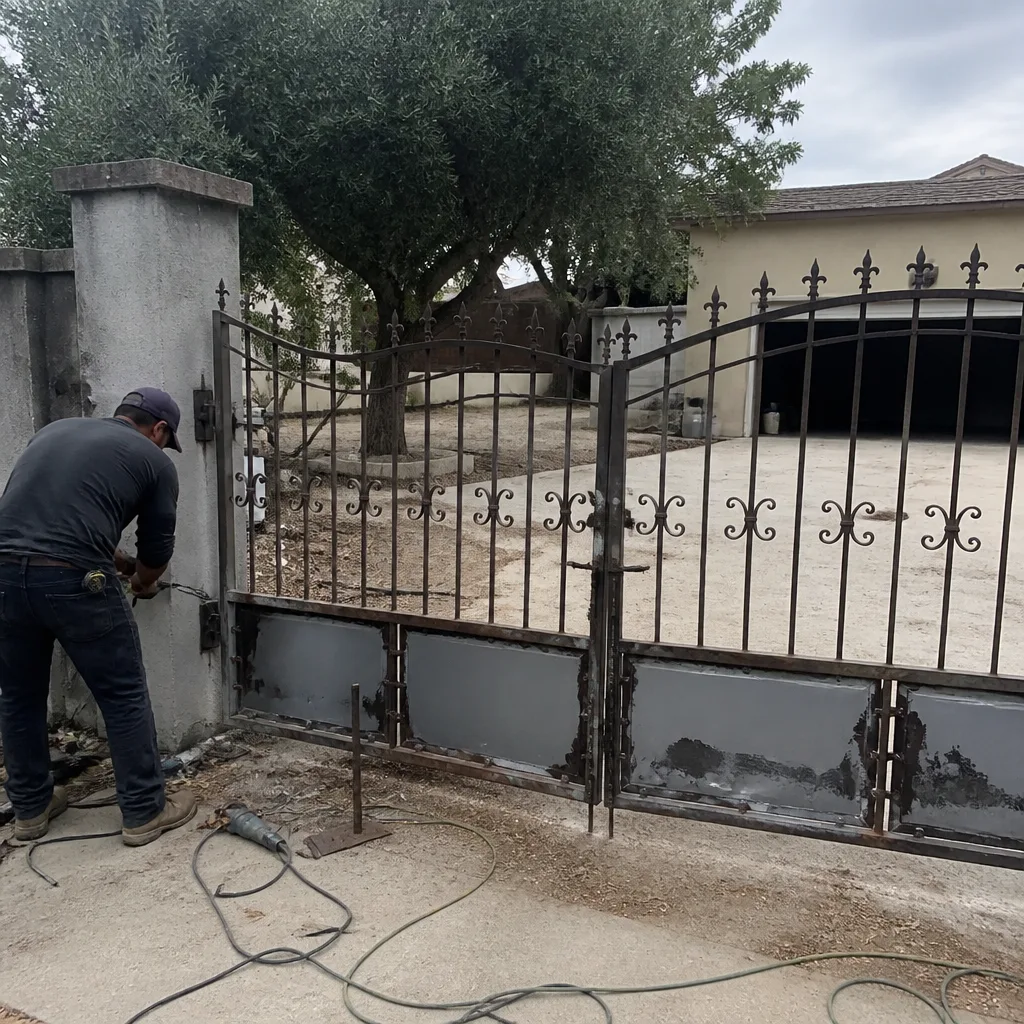 Before
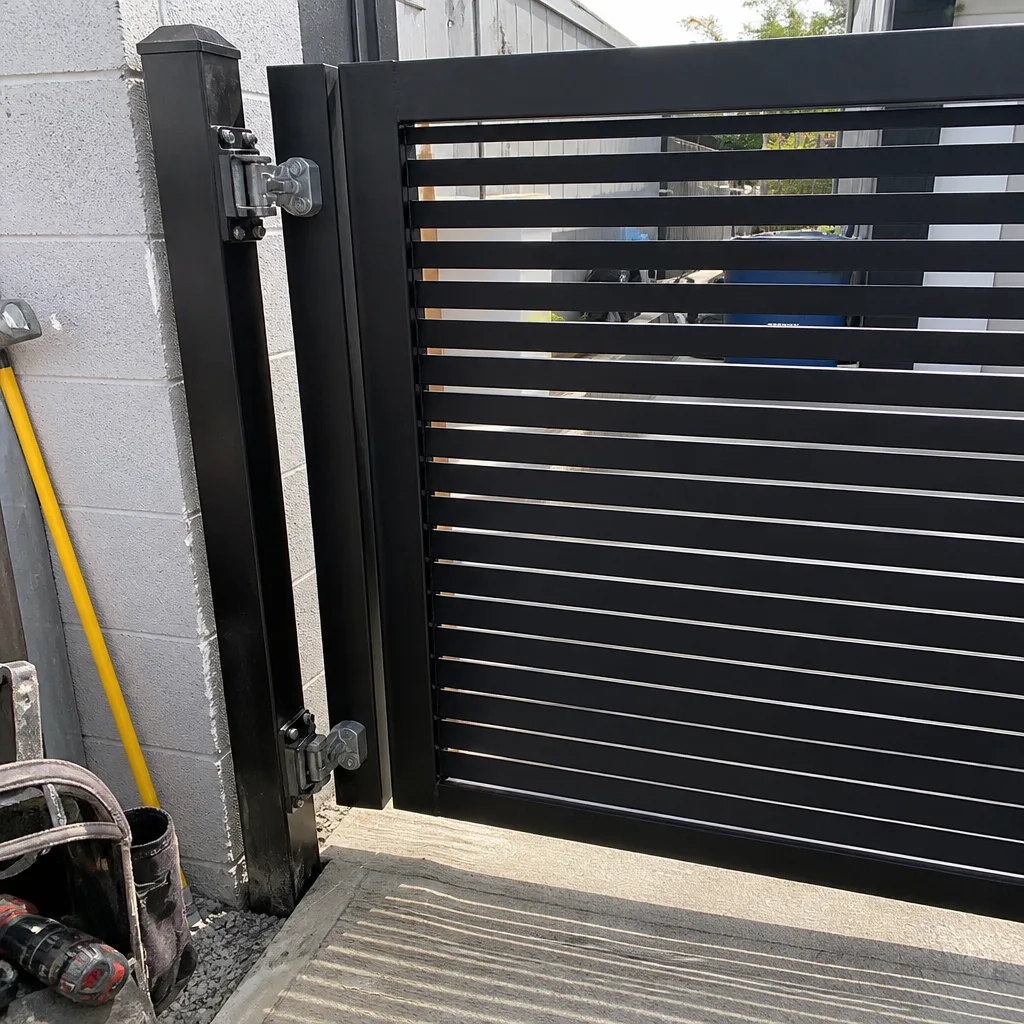 After
After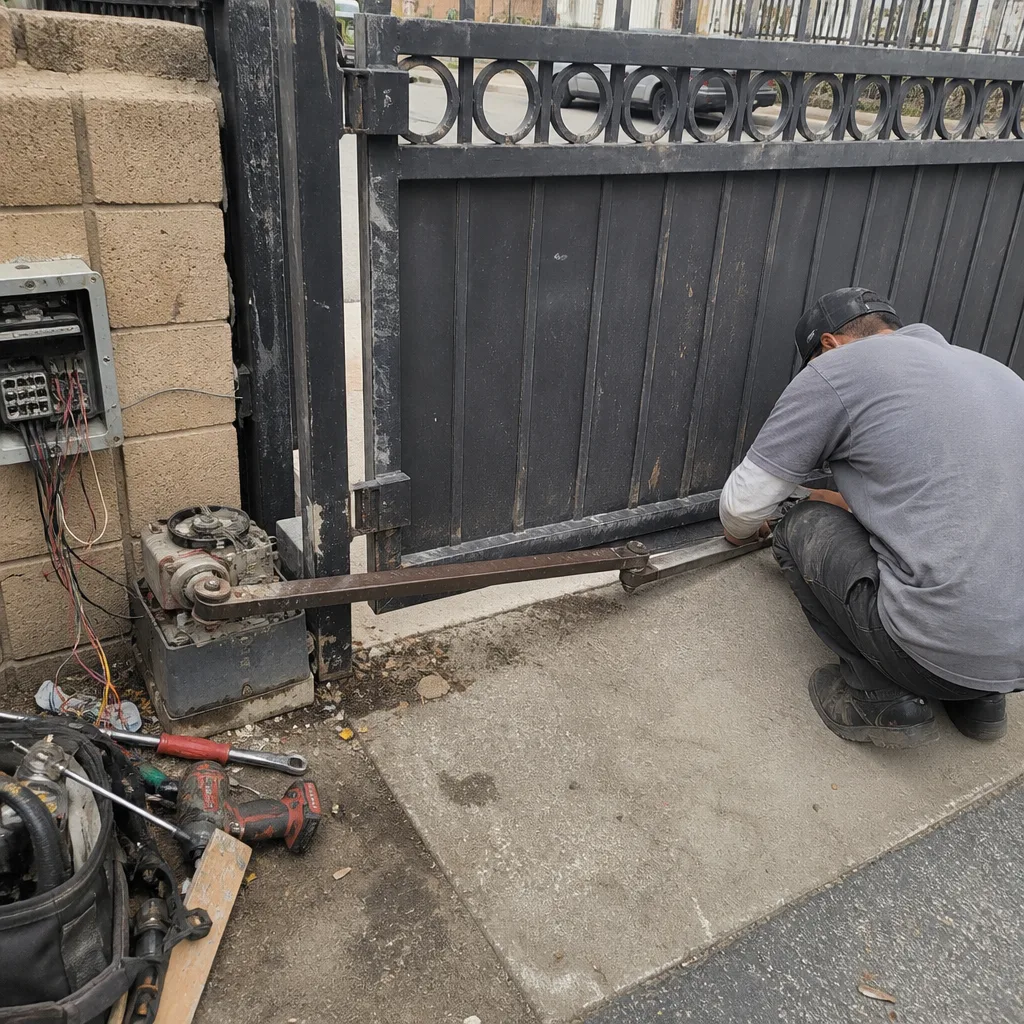 Before
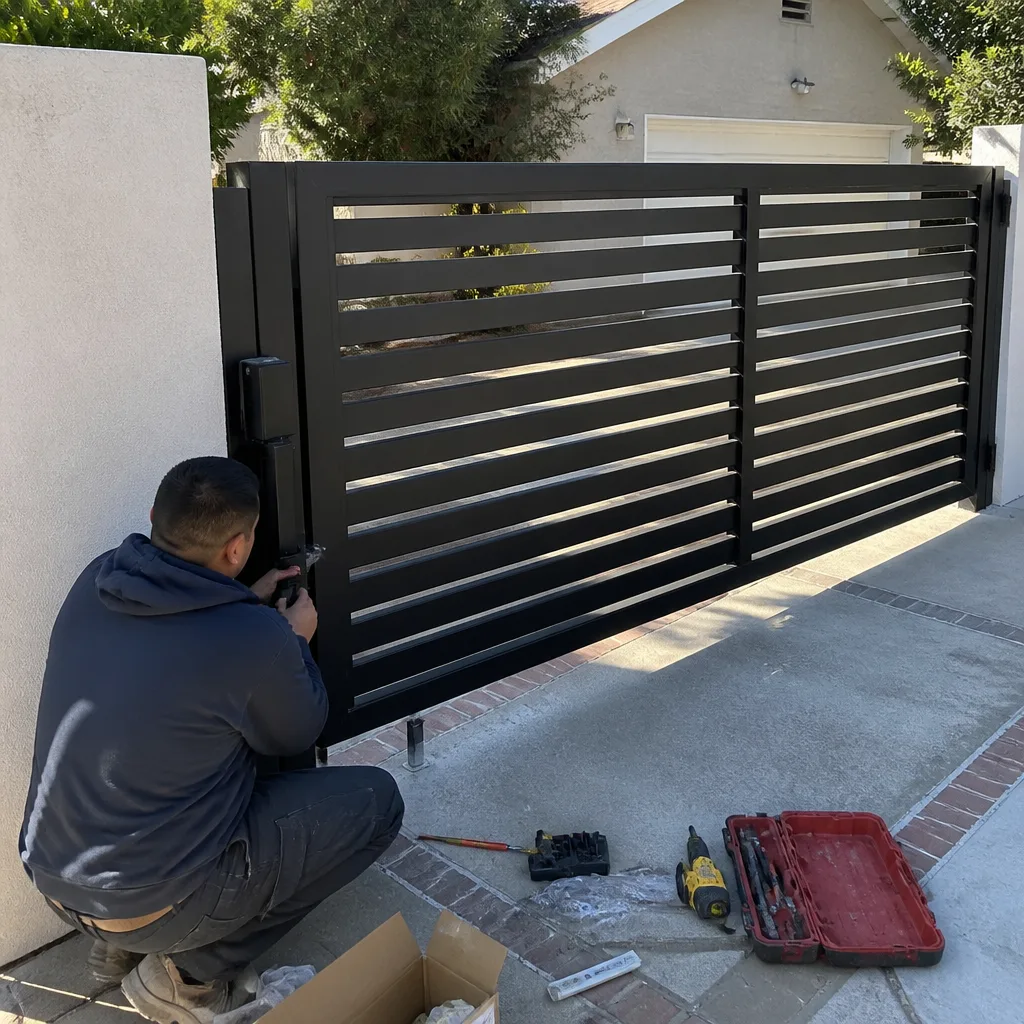 After
After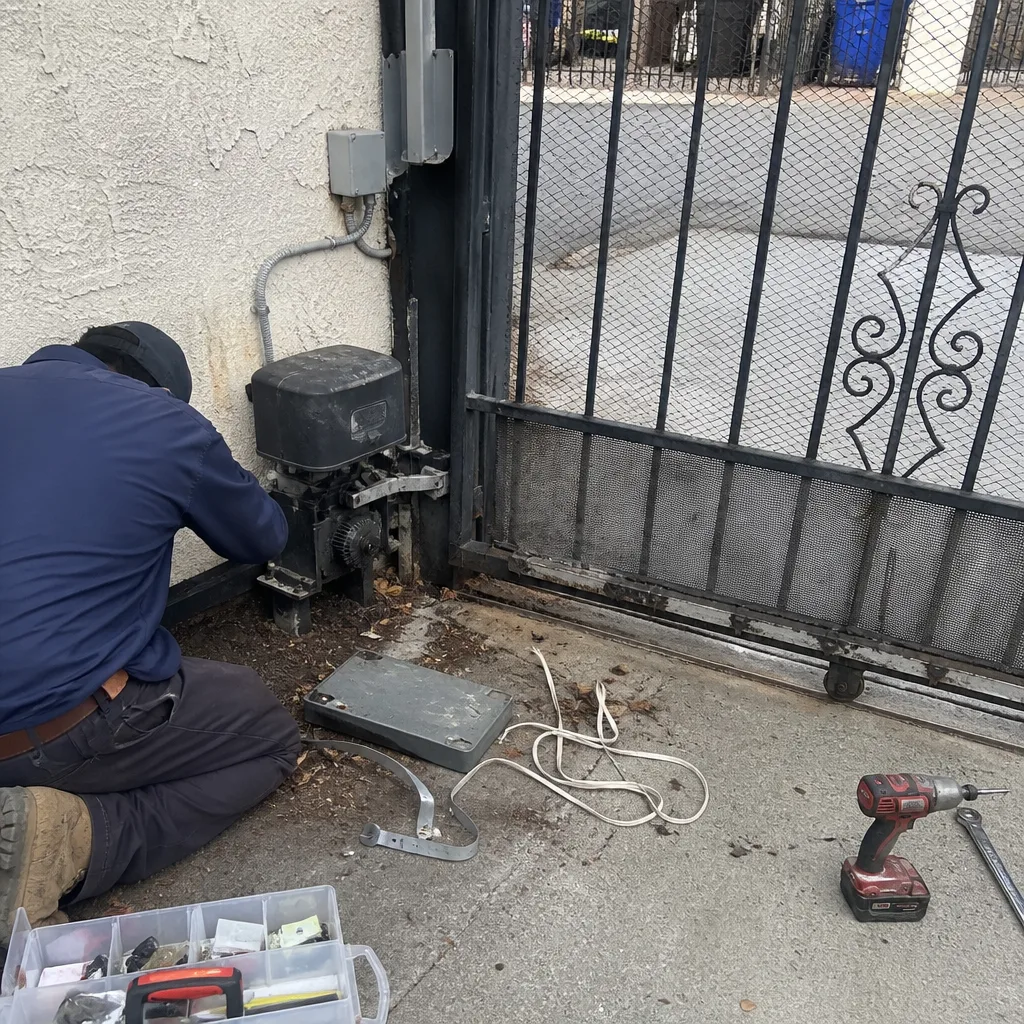 Before
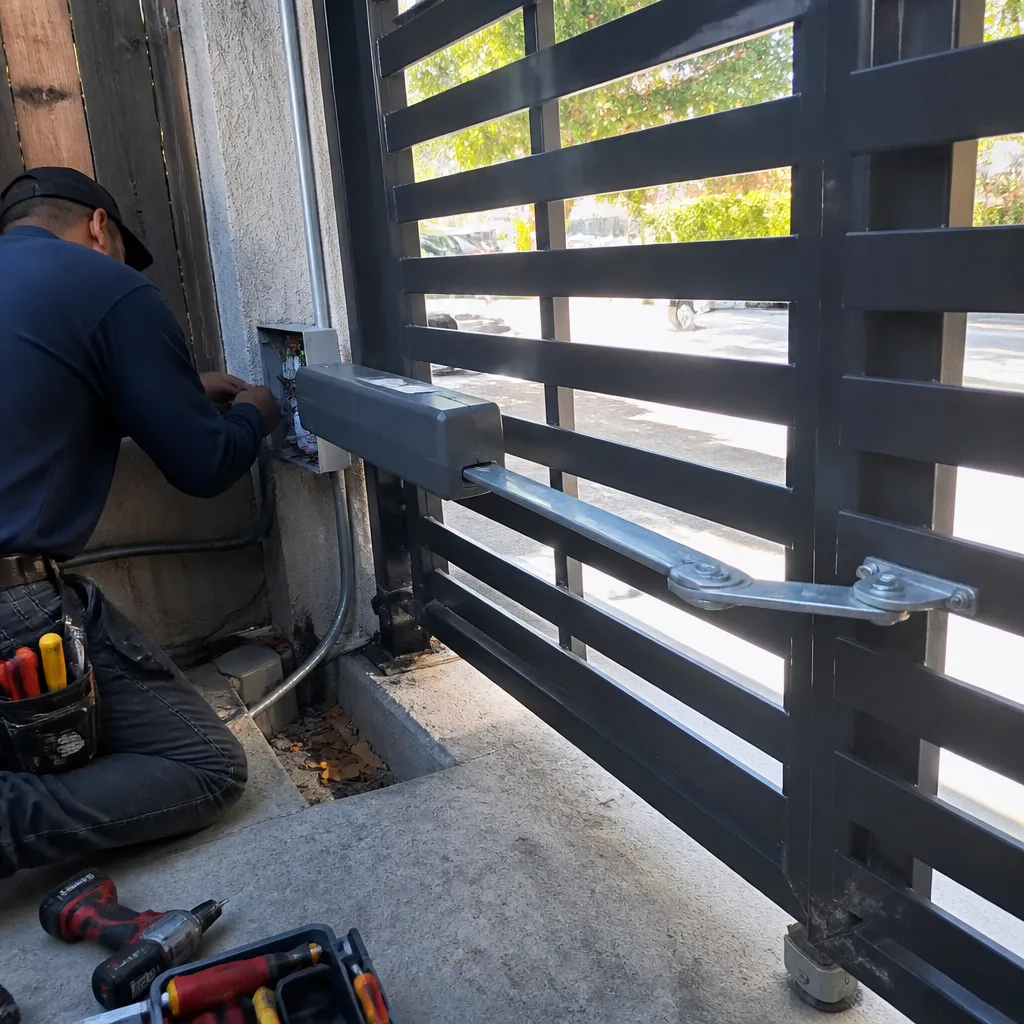 After
AfterDIY vs Professional Gate Repair: What’s Safe to Do Yourself
Gate springs store enough tension to fracture bones. That’s not hyperbole – the torsion springs on a sliding or swinging gate are wound under hundreds of pounds of pressure, and when they let go, they don’t warn you first. Yet a quick search on YouTube shows people treating gate spring replacement like a weekend project alongside painting the fence. Here’s what this guide will give you: a clear, honest breakdown of which gate repairs are genuinely safe for a homeowner in Los Angeles, which ones you can do with caution and the right tools, and which ones should be left to Gate Repair professionals with a truck full of specialized equipment. You’ll also learn the real cost math behind DIY attempts, including what happens when a “simple fix” goes sideways and you’re suddenly facing a repair bill two or three times the original quote.
Quick Answer
Most surface-level gate maintenance – cleaning tracks, tightening visible bolts, lubricating hinges, replacing remote batteries – is safe to DIY. Anything involving torsion springs, high-voltage opener wiring, or safety sensor realignment crosses into professional territory because the risk of serious injury outweighs the money you’d save. In Los Angeles, where automated driveway gates are the norm in neighborhoods from Silver Lake to Tarzana, the line between safe and dangerous usually falls along one principle: if it stores energy, leave it to someone who’s trained to release it. For a deeper look at this decision, see our guide on DIY vs Professional Gate Repair: The Los Angeles Homeowner’s Decision Guide.
Table of Contents
- Green Light: Repairs You Can Safely Do Yourself
- Yellow Light: DIY With Caution and the Right Tools
- Red Light: Professional Only – No Exceptions
- Which Brands Allow Homeowner Programming Without Voiding the Warranty
- The Real Cost Math: When DIY Saves Money and When It Doesn’t
- What Homeowners Have vs. What Pros Bring
- How to Describe a Problem Accurately After a DIY Attempt
Green Light: Repairs You Can Safely Do Yourself
These tasks don’t involve stored energy, high-voltage electrical work, or any component that could cause injury if done wrong. You’ll need basic hand tools, a spare hour, and the willingness to read the manual that came with your opener. In our experience servicing gates across Los Angeles – from mid-century homes in the Valley to newer builds in Culver City – these are the five homeowner-friendly tasks that cause the fewest problems when handled correctly.
- Track and rail cleaning. Sliding gates collect dust, leaves, and the fine grit that blows through LA during Santa Ana wind season. Clear the track with a stiff brush, then wipe it down. A clean track reduces strain on the opener motor and extends its life by years.
- Tightening visible fasteners. Gates go through thousands of open-close cycles a year. Bolts on the gate frame, hinge brackets, and post mounts loosen over time – especially on hillside properties where the ground shifts subtly. Walk the gate with a socket set and snug up anything that’s worked loose. Don’t over-torque; hand-tight plus a quarter turn is usually enough.
- Lubricating moving parts. Use a silicone-based or white lithium spray on hinges, rollers, and the chain or belt. Avoid WD-40 – it’s a degreaser, not a long-term lubricant, and it’ll strip the existing protective coating. In coastal Los Angeles areas like Playa del Rey or San Pedro, salt air accelerates corrosion, so hitting the pivot points every few months makes a measurable difference.
- Replacing remote transmitter batteries. If the gate responds to the wall button but not the remote, the fix is usually a $3 coin-cell battery. Slide the back cover off the fob, note the battery type (usually CR2032 or A23), and swap it. If the remote still doesn’t work after a fresh battery, it may have lost its programming – that’s a yellow-light task covered below.
- Photo eye lens cleaning. The safety sensors at the base of the gate get dirty fast in LA – car exhaust, irrigation overspray, and fine dust all coat the lenses. Wipe them with a soft cloth and a little glass cleaner. If the gate still won’t close, the issue may be alignment, which is trickier than it looks.
Yellow Light: DIY With Caution and the Right Tools
Yellow-light tasks are doable for a capable homeowner with patience and the correct tools, but each one carries a specific risk if you rush or improvise. Before attempting any of these, ask yourself one question: if this goes wrong, can I afford the repair bill – and the downtime – that follows?
- Limit switch adjustment (most brands). The limit switch – the small sensor that tells the gate when to stop opening or closing – is adjustable on most residential openers. If your gate closes too far and smacks the post, or stops six inches short, you can usually correct it with a flathead screwdriver and the manufacturer’s instructions. But the adjustment is sensitive: an eighth of a turn changes the stop point by inches. Mark your starting position with a pencil before you adjust anything.
- Remote reprogramming. If a replacement remote won’t sync, the opener’s learn button or dip-switch panel needs to be accessed. Most LiftMaster and Linear models include homeowner-friendly programming steps in the manual. But this requires opening the control board cover – if the capacitor looks swollen, the board smells burnt, or the wiring looks corroded, stop and close the cover. Those are red-light symptoms.
- Chain or belt tension adjustment. A slack chain causes grinding noises and uneven gate movement. Tightening the tensioner is usually a two-wrench job. But over-tightening is the most common amateur mistake we see in Los Angeles – it wears out the sprocket and motor bearings prematurely. The chain should have about half an inch of deflection at the midpoint, no tighter on most models.
- Gate wheel replacement (sliding gates). The roller wheels underneath a heavy sliding gate wear out after years of use. Replacing them requires jacking up the gate carefully and supporting it while you swap the wheel assembly. The risk is the gate shifting off the jack – which, on a 400-pound steel gate, can crush a foot or hand. Use proper jack stands, never a bottle jack alone, and never work with any part of your body under the gate.
For any of these, if you’re unsure halfway through, stop. A partially adjusted gate is easier for a technician to correct than a fully disassembled one.
Red Light: Professional Only – No Exceptions
Here’s the honest truth: gates are not like garage doors where the danger is widely known. Gate springs, high-voltage openers, and heavy moving leafs are all in the same injury category. The following tasks are not “challenging DIY” – they are safety hazards that professional gate technicians in Los Angeles train specifically to handle.
- Torsion or extension spring replacement. Gate springs, like garage door springs, are under enough tension to break a forearm or fingers if they snap or release suddenly. The winding and unwinding procedure requires specific bars, brackets, and a technique that takes months of supervised practice. One wrong move and the spring becomes a projectile. This is the single most dangerous repair on any gate system, full stop.
- Any wiring inside the control panel. Modern gate openers run on high-voltage AC power inside the control box. If the breaker is off but the capacitor has retained a charge, you can still get a serious shock. Professional techs discharge capacitors before touching anything. Homeowners shouldn’t open a live control box, period.
- Safety sensor or photo eye replacement. These sensors are legal safety devices, not optional accessories. In Los Angeles, where gates open onto sidewalks and alley-adjacent driveways, a misaligned or incorrectly wired sensor can allow the gate to close on a pedestrian or a child’s bike. The liability alone makes this professional-only.
- Slide gate motor replacement. The opener motor on a 400- to 800-pound sliding gate is heavy, and the alignment between the motor gear and the rack must be precise to the millimeter. An improperly aligned motor burns out in months, and the labor to correct it usually exceeds the cost of professional installation the first time.
- Any repair involving a swinging gate’s hydraulic or electromechanical actuator. These systems hold hydraulic fluid under pressure and include internal seals that can’t be inspected without disassembly. A leaking actuator isn’t a top-off-and-go situation; it’s a rebuild or replace job.
- Gate post replacement or major structural work. A sagging gate is often the symptom of a failing post or shifting soil. In Los Angeles’s seismic climate, posts set in expansive soils shift more than homeowners expect. Digging out and resetting a post means temporarily removing the gate, bracing, concrete work, and in some areas, permit considerations. This is heavy construction, not repair.
If you encounter any of these, call a professional. The gate repair specialists in Los Angeles at Calder handle these daily, with the tools and training to do it without drama.
Which Brands Allow Homeowner Programming Without Voiding the Warranty
Not all opener manufacturers treat DIY work the same way. Some explicitly allow homeowner programming and basic limit adjustments; others include hidden warranty clauses that void coverage if the control panel has been opened by an unlicensed party. Here’s what you need to know before you pick up a screwdriver.
LiftMaster and Linear are the most homeowner-friendly. Both brands include easy-to-follow programming instructions in the owner’s manual, and their residential warranties generally permit owner-accessed remote programming, force adjustment, and limit setting. What they don’t cover: damage caused by opening the internal control panel and adjusting components beyond the designated homeowner adjustment points. If you strip a screw on the casing or leave a wire loose, that’s on you.
FAAC and BFT, which are more common in European-style and high-end Los Angeles installations, take a stricter stance. Their warranties typically require that adjustments beyond basic remote syncing be performed by a qualified gate technician. Opening a FAAC control board and adjusting the torque settings yourself is a quick way to void the warranty on a multi-thousand-dollar system. We’ve seen this exact scenario in Bel Air and Brentwood: homeowner opens the panel to quiet a noisy motor, adjusts the torque trim pot, and the manufacturer denies a warranty claim weeks later because the board showed evidence of tampering.
Here’s the practical rule: before touching anything inside the opener housing, call the manufacturer with your model and serial number and ask “Does this adjustment void my warranty?” They’ll tell you. Or skip the phone tree and call a professional who already knows the answer for all nine brands in their service area.
The Real Cost Math: When DIY Saves Money and When It Doesn’t
Most gate opener repairs in Los Angeles run $180 to $390 before parts, depending on the brand, the age of the system, and the complexity of the diagnosis. A basic remote battery swap costs you $3 at CVS. A professional service call for that same issue would cost $99 to $140 just to arrive – money you’d reasonably rather not spend. That’s the honest case for DIY: simple, low-risk fixes are genuinely cheaper to do yourself.
But the math flips fast once you’re in yellow-light or red-light territory. Here’s a real breakdown of a common scenario: a homeowner in Sherman Oaks notices the gate closes too hard and assumes it needs a limit adjustment. They open the panel, turn the limit screw too far, and the gate over-travels into the post, bending the metal plate and stripping the drive gear. The original repair – a $75 limit adjustment – becomes a $650 motor drive replacement plus a new limit plate. That’s a 6x multiplier on what should have been a simple fix. We’ve seen this pattern repeat across Los Angeles, from Pasadena bungalows with Mighty Mule openers to Atwater Village moderns with BFT systems.
Our advice: if the repair involves parts from the green list, do it yourself and enjoy the savings. If it’s yellow-light and you have the manual, the right tools, and a full Saturday, proceed carefully. If it’s red-light, the DIY “savings” is a bet you’re likely to lose – and the stakes include your safety, not just your wallet.
What Homeowners Have vs. What Pros Bring
A homeowner’s toolbox covers maybe 70 percent of green-light tasks and 30 percent of yellow-light work. The gap is wider than people think, and it’s not just about having more expensive tools – it’s about having the right diagnostic equipment that can’t be improvised.
Homeowners typically have: a socket set, Phillips and flathead screwdrivers, needlenose pliers, a multimeter (maybe), a ladder, a shop vac, and silicone spray. That handles cleaning, tightening, lubricating, and battery swaps. If you’re lucky, you also have a torque wrench, which makes chain tension adjustments reasonable rather than guesswork.
Professional gate technicians in Los Angeles show up with equipment most homeowners have never seen: a spring winding bar set sized for residential torsion springs, a clamp-on ammeter to measure motor draw under load, a laptop or diagnostic tablet for software-level board diagnosis on LiftMaster and FAAC systems, a capacitor discharge tool, magnetic levels for rack alignment, and a gate support jack rated for the weight of a full steel leaf. None of these are improvised. You can’t “make do” with a crowbar when the procedure calls for a winding bar – the result is a broken hand or a launched spring.
The honest assessment: if a repair requires a tool you’d have to buy for over $100 and probably never use again, you’ve already spent a third of what a professional repair would cost. And you still have the labor and the risk ahead of you.
How to Describe a Problem Accurately After a DIY Attempt
If you’ve already tried a repair and it didn’t work – or made things worse – don’t be embarrassed. We’ve seen hundreds of failed DIY attempts in Los Angeles, and most technicians genuinely don’t judge. What wastes your money is when a technician has to spend an hour unwinding what you changed before they can even diagnose the original problem. Here’s how to describe the situation accurately so you don’t get charged for that detective work.
- State exactly what you adjusted or replaced, in order. Say “I tightened the chain tensioner half a turn, then adjusted the limit screw clockwise,” not “I messed with some stuff.” Specifics let the technician mentally backtrack your steps before they even arrive.
- Describe what the gate did before your repair attempt. Was it closing too slowly? Stopping halfway? Reversing? The original symptom matters, even if your attempt changed the behavior.
- Describe what it does now, in plain words. “Now it opens fine but stops six inches short of closing” is far more useful than “it’s worse.”
- Mention any tools you used that may have marked the hardware. If you used an impact driver on the hinge bolts or vice grips on the travel nut, say so. Scuff marks tell a story that saves diagnostic time.
- Be upfront about panel access. If you opened the control board cover, disclose it. A technician spotting a loose wire or a mis-seated connector before powering up is the difference between a $120 fix and a $900 board replacement.
Here’s a script you can use: “The gate was [original symptom]. I [what you did] on [date]. Now it [current symptom]. I haven’t touched anything else.” That level of clarity saves real money on labor. And if you’d rather skip the whole process, just call Calder’s gate opener repair team in Los Angeles and describe the gate’s behavior – one of our technicians will walk through what to check before they even head out.
Common Mistakes to Avoid
- Watching one YouTube video and treating it as training. One video rarely covers your specific opener model, gate weight, or bracket style. The gaps in video instructions are where injuries happen.
- Using automotive WD-40 on gate hardware. It dissolves grease and leaves bearings dry, which accelerates wear. Silicone spray or white lithium grease is the right product for gate tracks and hinges.
- Disconnecting the battery backup and forgetting about it. Many Los Angeles gates have battery backups installed after power outages during Santa Ana winds. The backup holds its own charge – disconnecting the AC power doesn’t make the panel safe.
- Adjusting force settings to “fix” a gate that won’t close. Crank up the force and the gate will close – right through anything in its path. If a gate won’t close, the obstacle detection is working as designed. Find the obstruction, don’t override the safety.
- Zip-tying a broken chain link. A zip tie rated for 75 pounds on a chain pulling several hundred pounds is a temporary solution that fails at the worst possible moment, usually when the gate is half-open and unbalanced.
- Buying a universal remote from a big-box store and wondering why it won’t sync. Not all universal remotes work with multi-frequency openers, especially newer FAAC and LiftMaster models that use rolling-code security. A compatible brand remote from a gate supplier costs a few dollars more and actually works.
When to Call a Professional
Call a professional when the repair involves a torsion spring, wiring inside the control panel, safety sensors, opener motor replacement, hydraulic actuator work, or any structural element of the gate or post. Also call if you’ve attempted a yellow-light repair and the gate now behaves unpredictably – a gate that slams, jerks, or reverses at random is no longer a DIY problem, it’s a safety hazard to your family and anyone walking past your driveway. Calder Gate Repair offers free estimates in Los Angeles – call (903) 417-0793 and a live person will answer, no voicemail maze.
Frequently Asked Questions
You can safely clean and lubricate tracks, tighten visible bolts, replace remote batteries, and wipe down photo eye lenses without professional training or specialized tools. For a full breakdown of when to do what, check our Electric Gate Repair Maintenance Schedule: What to Do and When. These maintenance tasks extend the life of your gate system and are genuinely low-risk.
Yes. Gate torsion and extension springs are wound under similar tension to garage door springs, typically 200 to 400 pounds depending on the gate weight. When a spring releases suddenly, the resulting force can fracture bones or send components flying. This is the one repair where no money savings justifies the risk.
Most gate opener repairs in the Los Angeles area run $180 to $390 before parts, with gate spring replacement generally falling in the $250 to $500 range depending on the gate size and spring type. The number on the invoice should match the written quote you agreed to before work started – if a company can’t give you that, call a different one.
It depends on the brand. LiftMaster and Linear generally permit homeowner remote programming and limit adjustments described in the owner’s manual. FAAC and BFT warranties typically require that internal adjustments be performed by a qualified technician, and evidence of tampered control boards can void coverage. Check your manual or call the manufacturer before opening any panel.
Stop adjusting things. Describe what you changed, in sequence, when you call for service. A good technician can often backtrack your adjustments and resolve the issue without charging for hours of diagnostic work. Calder’s Los Angeles team handles failed DIY repairs regularly and the process starts with a straight conversation about what happened.
For most repairs and replacements of existing gate hardware, no permit is required in the City of Los Angeles. If you’re installing a new gate post, moving the gate location, or doing significant concrete work, your contractor can tell you whether a permit applies. Structural changes are the gray area – routine gate and opener repairs rarely trigger one.
The Bottom Line
The DIY-versus-pro decision for gate repair comes down to stored energy and liability, not skill level alone. Green-light maintenance tasks save you real money and are worth learning. Yellow-light adjustments are possible with patience and the right tools, but they carry consequences if done wrong. Red-light repairs – springs, wiring, sensors, motors, and structural work – aren’t debates; they’re professional-only jobs where the risk of injury outweighs any labor savings. In Los Angeles, where automated gates guard hundreds of thousands of driveways, the smart approach is knowing where your line is. Know what you can handle, don’t touch what you can’t, and when in doubt, get a written price from a professional before anyone picks up a tool. For more guides & resources on keeping your gate system running smoothly, explore our blog.
Written by Nico Alvarez, Owner at Calder Gate Repair, serving Los Angeles since 2009.